How to Winterize a Crawl Space Before Freezing Weather
Key Takeaways
- Winterize a crawl space by identifying its ventilation and insulation approach, sealing unintended drafts, and protecting exposed water pipes before freezing weather arrives.
- A traditional vented crawl space and an encapsulated crawl space need different insulation and moisture-control plans; do not close vents or add insulation without identifying which setup you have.
- ENERGY STAR’s climate-zone guidance places vented-crawl-space floor insulation at R-13 to R-19 in Zone 3, R-19 in Zone 4, and R-19 to R-30 or more in Zones 5–8.
- Disconnect garden hoses, prepare outdoor faucets and irrigation lines, and keep the main water shutoff accessible in case a pipe leaks or breaks.
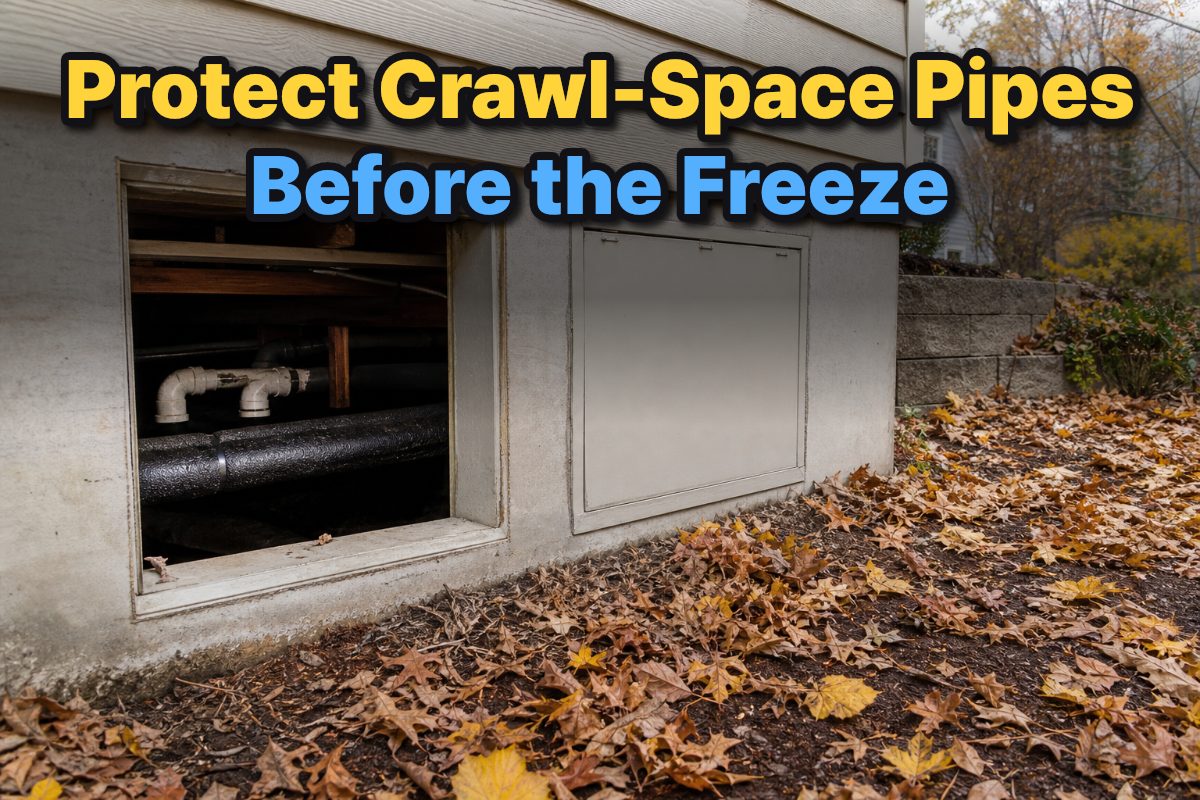
Winterize a crawl space by checking its vents, insulation, moisture conditions, and exposed plumbing before cold weather. This guide explains the difference between vented and encapsulated spaces, pipe-protection steps, and common mistakes to avoid.
Table of Contents
- How to winterize a crawl space: inspect before making changes
- Should crawl-space vents be open or closed in winter?
- Where should crawl-space insulation go?
- How to seal drafts without blocking designed vents
- How to protect water pipes in a crawl space
- How to prepare outdoor faucets and irrigation lines
- Moisture control in vented and encapsulated crawl spaces
- Choose a practical plan for your home and budget
- Common crawl-space winterization mistakes
- Frequently Asked Questions
- Key points to remember
To winterize a crawl space before freezing weather, first determine whether it is vented or encapsulated, then protect the plumbing and address unintended air leaks without disrupting the home’s moisture-control design. A pipe sleeve can slow heat loss, but it does not replace fixing a draft, managing water, or using the right insulation location.
A crawl space is the unfinished area beneath a home, where plumbing and other building components may be exposed to outdoor temperatures. The right winter preparation depends on whether insulation is installed at the floor above the crawl space or along the foundation walls, and on whether the space is intended to be vented or closed.
How to winterize a crawl space: inspect before making changes
Start by identifying the crawl space’s current design and the places where cold air or water could affect pipes. This prevents a common mismatch: closing vents in a traditionally vented space or adding floor insulation to a space designed to be encapsulated.
Inspect only from a safe, accessible position. Use a flashlight to look for visible pipes, foundation vents, insulation, the access opening, obvious gaps, standing water, and signs of moisture. If the space is unsafe or difficult to access, do not enter it to complete a routine checklist.
- Find the access opening. Check whether the hatch or access door closes securely and whether its condition allows a noticeable draft.
- Identify the insulation location. Floor-joist insulation is above a traditionally vented crawl space; wall insulation is used in an encapsulated or closed-crawl-space approach.
- Note the vents. Record whether foundation vents are present and whether the space appears to be designed for ventilation.
- Trace visible plumbing. Pay attention to pipes near exterior walls, openings, or other exposed areas.
- Locate the main water shutoff. Make sure the valve and the route to it are accessible before an emergency.
- Look for water and moisture clues. Note standing water, damp materials, or visible condensation; a ground vapor barrier will not stop water entering from outside.
Make a short list of what you find before buying materials. A first-time inspection may reveal that the immediate task is simply removing attached hoses and insulating an exposed pipe, while a visibly wet crawl space calls for water management rather than more plastic sheeting.
For a repeat seasonal check, compare the present condition with what you know about the previous winter. Look for shifted or damaged insulation, a hatch left open, new plumbing, or a change in how vents are being used. Do not assume a setup is still intact just because it worked in a prior season.
Should crawl-space vents be open or closed in winter?
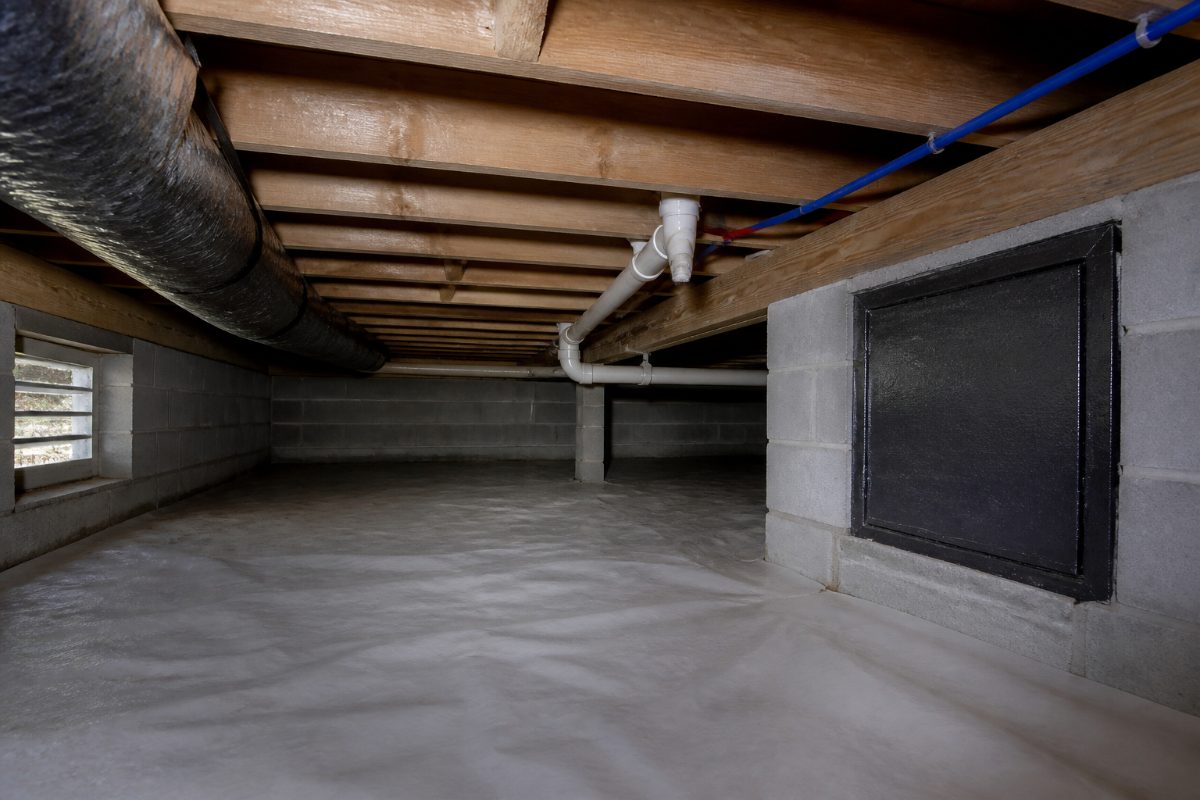
It depends on the crawl space’s design. Keep a traditional vented crawl space’s vents operating as intended; close vents only as part of a properly designed encapsulation approach that includes moisture control, not as an isolated winter fix.
Encapsulation means treating the crawl space as a closed area, including covering the ground and insulating the foundation walls. Closing vents without a ground vapor barrier and a plan to control humidity can trap moisture inside. A fan only moves air around; it does not remove water vapor from the air.
| What you find | What it suggests | Winter preparation |
|---|---|---|
| Foundation vents and insulation beneath the floor above | A traditionally vented crawl space | Keep the ventilation approach intact, inspect the floor insulation, and protect exposed pipes. |
| Closed vents, ground covering, and insulation on foundation walls | An encapsulated or closed crawl space | Maintain the moisture-control approach and use a dehumidifier if the system calls for one. |
| Some vents blocked, mixed insulation locations, or an unclear setup | The system may have been changed or may be incomplete | Do not make a blanket change to the vents; identify the intended design before altering it. |
For a vented crawl space, the floor above it is the boundary between the crawl space and the heated home. Insulation at that boundary helps reduce heat loss through the floor. For an encapsulated crawl space, the foundation walls form the insulated boundary instead.
The practical rule is to avoid mixing the two approaches casually. ENERGY STAR’s recommendations distinguish insulation by climate zone, while the U.S. Department of Energy’s guidance for conditioned crawl-space walls describes a wall-insulation approach. If you cannot tell which system your home uses, keep the existing vent arrangement in place while you identify the design. The related guide Should Crawl Space Vents Be Open or Closed in Winter? covers that decision in more detail.
Where should crawl-space insulation go?
Insulation belongs at the boundary selected for the crawl space’s design: in the floor joists above a vented crawl space, or on the foundation walls of an encapsulated crawl space. Installing insulation at the wrong boundary can leave the intended thermal and moisture-control strategy incomplete.
R-value measures resistance to heat flow; a higher R-value indicates greater resistance. ENERGY STAR’s climate-zone recommendations for vented crawl spaces call for R-13 to R-19 in Climate Zone 3, R-19 in Zone 4, and R-19 to R-30 or more in Zones 5–8. Local requirements may differ, so use the applicable building-code requirements when planning a new installation or substantial retrofit.
For a closed or conditioned crawl space, the U.S. Department of Energy’s crawl-space wall guidance describes a minimum of R-10 continuous insulation. Continuous insulation is installed as an uninterrupted layer across the wall rather than only between framing members. The DOE guidance also identifies a 3-inch inspection gap between the top of the insulation and the bottom of wood framing where needed for termite inspection.
| Crawl-space type | Typical insulation location | Reference point |
|---|---|---|
| Vented | Floor joists above the crawl space | ENERGY STAR lists R-13 to R-19 for Zone 3, R-19 for Zone 4, and R-19 to R-30 or more for Zones 5–8. |
| Encapsulated or conditioned | Foundation walls | DOE crawl-space guidance describes R-10 continuous wall insulation and a 3-inch termite-inspection gap where applicable. |
Do not choose insulation by thickness alone. Compare the product’s stated R-value and follow its installation instructions, especially around framing, pipes, and openings. In a vented space, check that floor insulation remains in place and is not visibly damaged; in an encapsulated space, assess the wall insulation and vapor-control components together.
Termite inspection access is a practical part of the wall-insulation detail. Covering the full wall up to wood framing can conceal evidence that should remain visible. If local building requirements or the home’s construction call for a specific clearance, follow those requirements rather than treating a generic insulation layout as universal.
How to seal drafts without blocking designed vents
Seal unintended openings that let outside air reach plumbing, but leave designed ventilation openings alone unless the crawl space is being changed to a complete encapsulated system. The U.S. Department of Energy’s crawl-space air-sealing guidance identifies rim joists, sill plates, and penetrations larger than 1/4 inch as areas to address.
A rim joist is the framing area at the edge of the floor where the house meets the foundation. It can act as a thermal bridge, meaning heat moves through that junction more readily than through insulated areas. Sealing unintended gaps there can reduce cold-air paths and help limit heat loss at the edge of the home.
- Rim joists and sill plates: Look for visible gaps where framing meets the foundation or where separate building materials join.
- Pipe and utility penetrations: Check around openings where plumbing or other services pass through a wall or floor.
- Access hatch: Make sure the hatch fits and closes; repair an obvious gap with a method suitable for the material and location.
- Foundation vents: Treat these as designed openings, not accidental cracks. Do not seal them as part of a quick draft repair.
For openings larger than 1/4 inch, DOE guidance describes filling the gap with backing or steel wool and sealing it with caulk or spray foam, as appropriate to the location. Use materials compatible with the surrounding surfaces and keep sealants away from parts that need to move, drain, or remain accessible.
Air sealing and ventilation serve different purposes. An unintended crack can send cold air directly toward a pipe; a foundation vent may be part of the crawl space’s intended airflow. Identify the opening before sealing it, then recheck the pipe area to see whether the draft path has actually been addressed.
How to protect water pipes in a crawl space
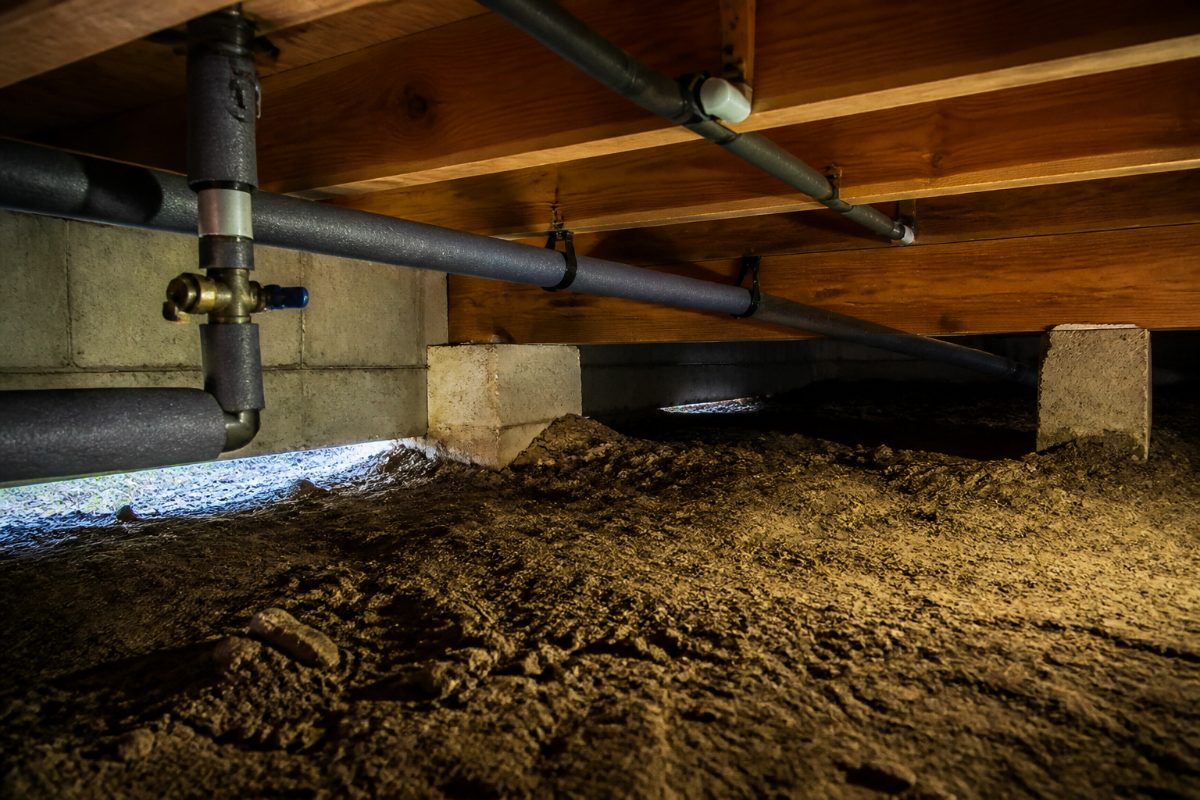
Insulate exposed pipes with sleeves made for plumbing, and consider a listed heat cable only when the product is suitable for the pipe and installation conditions. A pipe sleeve slows heat loss; it does not produce heat or correct a cold draft. The best protection combines suitable pipe insulation with attention to the area around the pipe.
- Map exposed pipe runs. Note which sections are near the perimeter, a vent, or a visible air leak.
- Choose the right product. Use pipe insulation designed for the pipe size and application. Check the product label and instructions rather than judging performance by appearance.
- Cover the run consistently. Fit sleeves along exposed sections, including bends and fittings where the product instructions allow. Avoid leaving obvious uncovered sections between pieces.
- Address the surrounding draft. If cold air reaches the pipe through a gap, repair that unintended opening using an appropriate air-sealing method.
- Use heat cable only as directed. Confirm that the cable is listed for the intended application and follow its installation instructions. Do not wrap or overlap a cable unless its instructions specifically allow it.
- Inspect after installation. Check that pipe insulation remains in place and that the pipe run is not exposed at joints or access points.
Do not use an improvised space heater or heat lamp as a substitute for pipe insulation and air sealing. A confined crawl space is not a place to improvise a heat source. If a pipe location needs active heat protection, use a purpose-made product that can be installed according to its directions.
Pipe protection also depends on how much of the plumbing is exposed. A short section near an outside wall may need different attention from a long run beneath a vented floor. Follow the pipe along its visible route instead of insulating only the part that is easiest to reach.
A temporary wrap made from household material is not a durable winterization method. For planned protection, use pipe insulation suitable for the application; temporary measures do not address the pipe’s exposure, nearby drafts, or moisture conditions.
How to prepare outdoor faucets and irrigation lines
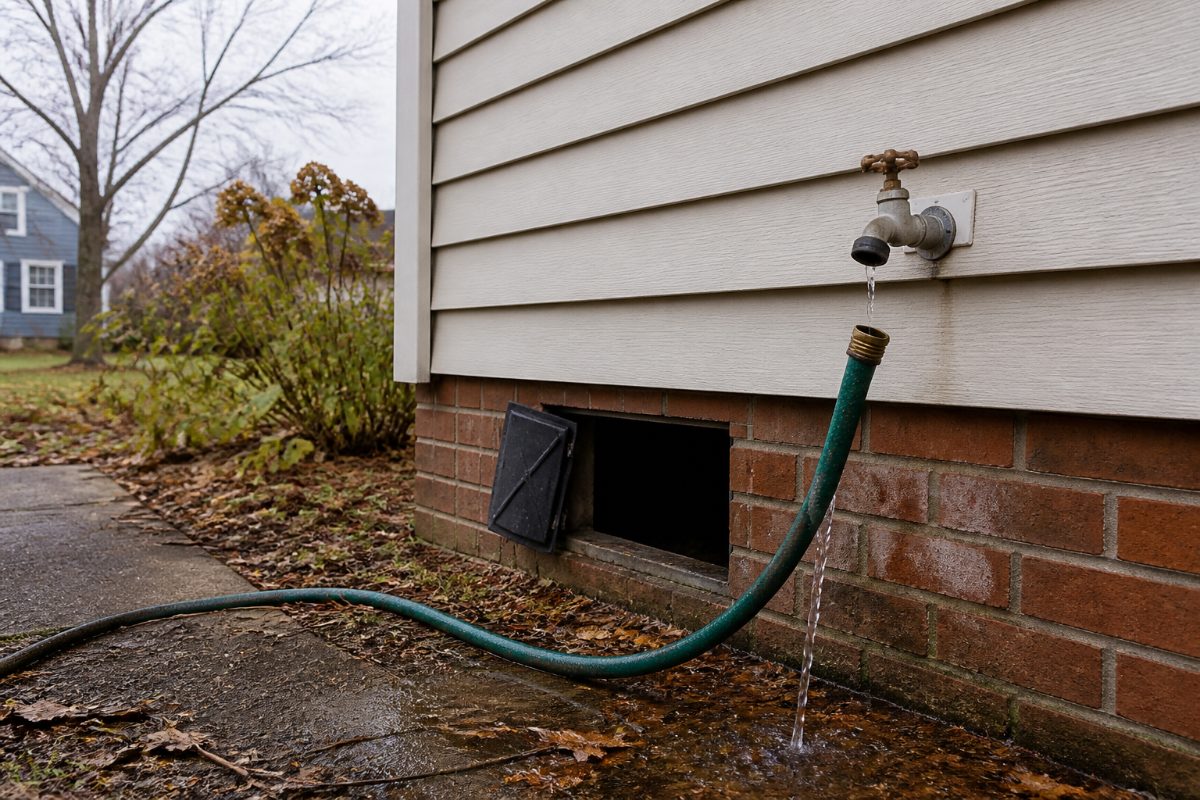
Disconnect garden hoses, drain them, and prepare outdoor faucets and water lines using the home’s shutoff and drain arrangement. Outdoor plumbing can remain vulnerable even when the crawl space itself has insulation, particularly if a line passes through an unheated area.
- Remove every garden hose attached to an outdoor faucet.
- Drain the hose and store it without leaving it connected to the faucet.
- Use the home’s intended shutoff and drain procedure for outdoor faucets or lines.
- Check whether irrigation piping connects to the house plumbing or passes through the crawl space.
- Include exposed irrigation and outdoor-water sections in the pipe inspection.
A hose left attached can hold water at the faucet connection. Removing the hose eliminates that attached water-filled section and is a straightforward step before freezing weather. If a faucet has an interior shutoff, use the home’s designed arrangement rather than assuming that simply turning the exterior handle off drains the line.
For step-by-step outdoor faucet preparation, see How to Winterize an Outdoor Faucet Before a Freeze. If the property has an in-ground sprinkler system, its pipes and valves need their own winterization procedure; see How to Winterize an In-Ground Sprinkler System Before a Freeze.
Dripping a faucet is not a default replacement for proper preparation. Advice about dripping can differ by local water conditions, and water utilities may issue location-specific guidance. If a local utility recommends a drip during a particular cold spell, follow its stated instructions; otherwise, prioritize insulation, the home’s shutoff-and-drain arrangements, and removal of attached hoses.
Moisture control in vented and encapsulated crawl spaces
A vapor barrier limits water vapor moving upward from soil; it is not waterproofing against liquid water entering from outdoors. If rainwater or groundwater is getting into the crawl space, adding plastic over the soil alone does not stop that water from reaching the area.
In a vented crawl space, the floor insulation and ventilation are part of the overall assembly. In an encapsulated crawl space, the moisture-control plan typically includes a ground vapor barrier, closed vents, foundation-wall insulation, and humidity management. The parts work together, so closing vents without addressing ground moisture can leave damp air trapped inside.
For encapsulated spaces, a dedicated dehumidifier can be used to manage relative humidity. The crawl-space guidance in the research memo identifies a 45%–50% relative-humidity target for encapsulated spaces. Use a unit intended for the conditions and follow its operating and drainage instructions; check that condensate has a suitable drainage route rather than allowing collected water to spill onto the ground.
A fan and a dehumidifier do different jobs. A fan circulates air but does not remove water vapor; a dehumidifier collects moisture from the air. If the crawl space is damp, first identify whether the moisture comes from soil, outside water entry, or humid air, because each source calls for a different response.
- Visible water on the ground: Focus on the source of liquid water, such as an outside entry path, rather than relying on a vapor barrier alone.
- Damp soil without standing water: A ground vapor barrier can limit evaporation from the soil in an encapsulated system.
- High humidity in a closed space: Use humidity control as part of the encapsulation plan; moving air with a fan is not dehumidification.
- Mixed or unclear materials: Identify whether the crawl space is vented or encapsulated before covering openings or adding another insulation layer.
Vapor-barrier thickness varies with use and durability needs. The research guidance distinguishes 6-mil polyethylene as a basic minimum, 12-mil as a more durable residential baseline, and 20-mil reinforced material for higher-durability or storage applications. Choose a material that suits the crawl space’s use and installation conditions, and protect it from punctures during installation and later access.
Choose a practical plan for your home and budget
A first-time homeowner can begin with observation and low-risk tasks, while someone familiar with the crawl space can focus on changes or damage since the last inspection. Neither situation calls for buying equipment before identifying the space’s ventilation and insulation approach.
| Your situation | Start with | Do not do this first |
|---|---|---|
| You are inspecting the crawl space for the first time | Identify vents, insulation location, exposed pipes, access, and the main shutoff. | Close every vent or buy wall and floor insulation before identifying the system. |
| You see exposed plumbing | Fit suitable pipe insulation and check for a draft around the pipe. | Assume a sleeve by itself will resolve a persistent cold-air path. |
| The crawl space is damp or has standing water | Distinguish soil moisture from liquid water entering the space. | Cover the ground and assume that a vapor barrier will stop flooding. |
| You have an encapsulated crawl space | Check the ground covering, wall insulation, humidity controls, and drainage arrangement. | Leave the vents closed without a moisture-control plan. |
| You prepared the space in a previous season | Inspect for shifted insulation, new gaps, damage, or changed plumbing. | Assume the old setup is still intact without looking. |
For a low-cost first pass, use a checklist and note the needed repairs before purchasing materials. Disconnect hoses, locate the shutoff, inspect accessible plumbing, and identify unintended gaps. Then buy only what matches the identified problem, such as pipe sleeves for exposed pipes or a suitable air-sealing product for an unintended opening.
If you are considering a larger insulation or encapsulation project, check the applicable local building requirements before choosing materials. ENERGY STAR’s climate-zone recommendations provide a reference for insulation levels, and DOE guidance provides a wall-insulation approach for conditioned crawl spaces; the requirements that apply to a specific home may depend on local code.
Common crawl-space winterization mistakes
Most preventable problems come from treating all crawl spaces as if they were built the same way. A vented crawl space, an encapsulated space, a wet space, and a cold pipe run need different checks.
- Closing all vents by default: Vent closure belongs with an encapsulation and moisture-control plan, not a quick seasonal change to a traditional vented crawl space.
- Putting insulation in the wrong place: Floor insulation is associated with a vented crawl space; wall insulation is used for a closed or conditioned approach.
- Covering a vent while sealing a nearby crack: A designed vent and an unintended opening serve different roles. Identify each before sealing.
- Adding insulation but ignoring water: Insulation does not stop liquid water from entering, and a soil vapor barrier is not flood protection.
- Using a fan as a dehumidifier: Fans move air. A dehumidifier removes moisture from the air.
- Leaving a hose attached: Disconnect and drain outdoor hoses before freezing weather.
- Choosing insulation by appearance: Check the product’s R-value and instructions rather than relying on thickness alone.
- Improvising a heat source: Use only a suitable, properly installed pipe-protection product; do not place a space heater or heat lamp in a confined crawl space as a quick fix.
- Forgetting the shutoff valve: Find and clear access to the main water shutoff before a leak makes the search urgent.
Another common misunderstanding is that freezing damage happens only to pipes exposed outdoors. A pipe inside the crawl space can still be vulnerable if it is near an exterior opening or in an unheated area. Trace the visible plumbing and look at the conditions around it, not only whether the pipe is technically indoors.
Frequently Asked Questions
Should I close crawl-space vents for winter?
Close vents only when the crawl space is part of an encapsulated system with ground moisture control and humidity management. For a traditional vented crawl space, keep its ventilation approach intact and protect exposed pipes instead of closing every vent as a seasonal shortcut.
What insulation R-value should a crawl space have?
ENERGY STAR recommends R-13 to R-19 for vented-crawl-space floor insulation in Climate Zone 3, R-19 in Zone 4, and R-19 to R-30 or more in Zones 5–8. DOE crawl-space wall guidance describes R-10 continuous insulation for a conditioned crawl space; local requirements may differ.
Does a vapor barrier stop crawl-space flooding?
No. A vapor barrier limits water vapor rising from the soil, but it does not stop liquid water entering from outside. Identify and address the water-entry path separately.
Do I need a dehumidifier in an encapsulated crawl space?
A dehumidifier is used to manage humidity in an encapsulated space; a fan only circulates air and does not remove moisture. The crawl-space guidance identifies a 45%–50% relative-humidity target for encapsulated spaces.
What should I do with outdoor faucets before a freeze?
Disconnect and drain garden hoses, then use the home’s intended shutoff and drain arrangement for outdoor faucets and water lines. If irrigation piping is connected to the home or crosses the crawl space, include it in the winterization check.
Key points to remember
Winterize a crawl space by identifying its design first, then protecting exposed pipes, sealing unintended air leaks, and preparing outdoor plumbing. Keep vented and encapsulated approaches distinct: insulation location, vent operation, and moisture control depend on which system the home uses.
ENERGY STAR’s climate-zone insulation recommendations and the U.S. Department of Energy’s crawl-space wall guidance provide useful reference points. Check the applicable local building requirements before a substantial insulation or encapsulation project, and follow the installation instructions for pipe sleeves, heat cables, and dehumidifiers.
References
- Recommended Home Insulation R–Values | ENERGY STAR
- energy.gov
- Crawl Space Vapor Barrier: Do You Need One? Complete 2026 Guide
- How to Winterize House Pipes and Prevent Freezing This Winter
- 2025-2026 Weatherization Policy Manual
- First 90 Days: Las Vegas & Reno Home Maintenance Checklist 2026
- Insulating and Weatherizing Your Home
- Aqua Urges Customers to Protect Pipes With Potential Winter Storm Looming | Aqua
Information in this post was checked as of October 2026. Policies and prices may change, so please verify important details with official sources.


Comments
Post a Comment