Christmas Lights: Check for Frayed Wires Before Plugging In
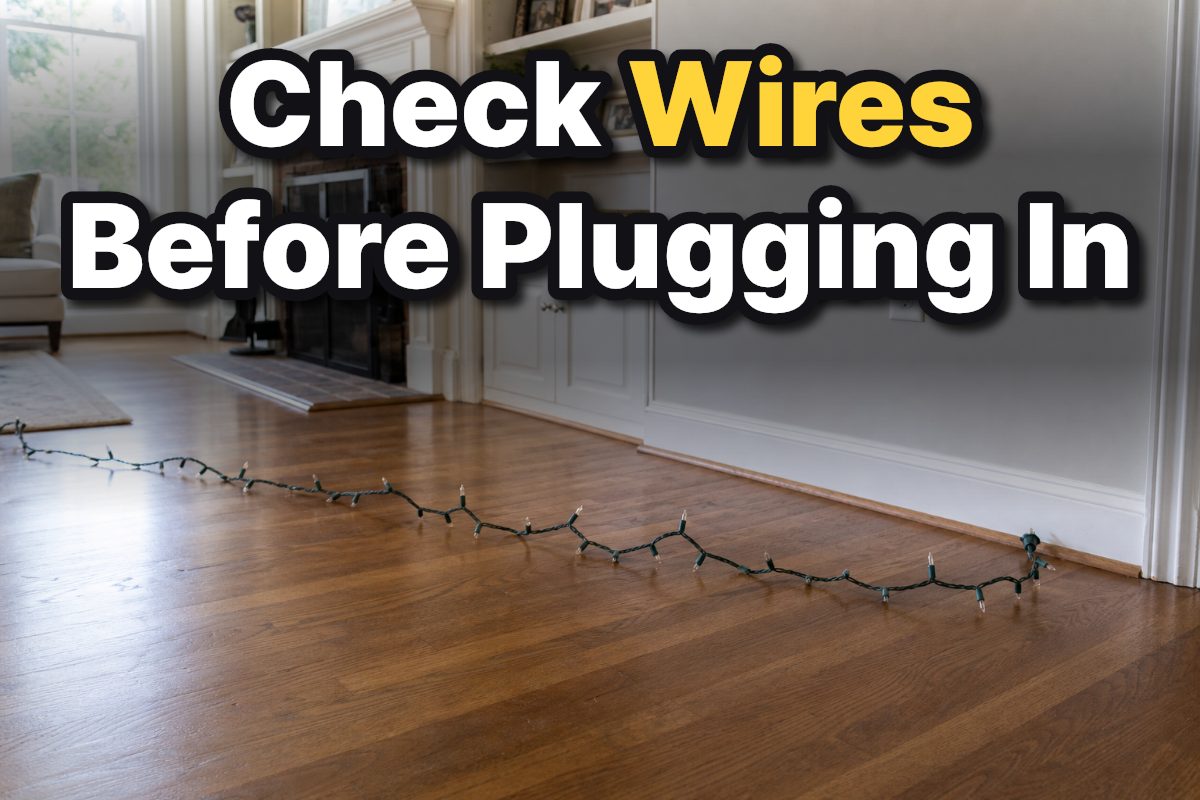
Table of Contents
- How do you inspect Christmas lights for frayed wires?
- What wire damage means a strand should be discarded?
- Can you repair frayed Christmas light wires with electrical tape?
- What should you check on plugs, sockets, and connectors?
- Are outdoor Christmas lights checked differently?
- What to do after the inspection
Before plugging in Christmas lights, inspect the entire unplugged strand for fraying, cuts, exposed wire, damaged insulation, cracked sockets, loose connections, and a damaged plug. If you find any of these problems, do not use the strand: set it aside for disposal and use an undamaged set instead.
A strand that lights up has passed an operation test, not a visual safety inspection. The cord’s insulation separates the electrical conductors from people and nearby materials, so visible damage is a reason to stop before applying power.
How do you inspect Christmas lights for frayed wires?
Inspect Christmas lights while they are unplugged, with the full strand untangled and laid out where you can see its length. Follow the cord from plug to end, then look closely at the sockets and connection points; checking only the easiest-to-reach section can leave damage hidden in a knot or bend.
Unplug the strand from the outlet and keep the plug away from the outlet while you inspect it. Do not handle a powered strand or plug it in as a way to locate a damaged section.
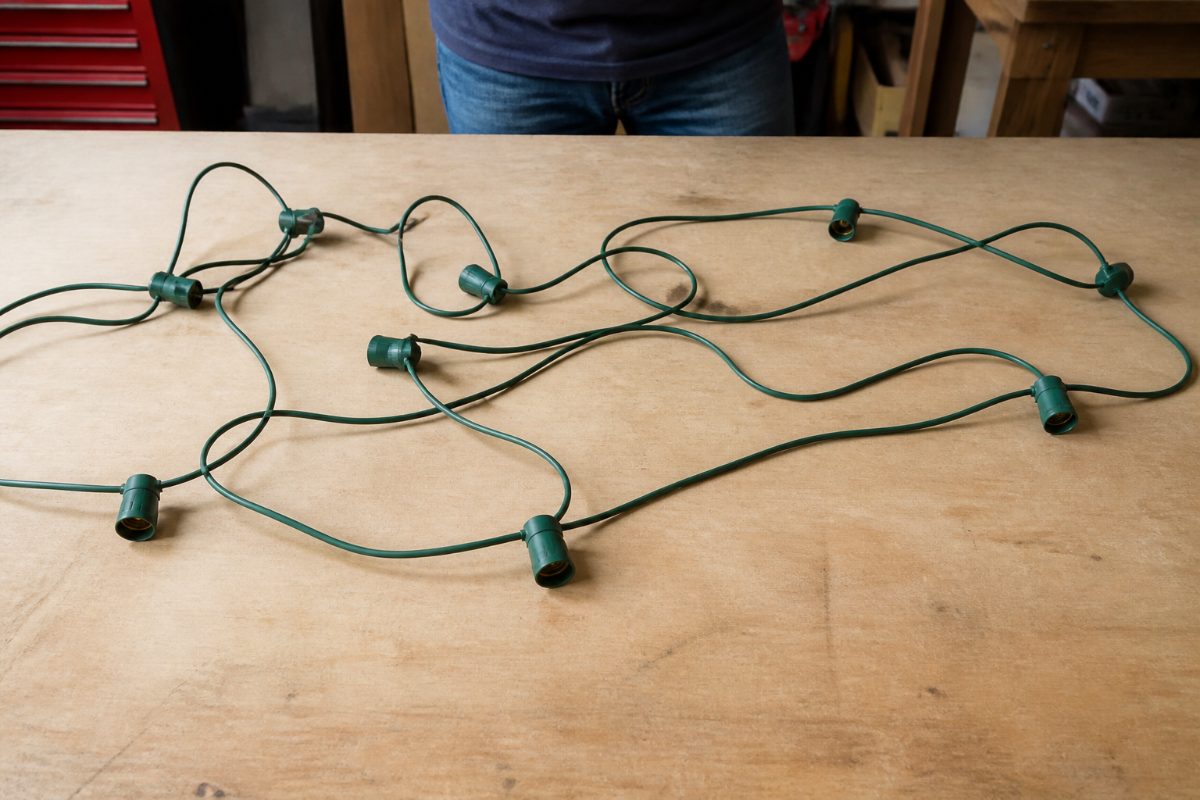
Untangle the lights gently and lay the cord out along a clear surface. Spread the strand so one length of wire does not cover another; a tight coil can conceal cuts, pinches, or worn spots.
Trace the cord from the plug end to the far end. Turn the strand as needed to see around it, and pay attention to bends, places where the wire crosses itself, and sections that have been compressed.
Examine each socket, enclosure, plug, and connector as well as the cord between them. A sound-looking stretch of wire does not rule out a cracked lamp holder or a loose connection at an endpoint.
Decide what to do before reconnecting anything. A strand with frayed or damaged insulation, exposed copper, a cracked socket, a loose connection, or a damaged plug should not go back into service.
Good light makes surface damage easier to see. Look at the cord itself rather than relying on whether the bulbs appear intact, because the wiring and the lamp holders are separate parts of the set.
What wire damage means a strand should be discarded?
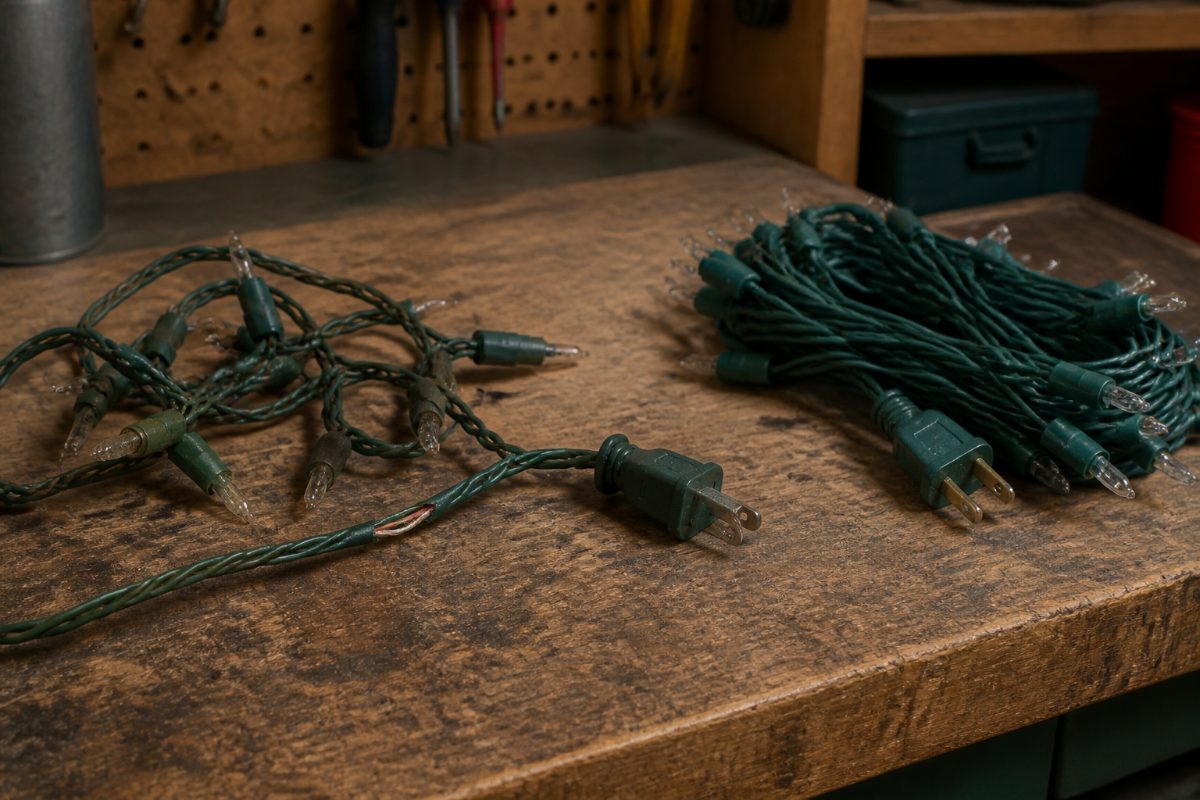
Frayed or cut insulation, bare or exposed copper, a cracked cord covering, and a pinched or damaged section are stop-use signs. The CPSC’s 2025 holiday safety poster says to throw out light sets with frayed wires or broken sockets; a manufacturer manual also lists damaged insulation, exposed copper, loose connections, and cracked lamp holders as reasons to discard the product.
Insulation is the outer covering around the conductors inside the cord. Fraying means that covering is worn or coming apart; a cut or crack can also leave the conductor less protected, even if no copper is visible from the angle where you first noticed the mark.
Do not decide that a small damaged patch is harmless just because the rest of the strand looks clean. The inspection is meant to identify visible defects before electricity is applied, and the current-season guidance is to discard a set with frayed wires rather than keep using it.
Look for damage beyond obvious frays. A cord can be pinched or cracked without loose strands sticking out, while a socket can be cracked even when the wire entering it appears intact. Check the plug and the points where sections connect, too; broken sockets, damaged plugs, and loose connections are all reasons to reject the set.
A dark mark, a change in the cord’s surface, or a spot that looks crushed deserves a closer visual look while the lights remain unplugged. If the cord covering is visibly split, torn, or cracked, treat the strand as damaged. Do not pull the cord to test a loose-looking joint, because that can put additional strain on the connection.
Can you repair frayed Christmas light wires with electrical tape?
Do not use electrical tape as a repair for a frayed or exposed Christmas-light wire. Current holiday guidance and product instructions support discarding damaged strands, and a taped patch does not change the condition of the wiring underneath or establish that the set is safe to use.
This applies even when the damaged area is short or the lights still work. The Home Depot’s holiday-light guide advises discarding damaged strands rather than repairing them with tape, and the CPSC poster gives the same practical direction for sets with frayed wires. Choose a replacement strand instead of trying to cover a defect and plug the old one in.
Do not use a successful light-up test as a substitute for a visual inspection. Bulbs can illuminate while damage remains on another part of the cord, at a socket, or near a connector. The point of checking the whole strand first is to find visible problems before connecting it to power.
Older repair advice should not override the current discard guidance. A CPSC release from 1978 discussed repairs for certain defects, but it predates the current-season holiday poster and the product-manual guidance to discard sets with damaged or frayed insulation. For a pre-use inspection, do not follow an old repair procedure to put a visibly damaged strand back into service.
If the set has a product manual, read its directions for that specific model. Instructions can differ between products; a manual for one string of lights is not a universal repair guide for every strand. In particular, do not infer from one set’s instructions that another set with damaged wiring can be patched and reused.
What should you check on plugs, sockets, and connectors?
Inspect the plug, every socket, and each connection point for visible damage before using the strand. A damaged plug, cracked lamp holder, loose connection, or broken socket is a reason to stop, even when the length of cord between those parts appears undamaged.
Start at the plug and follow the cord where it enters the plug body. Look for a split covering, exposed wire, or a loose-looking connection. Then move along the strand and examine the sockets one by one, including the areas where the wire enters or leaves each holder.
At connectors, look for damage or corrosion on the parts that join the strands. A connection that appears loose should not be treated as secure simply because the bulbs are in place. The inspection is visual; it is not a reason to pull on the cord, force a connector, or plug the set in to see whether the connection holds.
Pay attention to cracked plastic around a socket or enclosure. A crack is a defect in the holder, even if its bulb is present and the surrounding wire looks normal. If a plug or socket is broken, discard the strand rather than trying to stabilize the part with tape.
When a set has multiple sections or connectors, trace the whole arrangement in sequence. Checking the plug and the first few bulbs alone leaves the rest of the set unexamined. Spreading the strand out makes it easier to follow each section without confusing one crossing wire for another.
Are outdoor Christmas lights checked differently?
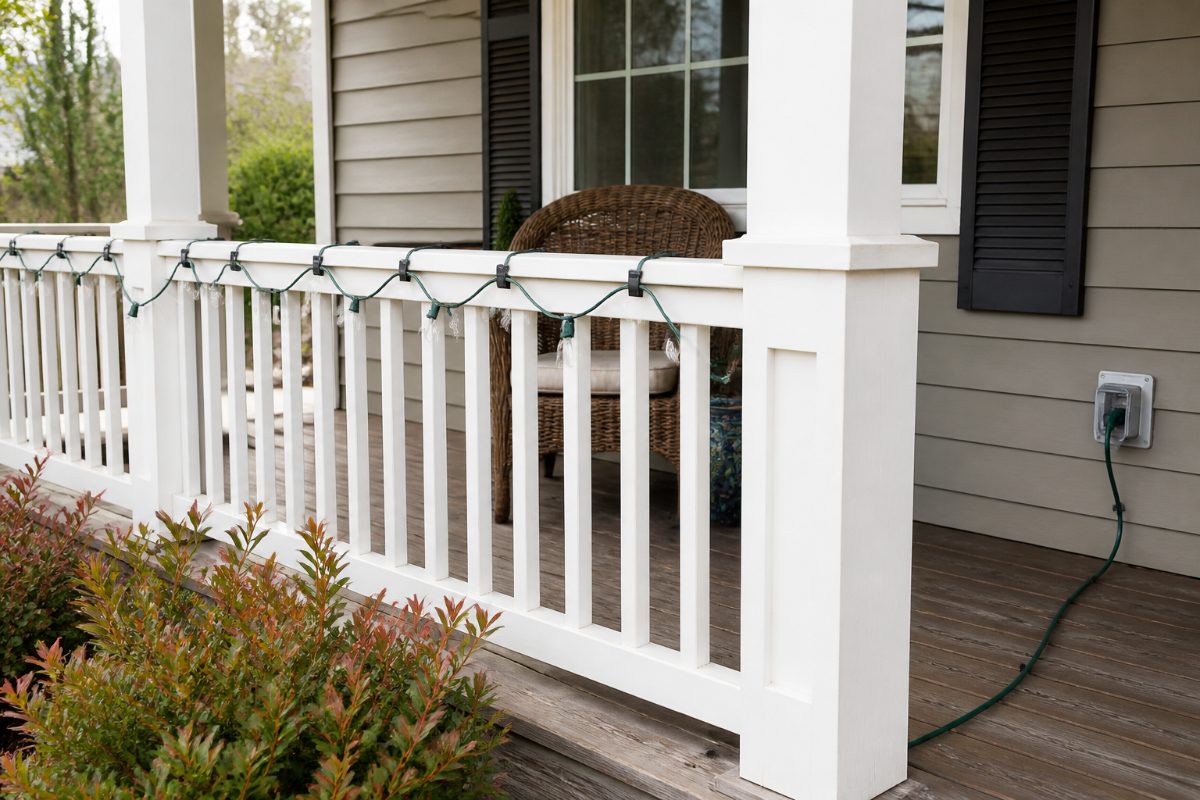
Use the same visual inspection for indoor and outdoor strands, then make sure an outdoor installation uses lights and extension cords labeled for outdoor use. For outdoor decorations, the Florida Municipal Electric Association’s November 10, 2026 safety guidance also recommends a GFCI-protected circuit and says not to secure light strings or cords with nails or staples.
A GFCI-protected circuit uses a ground-fault circuit interrupter to protect the circuit. The outdoor-use label matters because the product is intended for that setting; a cord that looks undamaged is not, by itself, proof that it is labeled for outdoor use. Read the product label and instructions before choosing a strand or extension cord for an outside display.
Do not drive nails or staples through or over a light string or electrical cord to hold it in place. The 2026 guidance specifically advises against those fasteners. Choose a way to position the lights that does not pierce or crush the cord.
Inspect outdoor sets before putting them up, especially if they were stored after previous use. The check should include the entire cord, plug, sockets, and connectors, not only the section that will be easiest to reach after installation. Finding damage while the strand is still on the ground avoids the need to handle a suspect set once it is in place.
If the outdoor strand has frayed wire, exposed copper, a damaged plug, a cracked socket, or a loose connection, do not connect it to an outdoor outlet or extension cord. Set it aside for disposal and use a strand intended for outdoor use that has no visible damage.
What to do after the inspection
If the strand passes a careful visual inspection, follow the instructions and connection limits printed for that specific product when setting it up. A universal strand-count rule does not fit every light set: guidance about connecting strings differs by product type, and the product’s label or manual gives the applicable limit for that set.
Keep the visual check separate from any later function check. First inspect the unpowered cord and components; only an undamaged strand should proceed to use according to its product instructions. If it does not light as expected, unplug it before replacing bulbs or fuses, and follow the manufacturer’s directions for that model.
For a strand that fails inspection, do not keep it in the “usable” pile or wrap it with a note to repair later. Remove it from the group of lights ready for installation so it cannot be picked up by mistake. Replace it with an undamaged product whose label matches the intended indoor or outdoor location.
Before decorating, lay out each set and finish the inspection from plug to end. If you find fraying, exposed wire, damaged insulation, a cracked socket, a loose connection, or a damaged plug, discard that set; if the cord and components look intact, use it only as its own label and manual direct.
References
- Happy Holidays Start with Safety!
- Indoor Lights and Electrical Decorations Safety Tips - Electrical Safety Foundation International
- How to Fix Holiday Lights - The Home Depot
- Seasonal Lighting (Holiday Lights and Decorative Outfits) | CPSC.gov
- Ten Tips for Holiday Electrical Safety - Florida Municipal Electric Association
- GE FPH-150-3F String A Long 300 Count 62.2 ft Clear Incandescent Plug In Christmas String Lights Instruction Manual
Information in this post was checked as of November 2026. Policies and prices may change, so please verify important details with official sources.


Comments
Post a Comment