How to Seal an Attic Hatch Before Winter
Key Takeaways
- To seal an attic hatch, close the air gaps around its frame with caulk where appropriate and install weatherstripping along the hatch’s contact edges.
- The hatch needs to press evenly against the weatherstripping; stops and hooks or another latch can help create that contact when the panel rests on trim.
- After sealing the perimeter, add fiberglass or rigid foam insulation to the back of a simple hatch, while keeping electrical and fire hazards in mind.
- Pull-down attic stairs need weatherstripping too, and an insulated cover can help address the larger opening.
Table of Contents
- Why does an attic hatch cause drafts?
- What to inspect before you seal an attic hatch
- Which materials and closure method do you need?
- How to seal the hatch perimeter step by step
- How to insulate the hatch panel
- How to handle pull-down stairs and frequent attic access
- Common mistakes that leave drafts behind
- Which approach fits your situation?
- Frequently Asked Questions
- Key takeaways
An attic hatch can let cold air move between the attic and living space if the panel does not seal against its frame. To seal an attic hatch before winter, close gaps at the frame, fit weatherstripping around the contact edge, make sure the hatch stays snugly shut, and insulate the panel itself. Work on the air seal first; insulation alone does not close an air leak.
Why does an attic hatch cause drafts?
An attic hatch is an opening in the ceiling, so a loose panel or gaps around its frame can create a path for air movement. University of Maryland Extension lists weatherstripping around the attic hatch as a way to prevent drafts and notes that insulation alone will not stop heat loss when air is leaking into the attic.
Think of the job as two separate layers. The perimeter seal blocks air from passing around the hatch, while insulation slows heat transfer through the hatch panel. Adding insulation without improving the edge seal can leave the draft path open; sealing the edge without insulating the panel leaves the panel as a less-protected part of the ceiling.
A draft near a ceiling opening does not prove that the hatch is the only source of air leakage. The University of Maryland Extension also identifies plumbing stacks, recessed lights, wiring holes, ductwork, and wall tops as common attic leak locations. Start with the hatch because it is accessible, then consider whether other visible openings need attention.
What to inspect before you seal an attic hatch
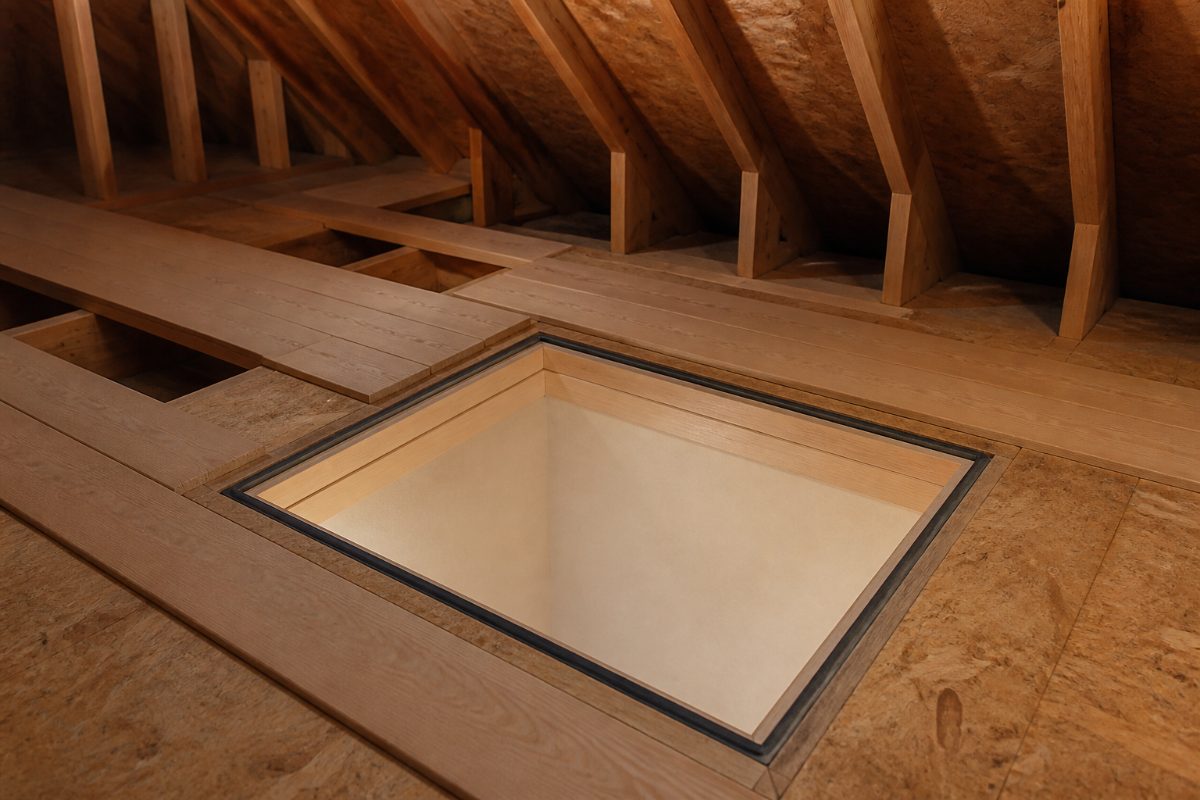
Inspect the hatch before buying materials or adding insulation. Identify how the panel rests on the opening, where it touches the frame, whether the edges are even, and whether the hatch is a simple panel or part of a pull-down stair assembly.
Open the hatch only if you can do so safely. University of Maryland Extension advises wearing a dust mask or respirator, gloves, and long sleeves when entering the attic. If you need to move through the attic, lay boards across the joists to form a walkway; do not step between joists because the ceiling below may not support your weight.
- Check the panel: Look for gaps, damage, or an uneven fit where the panel meets the opening.
- Check the frame: Look at the joint between the casing and the ceiling drywall, as well as the edge where weatherstripping could make contact.
- Check the closure: Determine whether the hatch sits firmly in place or can shift, lift, or leave a visible gap.
- Identify the hatch type: A loose panel and a pull-down stair unit need different insulation approaches, even though both need attention at the edges.
- Look for hazards before adding insulation: Exposed wires and open junction boxes must be corrected first. Knob-and-tube wiring should never be covered with insulation; consult a licensed electrician about it.
Do not disturb insulation that may be vermiculite. University of Maryland Extension advises stopping and having it tested for asbestos by a certified professional if vermiculite is present. If the attic contains an electrical or insulation hazard, resolve that issue before continuing with a hatch insulation project.
Which materials and closure method do you need?
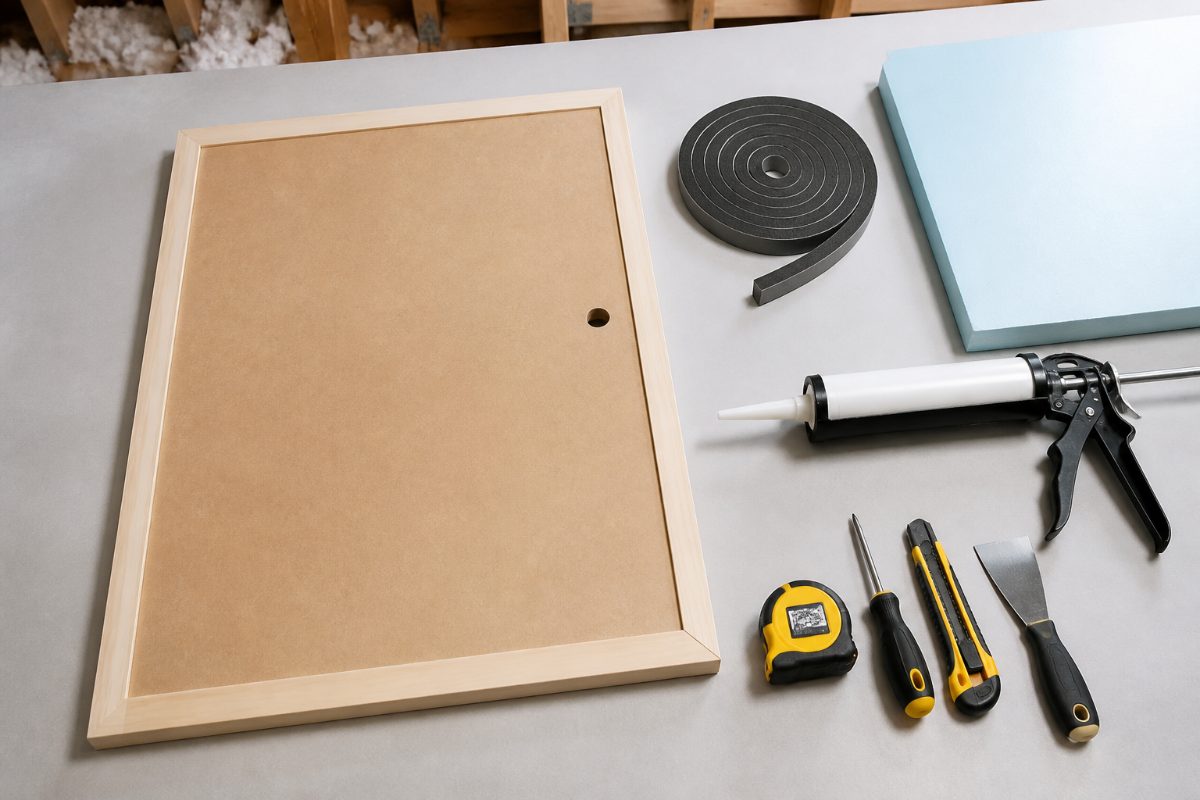
For a basic hatch, the core materials are self-sticking weatherstripping, a suitable insulation piece for the back of the panel, and a way to keep the hatch pressed against the seal. The right setup depends on whether the hatch already rests on a wide molding surface and whether the panel closes tightly.
| Hatch condition | What to address | Guidance |
|---|---|---|
| Panel sits on molding and closes firmly | Seal the panel-to-frame contact edge | ENERGY STAR recommends self-sticking weatherstripping around the hatch. |
| Panel rests directly on narrow molding | Provide a wider surface for the seal and fasteners | ENERGY STAR describes adding 2-1/2-inch-wide stops around the opening. |
| Panel does not stay snug against the seal | Hold the panel against the weatherstripping | ENERGY STAR describes hook-and-eye fasteners; Natural Resources Canada also describes hooks with eyebolts or another latch mechanism. |
| Hatch is a simple panel | Reduce heat transfer through the panel | ENERGY STAR recommends attaching fiberglass or rigid foam board insulation to the back, cut to the hatch size. |
| Opening has pull-down stairs | Seal edges and address the larger assembly | ENERGY STAR recommends weatherstripping the edges and adding rigid foam board insulation to the back of the door; pre-made insulated attic stair covers are also available. |
Choose weatherstripping that fits the actual gap and lets the hatch close without rocking or bowing. The goal is gentle, continuous contact around the perimeter, not a panel forced shut against an oversized or uneven seal. If a latch is needed, position it so the closed hatch compresses the weatherstripping slightly.
How to seal the hatch perimeter step by step
Seal the frame and hatch edge before adding insulation. Natural Resources Canada recommends treating an attic hatch like an exterior door: caulk around the frame and between the casing and ceiling drywall, weatherstrip along the casing or access-panel edges, and use a hook-and-eyebolt or another latch to hold the hatch firmly against the seal.
- Prepare the contact surfaces. Remove loose dust or debris from the areas where the weatherstripping will attach. Check that the panel and frame are stable enough to make continuous contact.
- Seal the fixed frame joints. Apply caulk around the frame and at the joint between the casing and ceiling drywall where a gap is present. This addresses cracks in the fixed parts of the opening; weatherstripping is for the moving panel-to-frame contact.
- Fit weatherstripping around the contact edge. Apply self-sticking weatherstripping to the casing or hatch edge so the closed panel meets it all the way around. ENERGY STAR identifies self-sticking weatherstripping as the finishing step for sealing an attic hatch.
- Check how the hatch closes. Close the panel and look for places where it does not touch the weatherstripping. A visible gap or loose corner means the seal is incomplete, even if the rest of the edge fits.
- Add stops if the mounting surface is too narrow. ENERGY STAR recommends 2-1/2-inch-wide stops around an opening when the hatch rests directly on the moldings. Stops give the weatherstripping a wider surface and provide a place to mount hook-and-eye fasteners.
- Install a closure that holds the panel in contact. Use hooks and eyes or another suitable latch so the hatch remains pressed against the weatherstripping. The seal should be slightly compressed when the fasteners are engaged, not left loose or pushed so hard that the panel cannot close properly.
- Recheck the full perimeter. Close the hatch and inspect each side and corner again. Adjust the weatherstripping or closure if contact is uneven.
Do not use a bead of caulk as a substitute for weatherstripping on a panel that needs to open. Caulk seals stationary joints; weatherstripping forms a flexible seal where the hatch moves. Keeping those functions separate makes the access panel usable while still closing the air path.
How to insulate the hatch panel
Once the perimeter is sealed, insulate the back of a simple hatch panel. ENERGY STAR recommends cutting fiberglass or rigid foam board insulation to the same size as the attic hatch and attaching it to the back with nails or glue. Covering the panel complements the air seal; it does not replace it.
Before attaching anything, make sure the added material will not prevent the hatch from closing or interfere with its fasteners. Check the panel’s fit after the insulation is attached. If the panel no longer sits evenly, correct the fit rather than relying on the latch to bend or force it into place.
Natural Resources Canada also states that the hatch itself should be insulated. For a hatch that is part of a pull-down stair assembly, ENERGY STAR recommends weatherstripping the edges and placing rigid foam board insulation on the back of the door. It also notes that pre-made insulated attic stair covers are available, which can be an alternative when insulating the door itself is not practical.
How to handle pull-down stairs and frequent attic access
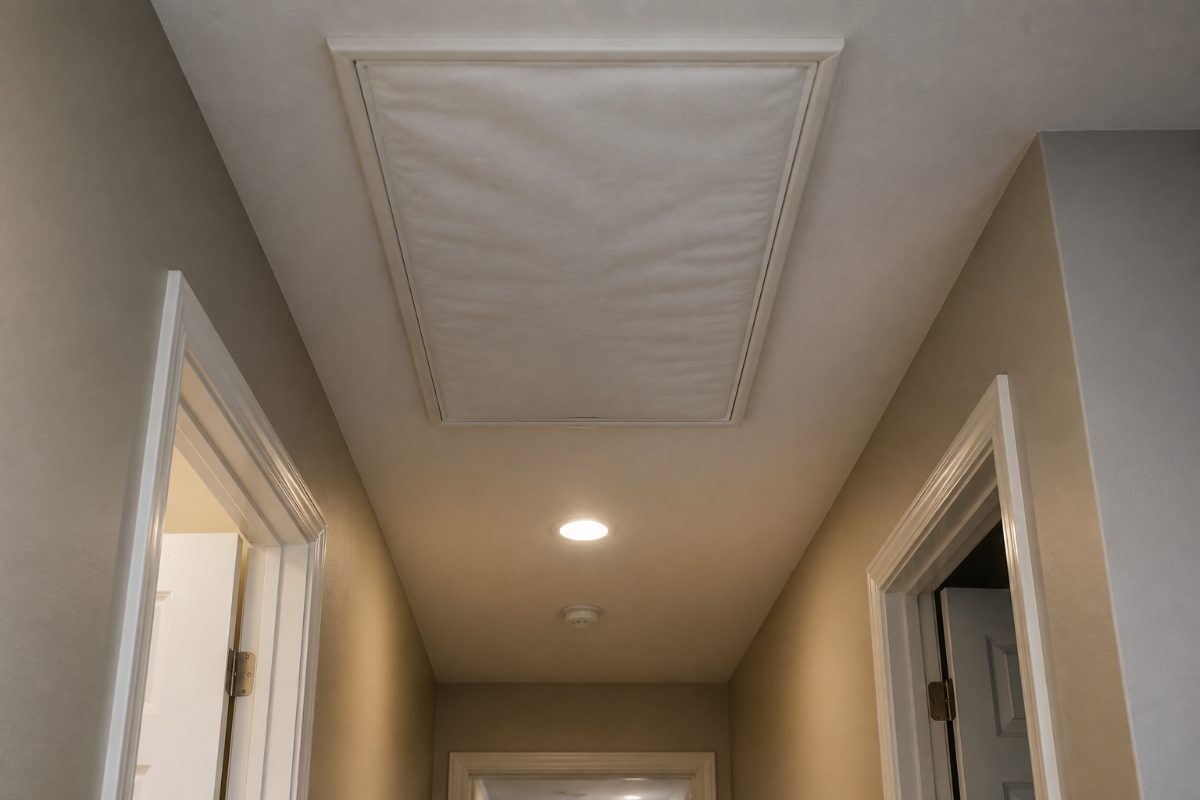
Pull-down stairs create a larger opening than a simple hatch, but the basic approach remains the same: weatherstrip the edges and insulate the back of the door or use an insulated cover. The assembly must still close firmly enough for its edge seal to make contact.
If the attic is accessed often, use a closure that can be operated reliably each time rather than a setup that is difficult to reopen or leaves the door partly latched. If access is rare, a pre-made insulated attic stair cover may be a practical option, as ENERGY STAR notes that these covers are available through home improvement centers and online retailers. Check the product’s fit against the opening and stair assembly before choosing it.
For a hatch that will be opened regularly, the British Columbia Housing guide distinguishes between an attic hatch with regular passage and one with minimal access. Both approaches emphasize a properly engaged edge gasket and a hatch that fits its ledge. The guide also describes latches around the perimeter to ensure the gasket engages. This reinforces a useful inspection point: a gasket only works where the closed panel actually bears against it.
Common mistakes that leave drafts behind
A hatch can look improved while still allowing air through a missed edge or an incomplete frame joint. These checks help identify the errors that most often undermine the seal.
- Adding insulation before sealing air gaps: Insulation slows heat transfer, but University of Maryland Extension explains that it will not stop heat loss if air is leaking into the attic. Seal the perimeter first, then insulate the panel.
- Weatherstripping only part of the opening: A break at a corner or along one side leaves an unsealed path. Check the entire perimeter with the hatch closed.
- Installing weatherstripping without a firm closure: A gasket cannot seal well if the panel sits away from it. Add or adjust a latch so the panel presses evenly against the weatherstripping.
- Using caulk on the moving edge: Caulk is for fixed cracks such as the casing-to-drywall joint. Use weatherstripping where the panel has to open and close.
- Covering wiring or an unknown insulation material: Exposed wiring and open junction boxes need correction before insulation is added, and knob-and-tube wiring must not be covered. Stop if vermiculite insulation is present and arrange testing by a certified professional.
- Walking between attic joists: The ceiling below may not support a person’s weight. Use boards across the joists to create a walkway, as University of Maryland Extension advises.
A related project is checking whether the rest of the attic needs more insulation. The guide to how to tell if your attic needs more insulation can help you assess that separate question; do not assume that adding insulation across the attic will correct a draft around the hatch.
Which approach fits your situation?
Choose the repair based on the hatch design and what you find during inspection. A simple panel with sound framing is often a different job from a pull-down stair unit or a hatch beside wiring and questionable insulation.
| Your situation | Practical next step | Why this fits |
|---|---|---|
| First-time DIYer with a simple, accessible panel | Inspect the frame, seal fixed gaps, apply perimeter weatherstripping, confirm closure, then insulate the panel. | The work follows the separate air-sealing and insulation steps recommended by ENERGY STAR and Natural Resources Canada. |
| Hatch rests loosely on trim | Improve the contact surface and add a latch that holds the panel against the seal. | Stops can provide a wider weatherstripping and fastener surface when the hatch rests directly on molding. |
| Pull-down attic stairs | Weatherstrip the door edges and consider rigid foam on the back or a pre-made insulated cover. | The larger stair assembly needs an edge seal as well as attention to the door or opening. |
| Attic contains exposed wiring, open junction boxes, or knob-and-tube wiring | Do not cover the affected area with insulation; have the electrical issue addressed first. | University of Maryland Extension says exposed wiring and open boxes must be corrected before insulation, and knob-and-tube wiring should never be covered. |
| Vermiculite insulation is present | Stop work and have the material tested for asbestos by a certified professional. | Disturbing insulation before identifying it can create a safety concern. |
Frequently Asked Questions
Should I weatherstrip or insulate an attic hatch first?
Seal air leaks first, then insulate the hatch panel. Weatherstripping closes the moving edge, while insulation slows heat transfer through the panel itself.
Can I use caulk around an attic hatch?
Use caulk on fixed joints, such as gaps around the frame or between the casing and ceiling drywall. Use weatherstripping along the edge where the hatch opens and closes.
How do I keep weatherstripping compressed?
Use a hook-and-eye fastener or another latch to hold the hatch firmly against the weatherstripping. ENERGY STAR says the fasteners should be positioned so the weatherstripping is slightly compressed when latched.
How do I seal attic stairs instead of a hatch?
Weatherstrip the edges of the attic door and insulate its back with rigid foam board, or consider a pre-made insulated attic stair cover. Confirm that the door still closes firmly against its edge seal.
Key takeaways
To stop drafts at an attic hatch, seal fixed frame gaps, weatherstrip the full contact edge, and make sure the panel is held snugly against the seal. Then insulate the hatch or attic door without blocking its closure. Before working in the attic, check for electrical hazards and unknown insulation, and use a supported walkway rather than stepping between joists.
ENERGY STAR, University of Maryland Extension, and Natural Resources Canada provide the installation and safety guidance summarized here. Product availability and the condition of an individual hatch can differ, so check the current product instructions and address any attic hazard before adding insulation.
References
- Home Energy: Insulation | University of Maryland Extension
- Best Practice Guide for Air Sealing and Insulation Retrofits
- Sealing the Attic Hatch or Door | ENERGY STAR
- Keeping The Heat In - Section 4: Comprehensive air leakage control in your home - Natural Resources Canada
Information in this post was checked as of October 2026. Policies and prices may change, so please verify important details with official sources.


Comments
Post a Comment