How to Inspect and Reseal Drafty Windows Before Winter
Quick answer: A drafty window does not automatically need replacement. Before winter, identify exactly where air is entering, use caulk on stationary gaps, use weatherstripping where the sash or another component moves, and consider temporary window film or a storm window when basic sealing is not enough.
- Start by Finding Where the Window Is Actually Leaking
- Caulk or Weatherstripping? Use the Right Material for the Joint
- Inspect the Window in a Logical Order
- How to Reseal Stationary Window Gaps
- What to Do When the Leak Is Behind the Trim
- Use Temporary Window Film When Basic Sealing Is Not Enough
- Consider a Storm Window Before Full Replacement
- When Repair Makes Sense and When Replacement Deserves a Look
- Do Not Confuse Window Condensation With an Air Leak
- How Much Energy Can Window Sealing Save?
- Common Window-Sealing Mistakes to Avoid
- A Practical Pre-Winter Window Checklist
- FAQ
- Key Takeaways
- Sources
The U.S. Department of Energy and ENERGY STAR both identify window air sealing as a practical home-maintenance project. The key is to diagnose the leak before applying anything, because a gap around fixed trim, a worn sash seal, and a damaged window frame require different solutions.
Start by Finding Where the Window Is Actually Leaking
Do not begin by running caulk around every visible joint. First close and latch the window normally, then inspect the perimeter. ENERGY STAR identifies drafts around closed windows, visible gaps around frames or trim, dust or pest entry through gaps, outdoor odors, and peeling paint around the window area as possible signs of air leakage.
Pay attention to where you feel the draft. Air may enter where the movable sash meets the frame, through a stationary joint around the trim, or through a concealed space between the window jamb and the wall framing. These locations can feel similar from inside the room but require different repairs.
Use the paper test on a movable window
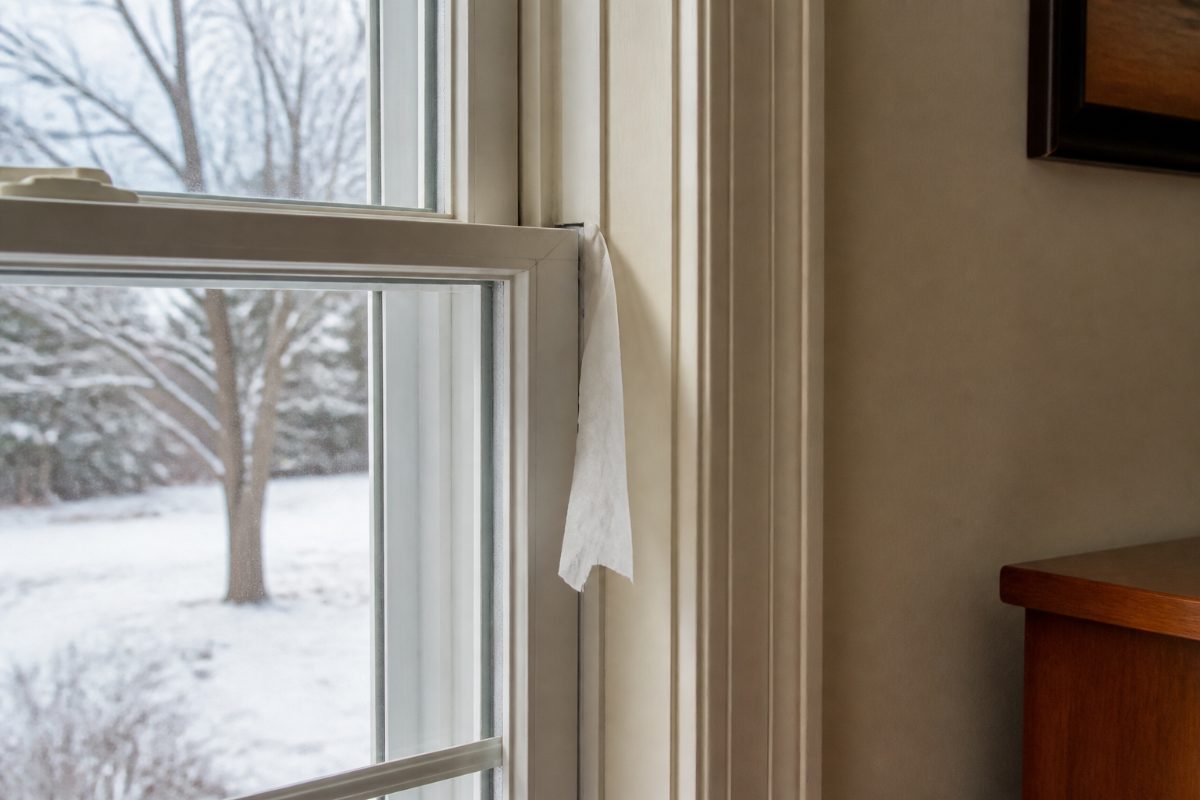
ENERGY STAR recommends a simple paper test. Place a piece of paper between the window components, close the window, and see whether the paper moves easily. If it does, the window may need a tighter seal, and thicker weatherstripping may help.
Repeat the check at several points rather than assuming the entire sash seals equally. DOE notes that the air leakage of operable windows can increase with operation and aging, so movable sealing areas deserve periodic inspection.
Use smoke to reveal subtle air movement
An incense smoke test can help reveal leaks that are difficult to feel by hand. With the window closed, carefully bring incense smoke near seams and sash edges. Smoke that is pushed in one direction can indicate possible air leakage.
ENERGY STAR describes the incense smoke test, and DOE guidance has also described using an incense stick or smoke pen to investigate leakage around windows.
Caulk or Weatherstripping? Use the Right Material for the Joint
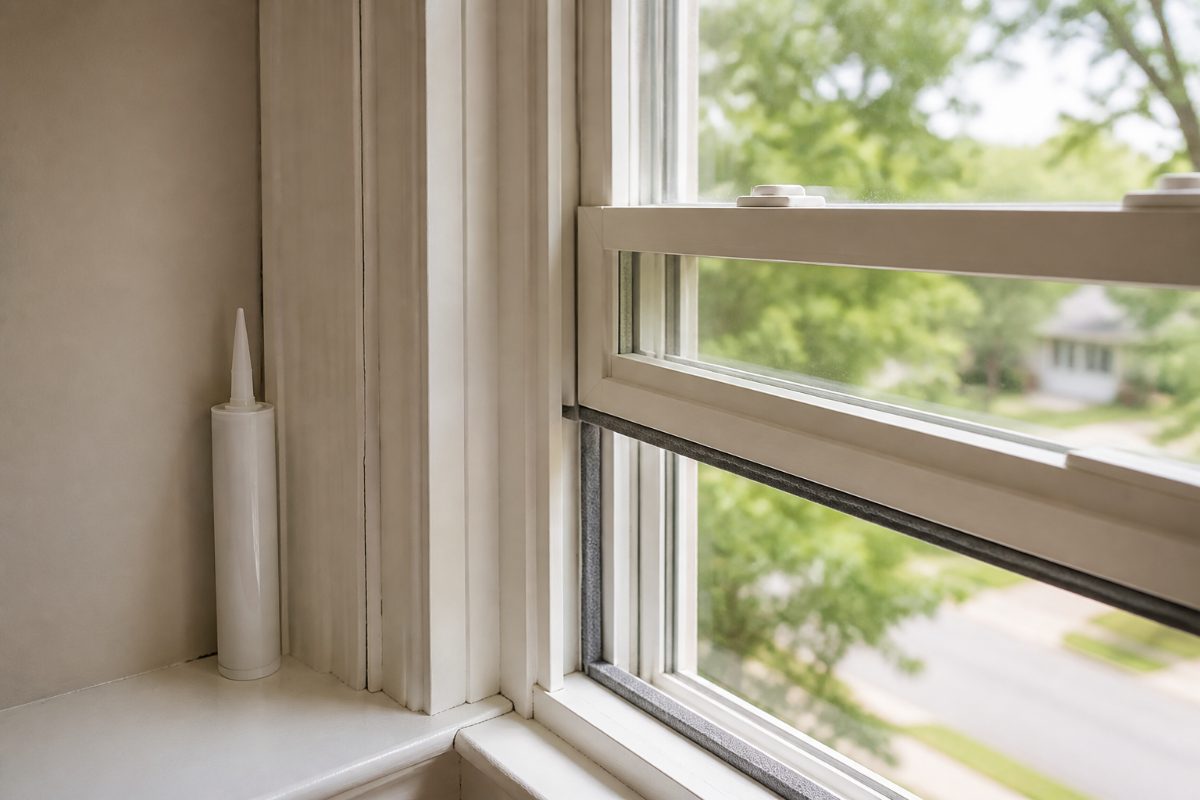
The most useful rule in this project is simple: caulk is for stationary gaps, while weatherstripping is for components that move. DOE makes this distinction in its air-sealing guidance.
A stationary joint might be a crack or gap around fixed portions of the window frame or trim. The sash, on the other hand, must continue to open and close, so its sealing surfaces generally need appropriate weatherstripping rather than a bead of caulk that locks the parts together.
| Problem area | What to consider | Why |
|---|---|---|
| Stationary crack or joint | Caulk | Used to seal gaps between parts that do not need to move |
| Movable sash or operating joint | Weatherstripping | Allows the window to operate while improving the seal |
| Small concealed gap behind trim | Caulk may be appropriate | ENERGY STAR recommends caulk for gaps of 1/4 inch or less in its trim-sealing guidance |
| Larger cavity behind trim | Window/door non-expanding or low/no-expanding foam, or an appropriate backer rod method | ENERGY STAR recommends different sealing methods for larger gaps |
| Window that still drafts after basic sealing | Temporary film, storm window, further diagnosis, or repair | The leak may not be limited to an exposed caulk joint |
| Rotten, badly damaged, or poorly operating window | Evaluate repair or replacement | Air sealing cannot correct serious structural or operating problems |
This distinction also prevents a common DIY mistake: sealing a functional window shut. If you are working on exterior doors at the same time, the guide to inspecting and replacing exterior door weatherstripping applies the same basic principle to another common source of household drafts.
Inspect the Window in a Logical Order
A systematic inspection makes it easier to choose the smallest effective repair. Work from the visible and accessible parts of the window toward areas that require more disruption.
- Close and latch the window. Check whether it closes normally and whether the sash appears to sit evenly against its sealing surfaces.
- Look around the sash. Inspect accessible weatherstripping for obvious deterioration, displacement, or areas that no longer make good contact.
- Inspect stationary joints. Look around fixed frame and trim areas for visible openings or deteriorated sealing.
- Perform the paper test. Use it to identify loose sealing along movable portions of the window.
- Check for air movement. When conditions are suitable, use an incense smoke test carefully around suspected seams.
- Consider concealed leakage. If the visible seals appear sound but a draft remains around the trim, the gap may be between the jamb and wall framing.
- Check the window's physical condition. Rot, significant damage, or operating problems can change the project from simple air sealing to repair or replacement.
Window design can also affect what you notice. DOE explains that single- and double-hung windows and sliding windows generally have more air leakage than compression-style hinged windows such as casement and awning designs. Casement and awning sashes press against the frame as they close, which can create a tighter seal.
That does not mean every sliding or double-hung window needs replacement. It means the movable sealing surfaces deserve careful attention during a pre-winter inspection.
How to Reseal Stationary Window Gaps
Once you have confirmed that the leak is at a stationary joint, caulk can be an appropriate solution. DOE describes caulking as a simple and effective air-sealing measure, but the specific sealant and application requirements depend on the location and product.
Follow the sealant manufacturer's directions for surface preparation, application, curing, and suitable conditions. There is no single application temperature or curing time in the reviewed guidance that applies to every caulk product.
Do not treat every gap as a caulk joint
ENERGY STAR's guidance for sealing behind window and door trim distinguishes between gap sizes. For gaps of 1/4 inch or less, caulk is one recommended approach. For larger spaces, its guidance discusses window- and door-appropriate non-expanding or low/no-expanding foam and backer rod methods.
This matters because a larger cavity should not automatically be treated like a small caulk joint. If foam is appropriate around the window, ENERGY STAR guidance specifies window/door non-expanding or low/no-expanding foam.
Be careful with backer rod and foam
More material is not necessarily better. ENERGY STAR warns that forcing backer rod too tightly can distort the window frame and interfere with operation.
If the project requires disturbing painted trim in a home built before 1978, check current U.S. EPA Lead Renovation, Repair and Painting guidance before proceeding. ENERGY STAR warns that renovation or repair work that disturbs old paint can create hazardous lead dust.
What to Do When the Leak Is Behind the Trim
A window can have intact visible caulk and weatherstripping yet still feel drafty. ENERGY STAR explains that the space between the window jamb and wall framing may have little insulation or sealant, allowing outside air to move behind the interior trim.
This is a different problem from a worn sash seal. Applying more caulk to the moving parts of the window will not necessarily stop air traveling through a concealed framing cavity.
Removing trim, however, makes the project more invasive. ENERGY STAR warns that renovation or repair work that disturbs paint in homes built before 1978 can create hazardous lead dust. Before disturbing older painted trim, review current U.S. EPA Lead Renovation, Repair and Painting guidance and use an appropriately qualified professional when required.
Practical rule: If you cannot confidently identify the construction behind the trim, do not dismantle it simply because the room feels cold. Diagnose the accessible seals first.
Use Temporary Window Film When Basic Sealing Is Not Enough
If a window is basically functional but still feels cold or drafty, temporary shrink-film can be an inexpensive seasonal option. ENERGY STAR includes applying plastic over windows as a DIY air-sealing project.
The basic process is to clean the window frame, install the adhesive and film, and use a hair dryer to shrink the film. ENERGY STAR notes that covering the woodwork around the window can help reduce air leakage around the window rather than addressing only the glass area.
The film creates an additional air space and can reduce drafts and heat loss through the window. It is best viewed as a seasonal improvement rather than proof that the underlying window has been permanently repaired.
Think about access before covering a window
A film installation can interfere with normal operation of the window or nearby blinds. Before covering an operable window, consider whether you need regular ventilation or access through that opening.
Be especially careful where a window may serve as an emergency escape or rescue opening. Applicable requirements depend on the home and local code, so verify the requirements that apply to your property rather than obstructing an opening that must remain usable.
Consider a Storm Window Before Full Replacement
If the existing window is still in reasonable condition, a low-e storm window can be another improvement to consider. ENERGY STAR describes certified low-e storm windows as an option that can improve the performance of an existing window, including installations over single-pane clear-glass windows.
As of September 25, 2026, ENERGY STAR pages present differing estimates for potential storm-window savings. Because actual results also depend on climate, existing window performance, home characteristics, and utility rates, it is better to treat storm windows as a potential performance upgrade rather than assume a fixed percentage or dollar saving for every home.
This approach can make sense when the original window remains serviceable and the goal is to improve comfort and efficiency without immediately replacing the entire unit.
When Repair Makes Sense and When Replacement Deserves a Look
A draft by itself is not enough evidence that a window needs to be replaced. Start with the air-leak location and the physical condition of the window.
| What you find | Reasonable next step |
|---|---|
| Small stationary air leak | Evaluate appropriate caulking |
| Leak at an operable sash | Inspect and correct the weatherstripping |
| Leak apparently coming from behind trim | Evaluate the jamb-to-framing cavity and appropriate air sealing |
| Functional window that remains uncomfortable in winter | Consider temporary film or a suitable storm window |
| Rotten window components | Evaluate repair or replacement |
| Window does not operate correctly | Address the mechanical or structural problem rather than sealing over it |
| Damage is beyond reasonable repair | Consider replacement |
ENERGY STAR guidance specifically notes that when an existing window is rotten, does not operate properly, or is damaged beyond reasonable repair, replacement may make more sense than adding a storm window over it.
Base the decision on the window's condition and the source of the problem. A repairable air leak and a structurally damaged or non-operating window are different situations and should not automatically receive the same solution.
Do Not Confuse Window Condensation With an Air Leak
Water droplets on the inside of a cold window do not automatically mean outside air is leaking through the frame. EPA explains that indoor water vapor can condense on cold surfaces, and window condensation can be a sign of elevated indoor humidity.
EPA recommends keeping indoor relative humidity below 60% when possible and ideally between 30% and 50%. If condensation forms, dry the wet surface promptly and address the source of excess moisture rather than assuming that another bead of caulk will solve it.
Persistent moisture deserves attention because prolonged damp conditions can support mold growth. If you are investigating water-related maintenance elsewhere in the house, knowing how to find and test your main water shutoff can also be useful preparation for plumbing emergencies, although a window condensation problem itself is not normally fixed at the shutoff valve.
How Much Energy Can Window Sealing Save?
Avoid treating a whole-house energy estimate as a promise for one window project. DOE has described potential annual energy savings of about 5% to 30% from reducing drafts as part of broader home air-leak reduction. That range does not mean caulking windows alone will cut every home's heating bill by that amount.
ENERGY STAR also notes that air sealing and insulation in areas such as the attic can have greater overall savings potential than leakage through windows, doors, and walls. Window work is still useful because it is accessible to many homeowners and can directly improve an uncomfortable draft near a living space.
DOE describes caulking and weatherstripping as simple, effective air-sealing measures and notes that this type of work can, in some situations, pay back within a year. Actual results depend on the location and extent of the home's air leakage and other property-specific conditions.
Common Window-Sealing Mistakes to Avoid
- Caulking a movable sash: Use weatherstripping where the window must continue moving.
- Assuming every draft requires replacement: Diagnose the leak before making a large repair decision.
- Filling a large concealed cavity with ordinary caulk: ENERGY STAR provides different approaches for larger gaps behind trim.
- Using the wrong foam around the frame: ENERGY STAR guidance calls for window/door non-expanding or low/no-expanding foam where foam is appropriate.
- Overpacking backer rod: Excessive pressure can distort the frame and interfere with operation.
- Assuming condensation proves there is an air leak: Indoor humidity and cold glass can produce condensation without the same type of leakage problem.
- Using a universal cure time or application temperature: Follow the specific sealant manufacturer's instructions.
- Disturbing old painted trim without considering lead: Take particular care before disturbing paint in homes built before 1978 and check current EPA guidance.
- Blocking a window needed for emergency escape: Consider access and applicable local requirements before installing seasonal coverings or other additions.
- Promising a fixed energy-saving percentage: Savings vary with the house, climate, existing windows, and extent of air leakage.
A Practical Pre-Winter Window Checklist
- Close and latch each operable window.
- Look for visible gaps around the frame and trim.
- Inspect accessible weatherstripping on movable components.
- Use the paper test where appropriate.
- Carefully check suspected seams for air movement.
- Separate stationary gaps from movable joints before choosing materials.
- Use caulk only where the joint is stationary and caulk is appropriate.
- Use suitable weatherstripping where the sash must continue moving.
- Investigate possible behind-trim leakage if accessible seals do not explain the draft.
- Consider temporary film for a functional but uncomfortable window.
- Consider a storm window when the existing window remains serviceable.
- Evaluate repair or replacement if the window is rotten, badly damaged, or does not operate correctly.
- Check indoor humidity when condensation is the main symptom.
- Verify manufacturer directions before applying sealants, foam, weatherstripping, or film.
Windows are only one part of the building envelope. During the same seasonal inspection, exterior doors are another logical place to look for air leakage; inspect exterior door weatherstripping rather than automatically caulking a joint that needs to move.
FAQ
Does a drafty window need to be replaced?
No. First determine whether the leak comes from a stationary gap, worn weatherstripping, the space behind the trim, or another part of the assembly. Caulk, weatherstripping, temporary film, a storm window, or a targeted repair may be sufficient. Replacement becomes more appropriate when the existing window is rotten, does not operate properly, or is damaged beyond reasonable repair.
Should I use caulk or weatherstripping?
Use the DOE rule: caulk is for stationary cracks and joints, while weatherstripping is for movable components such as an operable sash. Do not caulk a joint that needs to move normally.
Can I find a window draft without special equipment?
Yes. ENERGY STAR recommends a paper test and describes an incense smoke test for identifying possible leakage. DOE also explains that infrared cameras can be used when investigating air leakage as part of a more detailed assessment.
Does condensation mean my window seal is leaking air?
Not necessarily. EPA explains that indoor moisture can condense when it contacts a cold surface. Manage excess indoor humidity and dry wet surfaces promptly; do not assume that caulk is the correct response simply because water appears on the glass.
Is plastic shrink film a legitimate winter fix?
Yes. ENERGY STAR includes applying plastic over windows as an inexpensive DIY project for reducing drafts and heat loss. It is a seasonal measure, and you should consider window operation, blinds, ventilation needs, and emergency escape requirements before installation.
Key Takeaways
- Diagnose before sealing. A draft can originate at the sash, a fixed joint, or behind the trim.
- Match the material to the joint. Caulk stationary gaps and use weatherstripping on movable components.
- Do not force caulk into every cavity. Larger behind-trim gaps may require an appropriate window/door foam or backer rod method.
- Use temporary upgrades strategically. Window film and storm windows can improve an otherwise serviceable window.
- Do not assume condensation equals leakage. Indoor humidity can be the cause.
- Replace based on condition, not simply on the presence of a draft. Rot, serious damage, and operating failure are stronger reasons to consider replacement.
For most homeowners, the sensible pre-winter sequence is straightforward: inspect first, identify the leak, make the smallest appropriate repair, and check the window again. That approach can improve comfort without treating every repairable draft as a reason for full window replacement.
Sources
- U.S. Department of Energy – Windows and Doors Air‑Leak Repair
- EPA – Air Leak Repair Guidance
- HomeAdvisor – How to Inspect and Repair Windows
- Consumer Reports – Stop Windows From Drafting
- Natural Resources Canada – Weather‑proofing Windows
References
- Energy-Efficient Home Improvement Credit Insulation and Air-Sealing Essentials | Department of Energy
- Sealing Behind Window & Door Trim Project | ENERGY STAR
- Applying Plastic Over Windows Project | ENERGY STAR
- EnergySavers Guide
- A Brief Guide to Mold, Moisture and Your Home | US EPA
- Mold and Your Home | US EPA
Information in this post was checked as of 2026-09-25. Policies and prices may change, so please verify important details with official sources.


Comments
Post a Comment