How to Shut Off and Drain Outdoor Water Lines Before Winter
Key Takeaways
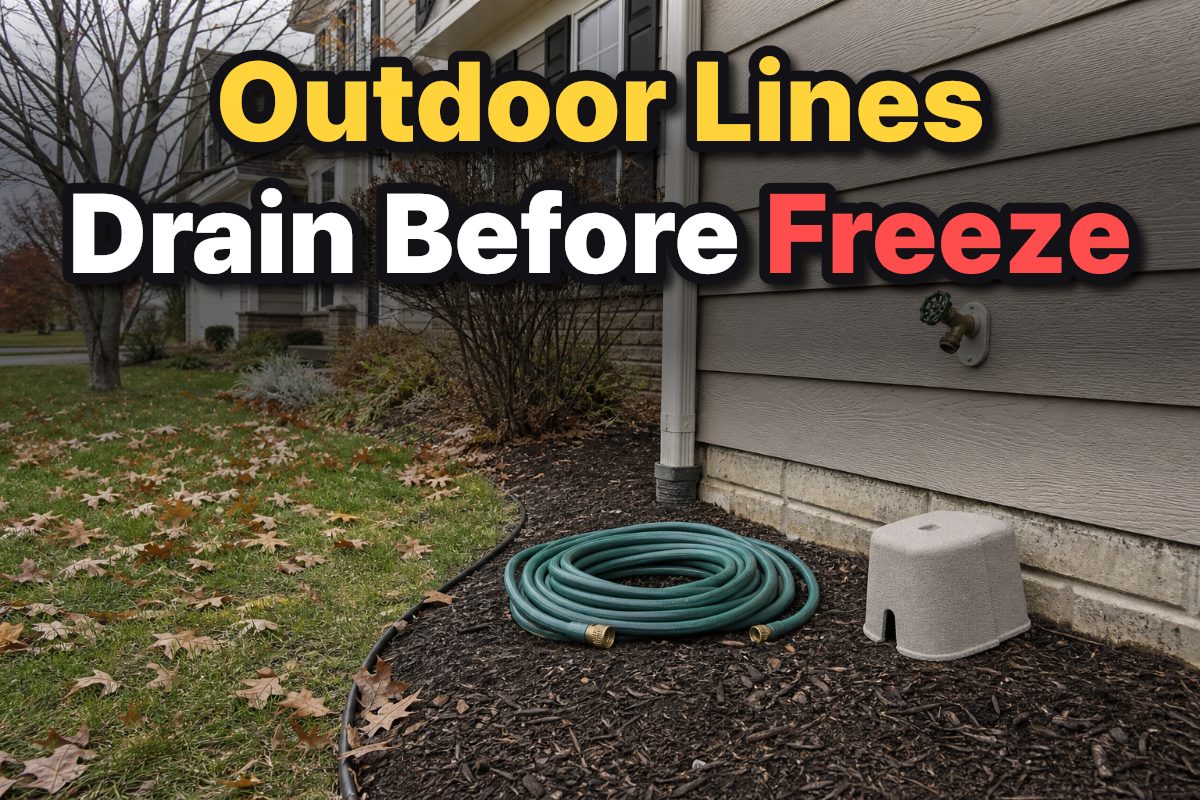
- Disconnect every hose, close the indoor shutoff that feeds each outdoor faucet, then open the outdoor faucet to drain the line.
- If the indoor shutoff has a bleeder cap, open it after shutting off the water so trapped water can escape.
- Keep the outdoor faucet open for winter, and insulate it with a foam cap or other insulating material.
- Sprinkler systems and backflow assemblies need a separate winterizing procedure; gravity drains can leave water in low spots.
Table of Contents
- Why do outdoor water lines need to be drained?
- How to shut off and drain outdoor water lines
- Where to look for the shutoff and bleeder valve
- What to do with hoses, faucet covers, and other outdoor fixtures
- How is a sprinkler system different from an outdoor faucet?
- Choose the right winterizing plan for your setup
- Common winterizing mistakes and how to prevent them
- Before-freeze checklist for outdoor plumbing
- Frequently Asked Questions
- Key points to remember
To shut off and drain outdoor water lines before winter, disconnect the hoses, close the indoor supply valve for each faucet, and open the outdoor faucet until water stops draining. Leave the faucet open, drain any bleeder on the shutoff valve, and insulate the faucet. Irrigation lines and backflow devices are separate systems and need their own winterizing steps.
Why do outdoor water lines need to be drained?
Water left in an exposed outdoor line can freeze and expand, putting pressure on pipes, valves, and faucet components. Weatherables describes this expansion as a risk to pipes, valves, and sprinkler heads; the same basic concern makes a trapped hose or water-filled faucet connection worth addressing before freezing weather.
A shutoff alone does not always remove water from the pipe between the valve and the outdoor faucet. Draining gives that water somewhere to go, while disconnecting the hose removes a common place for water to remain trapped. The Regional Water Providers Consortium also recommends insulating outdoor faucets after the hose is detached.
First identify what you are winterizing. A single outdoor faucet supplied by an indoor valve is not the same setup as an in-ground irrigation system with a backflow assembly. The faucet procedure below is a practical sequence for a typical individually shut-off spigot; use the sprinkler section for irrigation equipment.
How to shut off and drain outdoor water lines
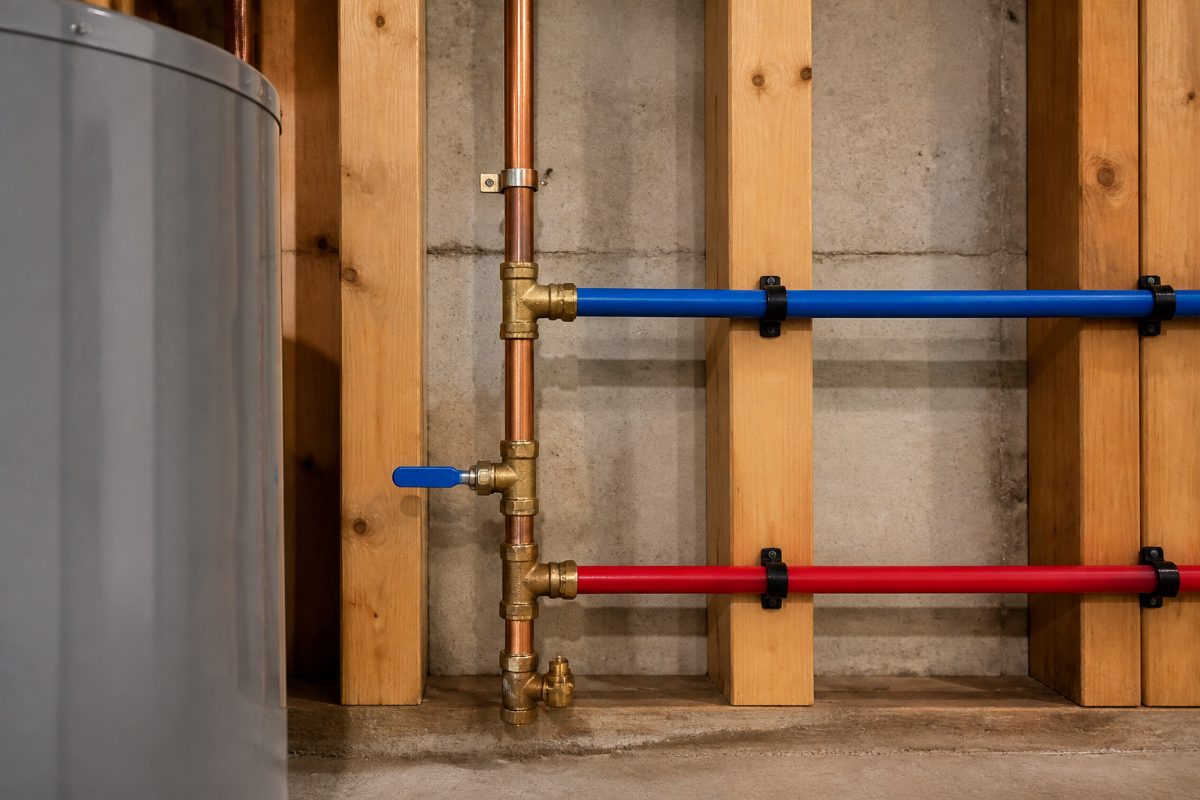
For an outdoor faucet with its own indoor shutoff, turn off that supply and open the outdoor spigot to drain the pipe. The Regional Water Providers Consortium says these shutoff valves are usually in a basement or crawl space; Weatherables also lists a basement or crawlspace as a common location.
- Find the valve for the faucet. Look for the indoor shutoff that feeds the specific outdoor faucet. If the house has more than one outdoor faucet, locate the valve for each one rather than assuming a single valve controls them all.
- Disconnect the hose. Remove the hose from the faucet before closing the indoor valve. A connected hose can trap water at the spigot, including on a frost-free model, according to Weatherables.
- Close the indoor shutoff. Turn the valve off. The Regional Water Providers Consortium describes turning its outdoor-faucet shutoff to the right; follow the valve’s own operating direction, and do not force a valve that resists movement.
- Open the outdoor faucet. Let water drain from the pipe through the spigot. Keep the faucet open rather than closing it again after the initial drain.
- Open the bleeder if there is one. Some indoor shutoff valves have a small cap on the side. Weatherables recommends opening this bleeder cap to release the last water from the line.
- Insulate the faucet. Fit a foam faucet cap or use another insulating material after draining. The Regional Water Providers Consortium specifically recommends insulating exterior faucets.
Opening the outdoor faucet is what lets water in the downstream pipe drain out; the bleeder provides another outlet at the shutoff. If there is no indoor shutoff for a faucet, do not assume that opening the spigot has isolated the line. Identify how that faucet is supplied before relying on this sequence.
Where to look for the shutoff and bleeder valve
Start in the basement or crawl space, where the Regional Water Providers Consortium says an outdoor-faucet shutoff is usually located. Weatherables also identifies those spaces as common locations. If the house has neither, trace the plumbing from the area where the outdoor faucet enters the building and look for a valve on that branch.
The shutoff and the bleeder are not necessarily separate large valves. The shutoff controls water entering the outdoor line; a small cap on its side, when present, is the bleeder that lets remaining water out. Do not mistake the main household shutoff for the outdoor-faucet valve: closing the wrong valve can interrupt water to the entire home.
Use this quick identification guide before turning anything:
| What you find | What it usually indicates | Next action |
|---|---|---|
| A valve on a pipe branch leading toward an outdoor faucet | It may be the dedicated outdoor-faucet shutoff | Confirm which faucet it serves, then close it and drain that faucet. |
| A small cap on the side of the shutoff | It may be a bleeder for the outdoor line | After shutting off the water, open it to release remaining water. |
| A valve in an underground irrigation valve box | It may belong to the sprinkler supply, not a house faucet | Use the irrigation winterizing procedure rather than treating it as a faucet shutoff. |
Some irrigation stop-and-waste valves are underground and can be difficult to reach. Colorado State University Extension notes that one may be as much as 5 feet down and require a long key. Its guidance says not to force the valve; if you cannot identify or operate it confidently, pause rather than applying extra leverage.
What to do with hoses, faucet covers, and other outdoor fixtures
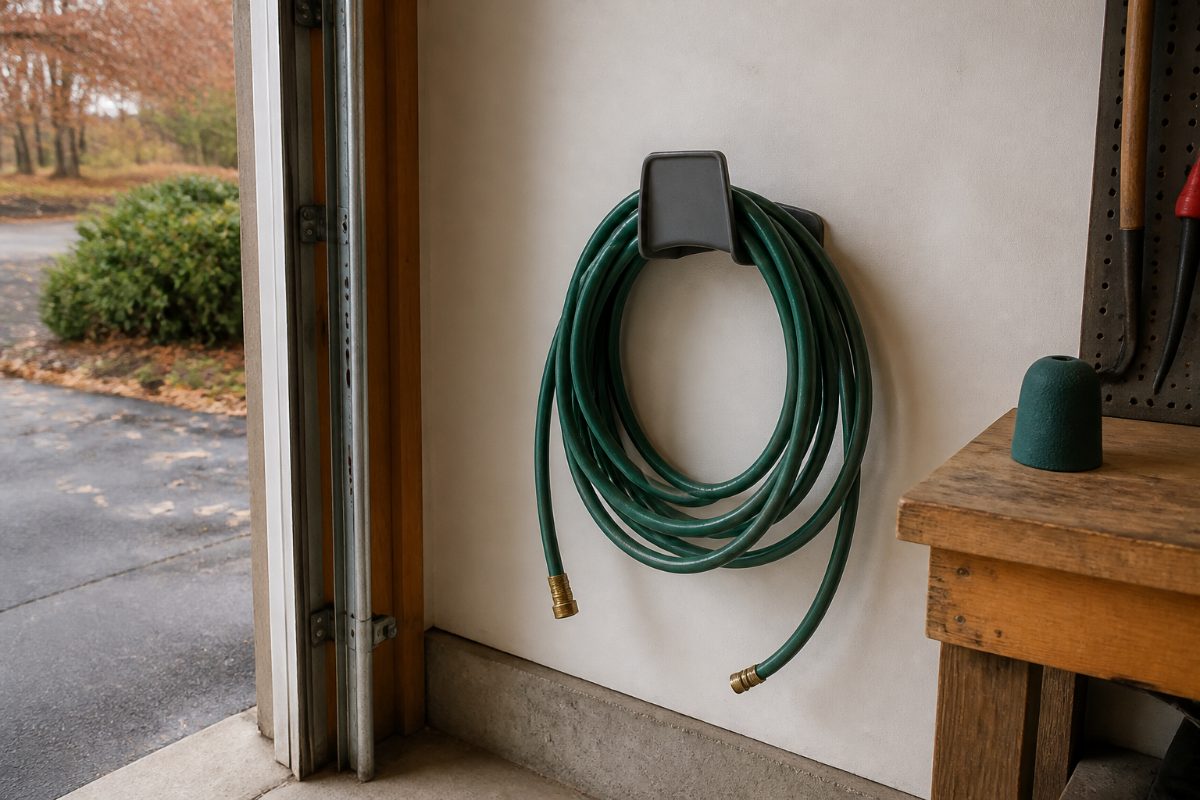
Drain and store the hose after disconnecting it. Oregon State University Extension Service says a hose can be drained by placing it over a high point so gravity carries the water out. That removes water that could freeze inside the hose.
OSU Extension Service says a drained hose can be stored outside, but temperature swings age the hose material faster, even when the hose is completely drained. If you have garage or shed space, storing it there avoids leaving it exposed to those temperature swings. Coil it only after water has run out rather than leaving a low section holding water.
Cover the faucet after the line is drained. The Regional Water Providers Consortium recommends a foam cap or another insulating material, and says foam caps are available at hardware and home-improvement stores. Insulation helps protect the faucet from exposure, but it does not replace shutting off and draining a line that has a dedicated indoor valve.
Also empty outdoor items that hold water, not just the faucet itself. Weatherables includes rain barrels, fountains, birdbaths, and outdoor-kitchen lines in its yard winterizing checklist. These fixtures can have their own drains or supply connections, so identify where water remains before temperatures drop.
How is a sprinkler system different from an outdoor faucet?
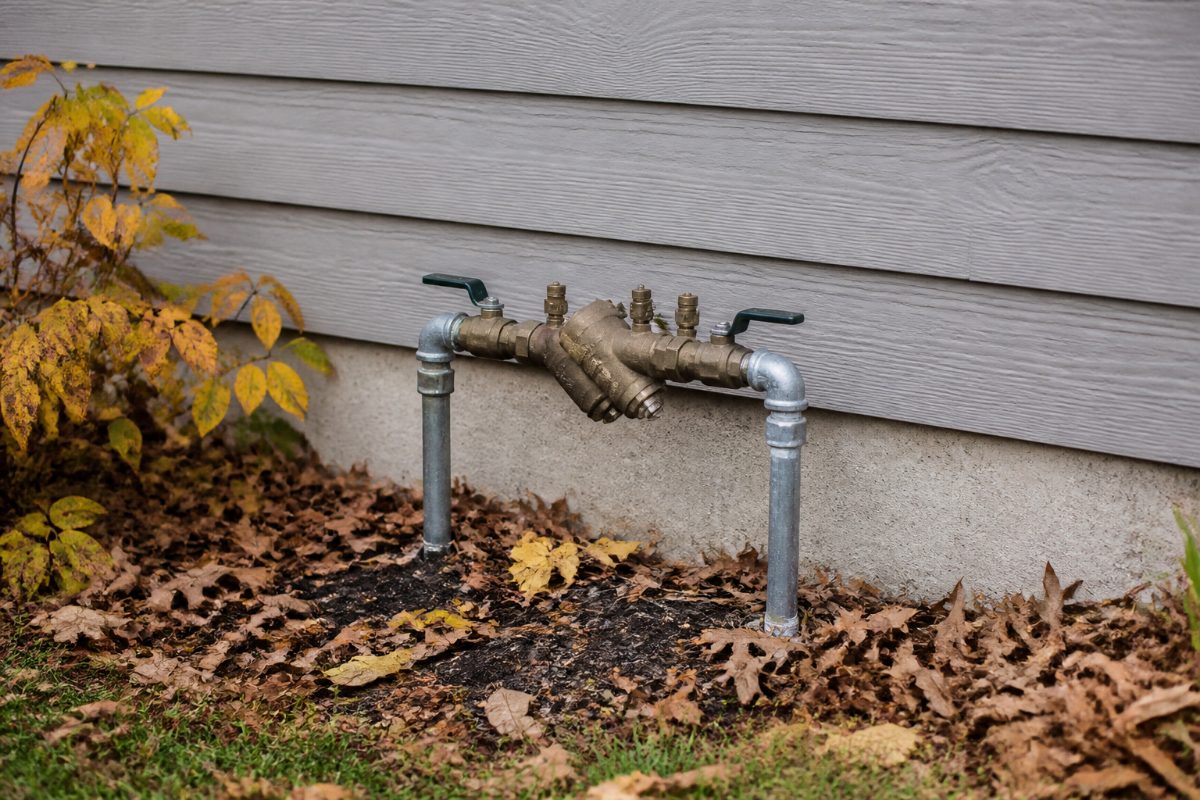
A sprinkler system has zones, buried or exposed piping, valves, and often a backflow assembly; opening one spigot does not drain the whole system. Colorado State University Extension recommends compressed-air blowout for irrigation lines because manual and automatic drain valves rely on gravity and can leave water in low spots.
Do not treat a sprinkler blowout as a casual extension of the faucet steps. Weatherables advises wearing eye protection and standing clear of sprinkler heads during a blowout. It also recommends hiring an irrigation professional if you do not have a large enough compressor or cannot find the shutoff. The pressure and procedure need to suit the installed system, so do not improvise with equipment you cannot operate safely.
Backflow assemblies have a more specific sequence. Colorado State University Extension says to slowly close the main shutoff upstream of the device, open test cocks #2 and #3 for the first check zone, and drain the system upstream through its stop-and-waste or other drain. The extension’s instructions also describe draining the downstream check zone and leaving isolation ball valves approximately 45 degrees while the assembly drains, then in that position for winter.
Those details apply to the described backflow assembly, not every outdoor faucet or irrigation layout. The extension also says to exercise ball valves and test cocks back and forth several times, and not to force a stop-and-waste valve. If your assembly’s configuration does not match those steps, use the instructions for that device or have the irrigation system winterized by someone equipped to do it.
Choose the right winterizing plan for your setup
The right sequence depends on what the outdoor plumbing serves. A house with one spigot and an indoor shutoff has a short, direct procedure; an automatic sprinkler system needs its own drain or blowout plan, and a backflow assembly can require component-specific steps.
| Your setup | Use this approach | Common mistake to avoid |
|---|---|---|
| One outdoor faucet with a dedicated indoor shutoff | Disconnect the hose, close the shutoff, open the faucet, drain the bleeder if present, and insulate the faucet. | Closing the indoor valve but leaving the outdoor faucet shut, which does not provide the same drain path. |
| Several outdoor faucets | Match each faucet to its shutoff and repeat the drain sequence for each branch. | Assuming one valve controls every spigot. |
| Frost-free faucet with a hose still attached | Remove the hose, then follow the faucet’s winterizing steps. | Assuming the faucet design makes a connected hose harmless; Weatherables warns that a hose can trap water even on frost-free models. |
| Automatic irrigation system | Shut off and drain the system; use an appropriate blowout procedure if needed. | Assuming gravity drains empty every low point. |
| Backflow assembly | Follow the assembly’s drain sequence, including the relevant test cocks and valves. | Applying a generic faucet procedure to a device with multiple check zones. |
For a first-time homeowner, label the faucet and its matching indoor valve once you have identified the correct pair. That simple record makes the next seasonal shutdown less of a plumbing search. If you already winterize the faucets but have had trouble with a sprinkler system, separate the irrigation shutoff and backflow device from your faucet checklist instead of repeating the same steps on every outdoor component.
Common winterizing mistakes and how to prevent them
Leaving the hose attached: A connected hose can hold water at the spigot. Weatherables specifically warns about this even with frost-free faucets, so disconnect it before draining the faucet.
Closing the indoor valve but not opening the spigot: Shutting off supply stops new water from entering, but the line still needs an outlet to drain. Open the outdoor faucet and, if fitted, the shutoff’s bleeder cap.
Closing the faucet after draining: Weatherables’ sequence is to leave the outdoor faucet open for winter. This keeps the drained line from being sealed at the spigot.
Assuming gravity empties sprinkler piping: Colorado State University Extension explains that low spots can retain water when a system relies on gravity drains. For irrigation, use the appropriate winterizing method rather than assuming that water has left every section.
Forcing a buried valve: A stop-and-waste valve may be underground and may require a long key. Colorado State University Extension says not to force it. Stop if it will not turn with controlled effort; forcing it can turn a routine task into a repair.
Before-freeze checklist for outdoor plumbing
Work through this list before the first hard freeze in your area. Weatherables recommends draining a sprinkler system before the first hard freeze; for faucets, completing the work before freezing weather leaves time to identify a valve or drain issue without rushing.
- Disconnect every garden hose from an outdoor faucet.
- Drain the hose by raising one end so gravity carries water out, then store it in a garage or shed if available.
- Locate the dedicated indoor shutoff for each outdoor faucet.
- Close the shutoff, open the outdoor faucet, and drain its line.
- Open the shutoff’s bleeder cap if one is present.
- Leave the outdoor faucet open and fit an insulating cover.
- Drain rain barrels, fountains, birdbaths, and outdoor-kitchen water lines.
- Handle irrigation lines and backflow assemblies as separate systems, using their appropriate winterizing procedure.
A final walk-through helps catch the easy-to-miss connections: look at every side of the house, check detached-garage or outbuilding faucets if present, and match each one to its own supply valve. The goal is not to close every visible valve, but to shut off the correct supply and give the water in each outdoor line a way to drain.
Frequently Asked Questions
Should I leave the outdoor faucet open all winter?
Yes, after shutting off the indoor supply and draining the line, leave the outdoor faucet open. Weatherables’ outdoor-line procedure specifically says to leave it open for winter, so the faucet is not closed over the drained pipe.
Do I still need to disconnect a hose from a frost-free faucet?
Yes. Weatherables says a connected hose can trap water in the spigot even on frost-free models. Disconnect the hose before draining the faucet.
Can I leave a garden hose outside after draining it?
Oregon State University Extension Service says a hose can be stored outside if all water is drained; raising one end over a high point lets gravity empty it. OSU also says temperature swings can age hose material faster, so storing it indoors can reduce that exposure.
Is opening a sprinkler drain valve enough to winterize the system?
Not necessarily. Colorado State University Extension says gravity-based manual and automatic drains can leave water in low spots and recommends compressed-air blowout for irrigation lines. Use an appropriate system-specific procedure, and do not attempt a blowout without suitable equipment and eye protection.
What if I cannot find the outdoor-faucet shutoff?
Look in the basement or crawl space and trace the plumbing branch that leads to the faucet. The Regional Water Providers Consortium identifies a basement or crawl space as the usual location; do not turn the main household valve or force an uncertain buried valve as a substitute.
Key points to remember
Outdoor-faucet winterizing is a sequence: remove the hose, close the correct indoor shutoff, open the outdoor faucet, drain any bleeder, and insulate the faucet. Keep that task separate from sprinkler and backflow winterization, where gravity may leave water behind and the equipment can require a more specific procedure.
References
- Home Sprinkler Systems: Preparing Your Sprinkler System for Winter | Colorado State University Extension
- Winterizing Your Yard | Weatherables
- Winterization | Regional Water Providers Consortium
- Can I leave my garden hoses outside this winter? | OSU Extension Service
Information in this post was checked as of October 2026. Policies and prices may change, so please verify important details with official sources.


Comments
Post a Comment