How to Reduce Condensation on a Garage Door in Winter
Key Takeaways
- Condensation forms when moist garage air meets a colder garage door or window surface.
- Look at where and when the water appears to separate a door-seal problem from excess indoor moisture.
- Dry wet vehicles, repair worn seals, and manage moisture before relying on a heater.
- If you add ventilation, plan both the exhaust route and where replacement air will enter.
Table of Contents
- Why does a garage door sweat in winter?
- How can you diagnose the source before making repairs?
- Which garage door seals should you inspect first?
- How do insulation and air sealing help with condensation?
- How should you control garage moisture and ventilation?
- Should you heat a garage to stop door condensation?
- What winter door maintenance prevents moisture-related trouble?
- What should you do first in your situation?
- Frequently Asked Questions
- Your next step: make a moisture map
To reduce condensation on a garage door in winter, lower the moisture inside the garage and keep the door’s interior surface from becoming the coldest place in the room. Start by tracking where the water appears, then address wet vehicles, air leaks, and insulation or heating needs in that order.
Why does a garage door sweat in winter?
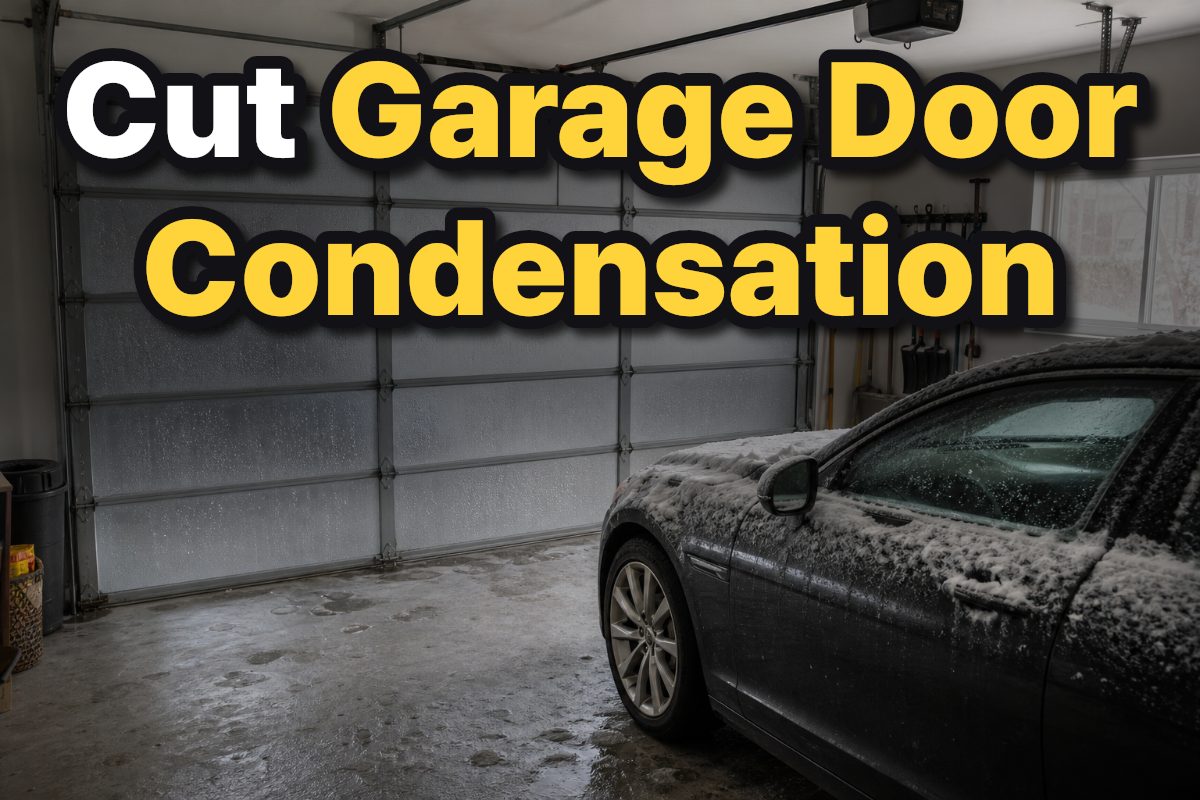
Condensation forms when humid air touches a surface cold enough for the air’s moisture to turn into liquid water. A metal garage door can become much colder than the air inside the garage, so it may collect droplets even when the door itself is not leaking.
Think of the garage as a small moisture system. Snow or rain on a vehicle, damp items stored inside, and air moving in through gaps can all add moisture; the cold door then becomes a visible place for that moisture to collect. Garage Living’s moisture guidance specifically recommends drying wet vehicles and identifies propane heaters as a possible moisture source because they emit water vapor.
| What you notice | What it can point to | First action |
|---|---|---|
| Droplets spread across the inside face of the door | Moist garage air meeting a cold door surface | Reduce indoor moisture and compare the door’s temperature with the rest of the garage. |
| Water is concentrated near the bottom edge or threshold | Snow, rain, or damp air entering at the lower seal | Inspect the bottom seal and the floor contact along the full width. |
| Moisture appears around the frame or corners | A gap, worn seal, or poor door alignment may be admitting cold air or moisture. | Inspect the side and top seals and note any uneven contact. |
| Water appears after parking a wet car | Water carried into the garage may be evaporating into the air. | Remove slush and standing water, and allow wet items to dry without trapping moisture. |
This pattern check is a starting point, not proof of a single cause. If condensation appears on both the door and nearby windows, focus first on the overall moisture level; if it is limited to a leaky-looking edge, inspect that seal before changing the whole garage environment.
How can you diagnose the source before making repairs?
Use a simple location-and-timing check over several cold days: record where moisture shows up, what was brought into the garage, and whether the door was recently opened. That short record helps distinguish a surface-temperature issue from water entering at a specific gap.
- Map the moisture. Note whether droplets are on the door panels, at the bottom seal, near the side jambs, around windows, or on other cold surfaces. Take a photo from the same position when the pattern changes.
- Look for a weather connection. After wind-driven rain or snow, inspect the threshold and frame. Water in one narrow area is a different clue from an even film across the door.
- Track moisture brought in. Note wet tires, slush on floor mats, damp boots, or items left to dry. Garage Living recommends drying a wet vehicle during snowy and rainy seasons to reduce the moisture it releases inside.
- Check air-leak points. Pillidge Garage Doors identifies common leak locations as the bottom, sides, top, and corners where the door meets its frame. Look for cracked seals, visible gaps, or uneven contact.
- Compare nearby surfaces. If a window or another cold surface also has condensation, the garage may have a broader humidity issue. If only one door edge is wet, begin with that edge’s seal and fit.
Do not assume every wet spot is a failed door seal. Seals limit drafts and moisture intrusion, but they do not remove water already inside the garage. This distinction matters: replacing intact seals will not solve moisture from a snow-covered car or a damp storage area.
Which garage door seals should you inspect first?
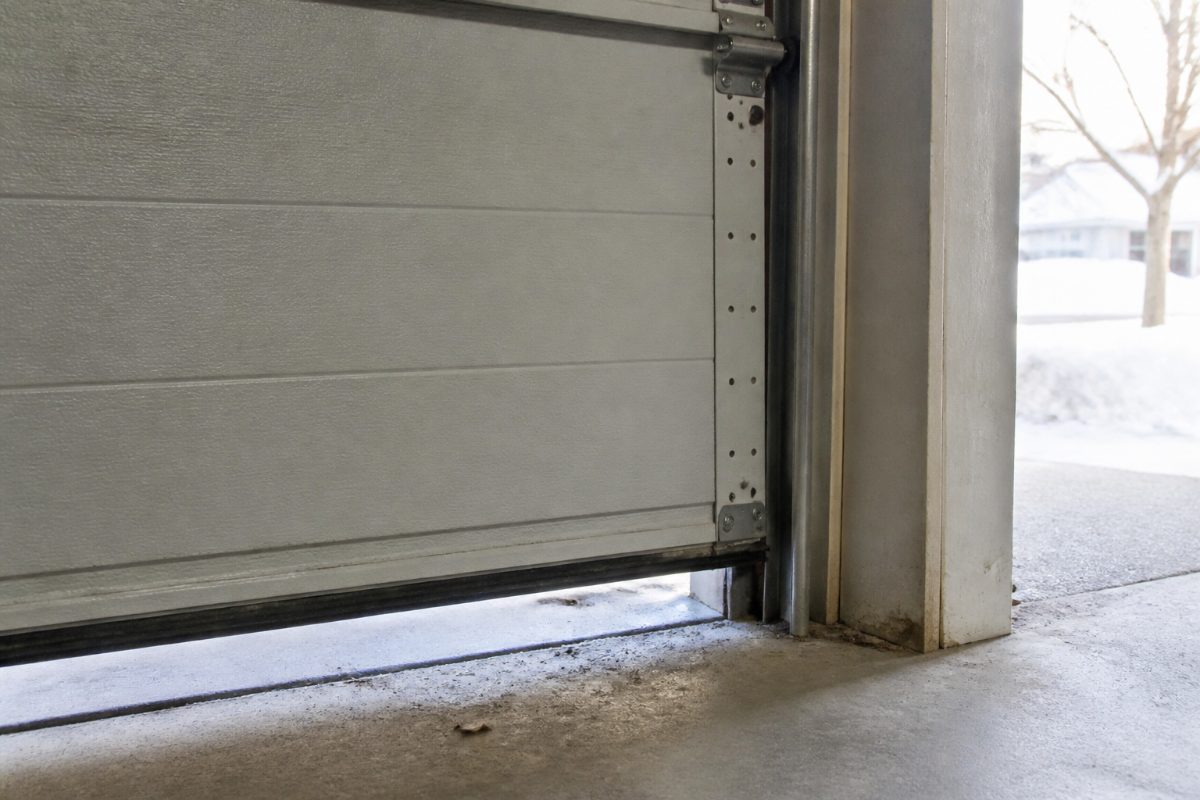
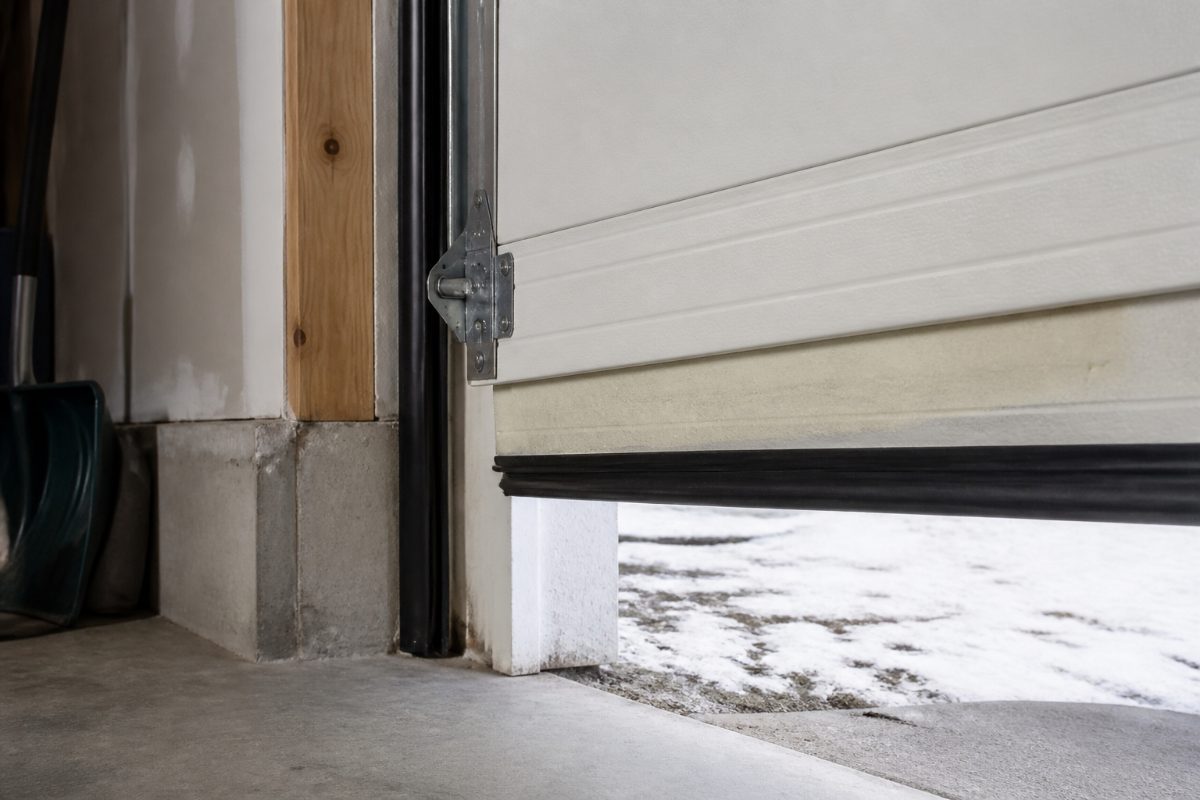
Inspect the bottom seal first when moisture or drafts collect at the threshold, then check the side, top, and corner contacts. A seal is meant to close the gap between the moving door and the frame; a cracked or brittle section can let drafts, blowing snow, and moisture enter.
The Minnesota Daily’s winterizing guide recommends replacing brittle or cracked bottom seals to reduce drafts, blowing snow, moisture intrusion, and ice buildup at the threshold. Pillidge Garage Doors also describes the bottom, side, top, and corner areas as common leak points. Together, those details make a full perimeter inspection more useful than looking only at the center of the door.
- Bottom: With the door closed, look for visible daylight, a torn section, or a portion that does not meet the floor. A gap at the threshold can bring in cold air or windblown moisture.
- Sides: Look for missing, flattened, or cracked weather stripping along both vertical edges. Check whether the door sits consistently against the seal.
- Top: Inspect the upper edge for a gap or a seal that has pulled away from the frame.
- Corners: Pay attention to the points where the bottom and side seals meet. A small discontinuity there can leave a concentrated entry point.
Choose the repair based on what you find. If a seal is damaged, replace the affected seal with one suited to the door and frame; if the seal is sound but the door does not meet it evenly, the problem may involve fit or alignment rather than the strip itself. Avoid adding insulation over a gap and treating that as a seal repair: insulation slows heat transfer, while weather stripping closes air pathways.
How do insulation and air sealing help with condensation?
Insulation slows heat transfer through the door, while weather seals reduce air movement through gaps; they solve related but different problems. If the door is cold across a broad area, insulation may help keep its inside surface warmer, but it cannot make up for missing or damaged perimeter seals.
Pillidge Garage Doors explains insulation as a barrier that slows heat flow and notes that condensation risk depends on the setup and ventilation. Its guidance distinguishes heat and temperature concerns from dust and drafts: when drafts are the main symptom, seal gaps first; when the door surface itself is the concern, consider insulation as part of the solution.
| Observed problem | Prioritize | Why |
|---|---|---|
| Drafts, dust, or moisture at an edge | Seal repair | Closing the air path addresses the entry point directly. |
| Condensation broadly across a cold door face | Moisture reduction and door insulation | Less indoor moisture and slower heat loss can reduce the conditions that produce surface water. |
| Both a cold door face and visible perimeter gaps | Repair seals, then evaluate insulation | Insulating a door while leaving obvious air leaks untreated leaves one cause unresolved. |
If the garage shares a wall with the house, do not treat the garage door as the only possible route for heat loss. A Government of Canada energy-efficiency recommendation cited in an Ontario garage-insulation guide advises insulating the common wall between a home and garage. The excerpted guidance does not specify a particular insulation level, so use applicable local requirements and product directions rather than guessing at a target.
Insulation work also needs to preserve the door’s movement. This article focuses on condensation, but the door must still operate without added material interfering with its tracks or hardware. If the existing door is visibly warped, damaged, or difficult to operate, pause before adding material and have the cause assessed.
How should you control garage moisture and ventilation?
Remove water at its source before trying to dry the entire garage. Dry a wet vehicle where practical, move damp items to a place where they can dry safely, and clear standing water or slush from the floor so it does not keep adding moisture to the air.
Garage Living recommends drying wet vehicles during snowy and rainy seasons. That is a practical first step because melting snow and rainwater left in the garage can evaporate into the indoor air. If the floor stays wet after a storm, identify whether the source is tracked-in water or water entering through the door rather than trying to solve both with a dehumidifier.
Ventilation can help remove moist air, but an exhaust fan should have a deliberate path to the outdoors and a way for replacement air to enter the garage. Do not exhaust into an attic, wall cavity, or another enclosed space, where moisture is simply moved rather than removed. An exhaust fan with no planned air inlet may also draw replacement air through unintended gaps, so decide where air should enter before installing a fan.
Do not confuse ventilation with leaving the garage door open during cold weather. Opening it can exchange indoor air, but it also brings in outdoor air and changes the garage temperature. Use ventilation when moisture needs to leave, and close the door afterward; for a persistent issue, note whether moisture actually decreases rather than assuming a fan or open door solved it.
Garage Living also discusses wall vapor barriers as a way to reduce moisture, while cautioning against using a vapor barrier on the garage ceiling because it can trap water vapor inside. Vapor-control layers depend on the wall assembly and climate, so avoid covering surfaces with plastic as a quick fix. If you are considering a wall or ceiling retrofit, establish how the existing assembly handles moisture before sealing it up.
Should you heat a garage to stop door condensation?
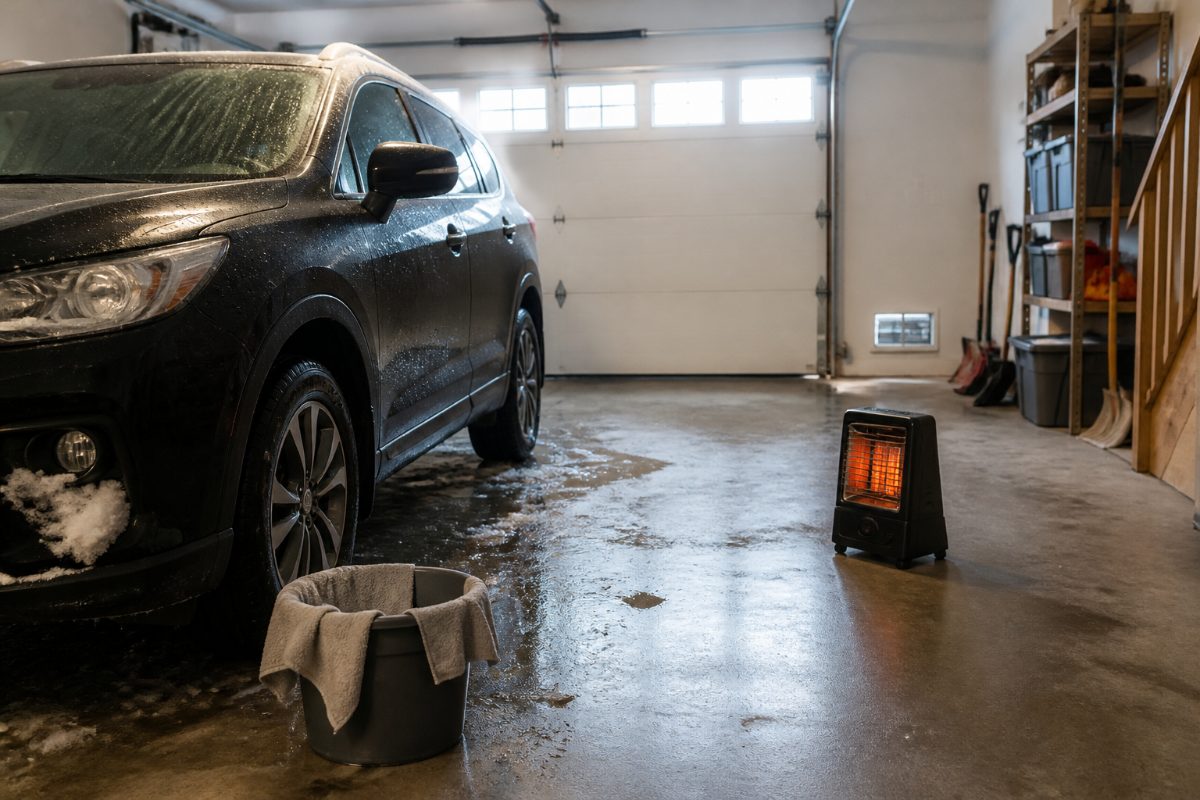
Heating can reduce condensation when it raises the temperature of the garage and its cold surfaces, but heat alone is not a moisture-control plan. Advanced Door’s condensation guide suggests using a small electric or propane heater strategically; Garage Living, however, warns that propane heaters emit water vapor.
That difference matters when the specific goal is reducing moisture. An electric heater does not create combustion water vapor inside the garage, so it is the more straightforward option between the two for this purpose, provided the unit is suitable for the space and used according to its instructions. Do not use a heater as a substitute for removing wet snow, repairing a leak, or controlling damp materials.
Central Oregon Garage Door’s winter guidance describes maintaining a dry, slightly warmer garage as helpful and notes that a heater can raise the temperature. It also advises providing ventilation when snow is melting in the garage. The practical sequence is to remove excess water, allow moisture to escape, and then consider controlled heating if the door remains markedly colder than the surrounding air.
- For an unheated garage with no obvious leak: Start with wet-vehicle and moisture management. Consider controlled electric heat only if the cold surface remains the main issue.
- For a garage with a damaged seal: Repair the seal before paying to heat air that can escape through the gap.
- For a garage used as a workshop: Avoid adding heat while wet materials or vehicle slush remain inside without a plan to remove the resulting moisture.
- For a propane heater already in use: Account for the water vapor it can add. If condensation worsens while it runs, stop treating extra heat as the only remedy and address moisture and ventilation.
What winter door maintenance prevents moisture-related trouble?
Keep seals intact, hardware clean, and safety sensors clear so cold-weather upkeep does not create a new operating problem. The Minnesota Daily’s winter maintenance guide recommends checking photo-eye sensor lenses, alignment, and wiring because snow, slush, ice, and cold-weather movement can interfere with them.
After clearing snow or water around the threshold, make sure the door’s photo-eye sensors remain unobstructed and aligned. Do not cover a sensor or route a new seal in a way that blocks its beam. If a wire looks damaged or brittle, do not pull or splice it as a casual DIY repair.
Use only a garage-door-approved lubricant rated for low temperatures, and apply it to the components the manufacturer recommends. The Minnesota Daily identifies hinges, roller bearings, and springs as parts to lubricate where the manufacturer advises; it also says to keep tracks clean and dry rather than coating them with grease, which can collect dirt and debris. A clean track helps avoid confusing a mechanical problem with a winter moisture problem.
Do not attempt spring or cable repairs to address condensation. The Minnesota Daily notes that springs and cables operate under high tension and recommends pre-season maintenance to identify worn components. If the door is off track, unusually heavy, or no longer moves smoothly, stop using it and arrange a qualified repair rather than adjusting high-tension parts yourself.
What should you do first in your situation?
The best first repair depends on whether the evidence points to moisture, a leak, or a cold door surface. Use this order to avoid spending on insulation or heating before addressing a simpler source.
- If this is the first winter you have noticed the problem: Map where water appears and connect it to weather, wet vehicles, or damp items. Dry the floor and vehicle, then see whether the pattern changes.
- If you already have a draft or visible gap: Inspect the bottom, side, top, and corner seals. Repair damaged weather stripping before considering more heat.
- If the door is wet across a broad area: Reduce indoor moisture first, then evaluate whether the door needs better insulation. Do not expect a seal replacement alone to warm the center panel.
- If you have tried drying and sealing but still see recurring moisture: Review ventilation and the garage’s wall or ceiling assembly before adding a fan, heater, or vapor barrier. A building professional can help assess an assembly that is difficult to inspect safely.
- If the door has an operating or sensor problem: Keep the moisture project separate from a mechanical repair. Check sensor lenses and alignment, but leave high-tension springs and cables to a trained technician.
Frequently Asked Questions
Is condensation on the inside of a garage door a leak?
Not necessarily. Condensation is moisture from the air collecting on a cold surface, while a leak involves water entering through a gap or another route. A concentrated wet area near a seal deserves an inspection, while moisture spread across the door can point to humid garage air meeting a cold panel.
Will replacing the bottom seal stop garage door condensation?
It can help when the bottom seal is cracked, brittle, or letting in drafts, snow, or moisture. It will not remove moisture already inside the garage or warm a cold door panel, so check the full perimeter and the indoor moisture source as well.
Should I use a propane heater in a garage with condensation?
Be cautious: Garage Living warns that propane heaters emit water vapor, even though Advanced Door discusses heaters as a way to raise garage temperature. For moisture control, an appropriate electric heater avoids adding combustion water vapor inside the garage; follow the heater’s operating instructions.
Does insulating a garage door prevent all condensation?
No single measure addresses every cause. Insulation slows heat transfer, but wet vehicles, damp stored items, and air leaks can still add moisture; check seals and moisture sources along with the door’s insulation.
Your next step: make a moisture map
Before buying a heater or insulation kit, note the wettest location, what was stored or parked inside, and whether the moisture followed rain or snow. Then inspect the bottom, sides, top, and corners for damaged seals, remove standing water, and choose the repair that matches the evidence. If condensation remains widespread after those steps, assess the door’s insulation and the garage’s ventilation as a connected system.
References
- Garage Door Condensation & Moisture: Causes & Fixes (2026)
- Winterizing & Upgrading Garage Doors: A Guide for University of Minnesota-Area Landlords - The Minnesota Daily
- Garage Door Insulation & Weather Seals Explained: Cutting Heat, Dust, and Noise in Newcastle & The Hunter - Pillidge Garage Doors
- How to Prepare Your Garage Door for Winter in Central Oregon
- How to Reduce Condensation In Your Garage
Information in this post was checked as of October 2026. Policies and prices may change, so please verify important details with official sources.


Comments
Post a Comment