How to Clean a Whole-House Humidifier Before Winter
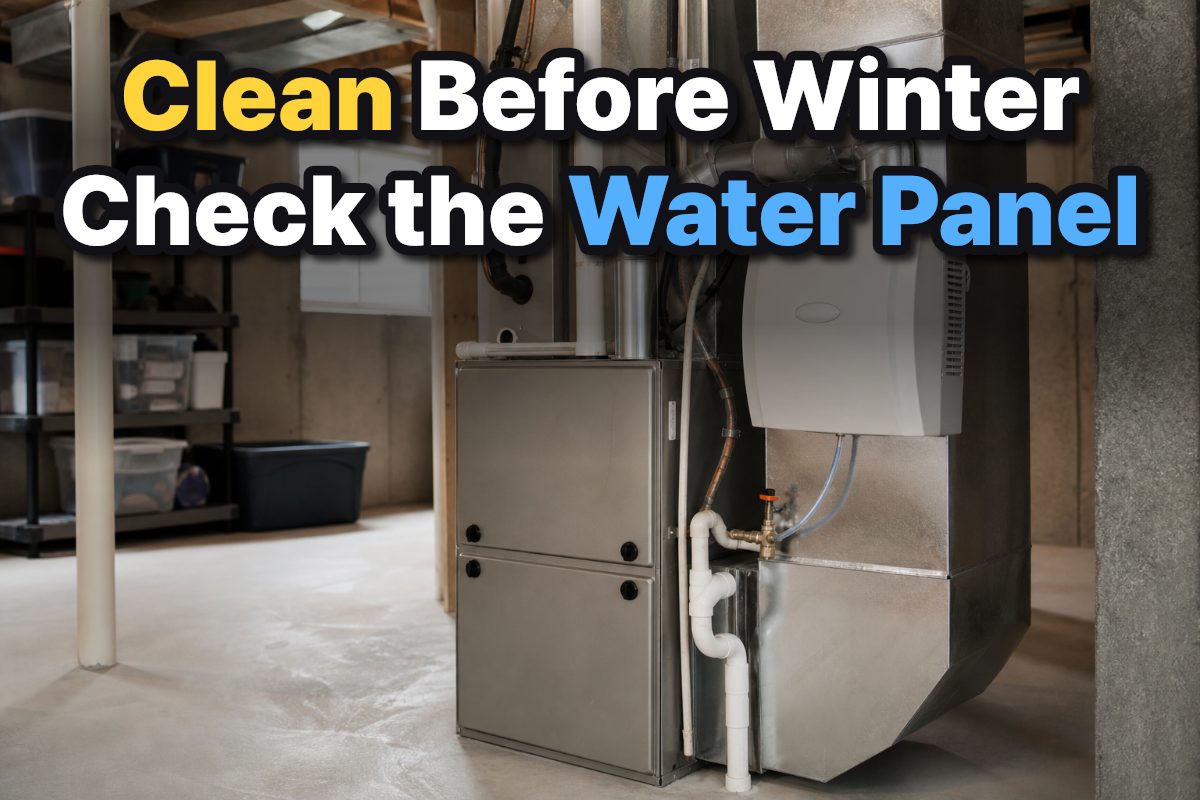
Key Takeaways
- Clean and inspect a whole-house humidifier before the heating season, following the instructions for its specific model.
- Shut off power and the water supply before opening the unit or removing parts.
- Clean removable components only with methods approved for them; vinegar and water is not suitable for every water panel.
- Check the water panel, distribution tray, drain, and water lines, then reassemble and test the system.
Table of Contents
- Why clean a whole-house humidifier before winter?
- What to gather and check before opening the unit
- How to clean a whole-house humidifier: a safe sequence
- How to clean mineral scale without damaging the water panel
- Inspect the drain, water supply, and surrounding area
- Reassemble and test the humidifier before heating season
- Choose the right approach for your home and experience level
- Common mistakes to avoid
- Frequently Asked Questions
- Pre-winter checklist
To clean a whole-house humidifier before winter, shut off its power and water, remove only the parts identified in the owner’s manual, clear approved removable components of mineral scale, and inspect the drain and supply lines. The exact cleaning method depends on the humidifier model: Carrier recommends a 30-minute vinegar-and-water soak for certain removable components, but warns that the method does not apply to every part or water panel.
Why clean a whole-house humidifier before winter?
A whole-house humidifier adds moisture to air moving through the home’s HVAC system. Before the heating season, cleaning helps address mineral buildup and keep the water panel and other serviceable parts in condition for operation. Carrier recommends basic maintenance, including cleaning the unit and changing the water panel, at least once a year before winter heating begins.
Fall is a practical time to inspect the unit because it is about to return to regular use. Minnesota’s indoor-air-quality guidelines call for thorough cleaning of humidifiers and adjacent ductwork surfaces in the fall before heating starts and again in the spring after the heating season. That seasonal approach also gives you a chance to notice a drain problem or visible leak before the system is running routinely.
Do not treat every whole-house humidifier as if it were a portable tabletop model. Whole-house units are connected to the home’s water supply and HVAC equipment, and their panels, trays, and internal parts differ. The owner’s manual is the deciding guide for what can be removed, cleaned, or replaced.
What to gather and check before opening the unit
Start by locating the humidifier’s name and model number. Trane advises using that information to select the correct replacement humidifier pad; the model also helps you find the right disassembly and cleaning instructions. If the label is hard to see, look on the back or housing of the unit without removing covers while it is powered.
Before starting, compare the manual’s cleaning instructions with the condition of the unit. A dusty exterior, chalky mineral deposits, a worn water panel, and a clogged-looking drain are different findings; they do not all call for the same treatment. In particular, do not assume a pad is reusable just because the surrounding tray can be cleaned.
| What to identify | Why it matters | What to do |
|---|---|---|
| Humidifier model | Parts and removal steps vary by unit. | Use the model number to find the matching manual and pad. |
| Water panel or pad | Mineral scale can collect on the media, and some panels should not be soaked. | Follow the model’s cleaning or replacement instructions. |
| Water supply and drain | Visible leaks or blockages can interfere with operation. | Inspect the accessible line sections while the water is off. |
| Power control | The unit is integrated with HVAC equipment. | Turn power off before maintenance, as Carrier advises. |
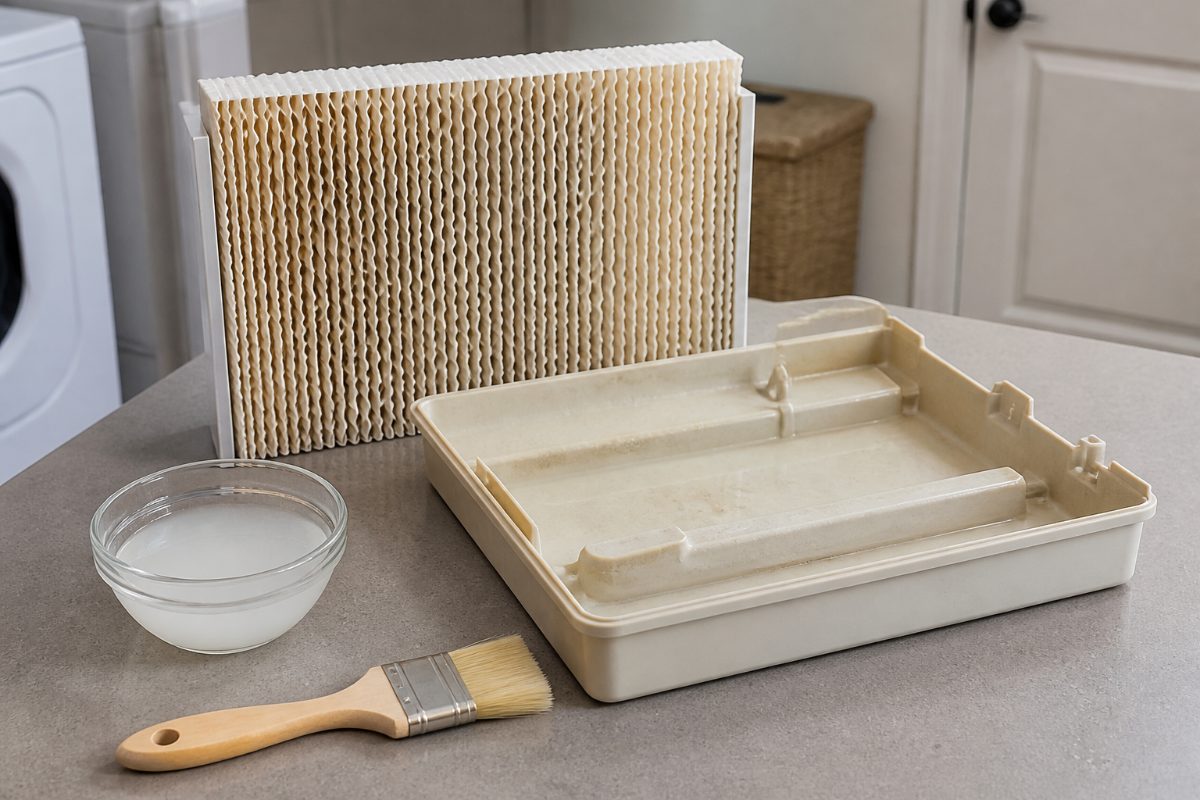
Set aside a soft brush for components the manual permits you to scrub. Carrier’s cleaning procedure for applicable removable parts uses a solution of equal parts white vinegar and water, followed by a soft-brush scrub and a thorough rinse with cool water. Do not use that recipe as a universal humidifier cleaner; the component and model instructions determine whether it is appropriate.
How to clean a whole-house humidifier: a safe sequence
Work in a deliberate order: identify the model, shut off power and water, open the cover, remove the serviceable assembly, clean or replace the pad as directed, and reinstall every part in its original position. Trane’s maintenance sequence also calls for turning the water back on and testing the humidifier after reassembly.
- Turn off the humidifier’s power. Carrier recommends shutting off power before maintenance on an HVAC-integrated humidifier. Use the control or power method specified for your system.
- Shut off the water supply. Trane’s procedure begins by turning off the water source. For automatic-control humidifiers, Trane describes closing the saddle valve to stop the supply.
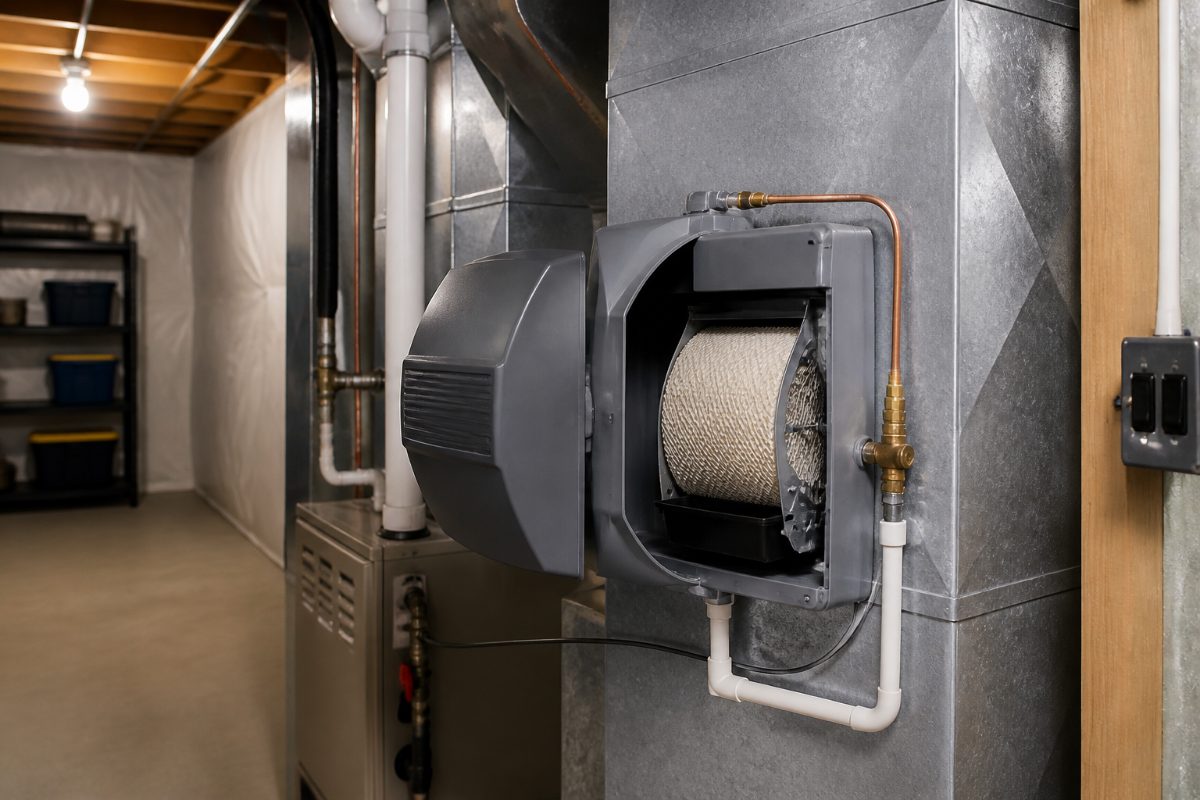
- Open the front cover and remove the service assembly. Follow the model’s instructions. In Trane’s example, the distribution tray is unsnapped and removed, then the humidifier assembly slides out of the tray.
- Inspect before cleaning. Look for mineral scale on the tray and panel, visible debris, and signs of a leak or blocked drain. Do not pry at parts that the manual does not identify as removable.
- Clean or replace the water panel as specified. Lightly scrape or brush scale only if the manufacturer permits it. Trane’s installation sequence specifies a replacement pad with the colored spot facing up for the units covered by that procedure.
- Reassemble and restore service. Reinstall the assembly, aligning the feed tube and drain with their receptacles as described by Trane. Replace the cover, restore power, turn the water back on, and test the humidifier using its controls.
That sequence matters because the feed tube, drain, tray, and pad work together to distribute and remove water. A part that is left out of position can prevent the unit from operating as intended. If your model’s layout differs from the Trane example, follow its own manual rather than trying to copy another unit’s arrangement.
How to clean mineral scale without damaging the water panel
Mineral scale is the chalky deposit left behind as water passes through or evaporates in the humidifier. A soft brush can loosen deposits from applicable removable components, but the water panel is not automatically one of those components. Carrier specifically cautions that its vinegar-and-water method is not appropriate for every humidifier component or water panel.
For a component that the manual permits to be soaked, Carrier’s method is to use equal parts white vinegar and water, soak for 30 minutes, scrub gently with a soft brush, rinse thoroughly with cool water, and let the part dry. The soak is for the removable component covered by the instructions—not for pouring cleaner through the installed HVAC system or treating every surface inside the housing.
When the manual calls for replacement instead of cleaning, use the pad made for the humidifier’s model. Trane instructs owners to check the name and model number before buying the replacement pad. Carrier also notes that hard water can require more frequent water-panel replacement because mineral deposits accumulate more readily.
| What you find | Reasonable next step | Avoid |
|---|---|---|
| Light scale on an approved removable part | Use the manual-approved cleaning method; Carrier’s applicable method is a 30-minute equal-parts vinegar-and-water soak, then brushing and rinsing. | Assuming the method is safe for the water panel. |
| Scale on a water panel or pad | Check whether the manufacturer calls for cleaning or replacement. | Scrubbing hard or soaking it without approval. |
| Heavy deposits or a part that will not come clean | Use the model instructions to decide whether the part should be replaced or serviced. | Using a stronger chemical mixture without manufacturer guidance. |
Inspect the drain, water supply, and surrounding area
With the water off, inspect the accessible supply and drain lines for visible leaks, blockage, or damage. Carrier includes checking these lines as part of basic humidifier maintenance. A clear visual inspection does not require taking the plumbing apart; it helps you spot conditions that should be resolved before routine winter operation.
Check the drain path from the humidifier toward its outlet. Trane’s reinstallation instructions emphasize lining up the drain with the round receptacle at the bottom of the unit. If the drain tube is loose, visibly obstructed, or not seated where the model’s manual shows it belongs, correct the position according to the manufacturer’s instructions before testing.
Look at the nearby duct and surfaces for signs of water exposure as well. Minnesota’s indoor-air-quality guidelines note that humidifiers can drip onto adjacent surfaces and that porous materials exposed to moisture can support mold growth. If you see damp or stained material, do not cover it up as part of routine cleaning; identify the source of the moisture and address the affected area.
A hard-water home deserves a closer look at the pad during this inspection. Carrier says hard water can mean more frequent panel replacement to prevent mineral buildup and maintain efficiency. That does not establish a universal replacement interval, so use the panel’s condition and the manufacturer’s schedule rather than applying a one-size-fits-all calendar.
Reassemble and test the humidifier before heating season
After cleaning, let rinsed components dry as directed and return them in the correct orientation. Trane’s procedure calls for snapping the distribution tray back into place, reinstalling the evaporative assembly, aligning the feed tube and drain, and replacing the front cover. The correct arrangement varies by model, so use the unit diagram if the parts do not fit naturally.
Restore the water supply and power only after the cover and removable parts are back in place. Trane’s final steps include turning the water back on, resetting the controls, and testing the humidifier. Watch the unit and accessible line connections during the test for visible leakage, and confirm that the control is set to call for humidification according to the manual.
Do not guess at a winter humidity setting. Trane explains that recommended relative-humidity settings for winter vary with outdoor temperature and provides model guidance in its owner’s manual. It also identifies condensation on the inside of windows as a sign that indoor humidity may be too high. If you notice condensation, adjust the humidifier control using the model’s guidance rather than raising the setting simply because the air feels dry.
Choose the right approach for your home and experience level
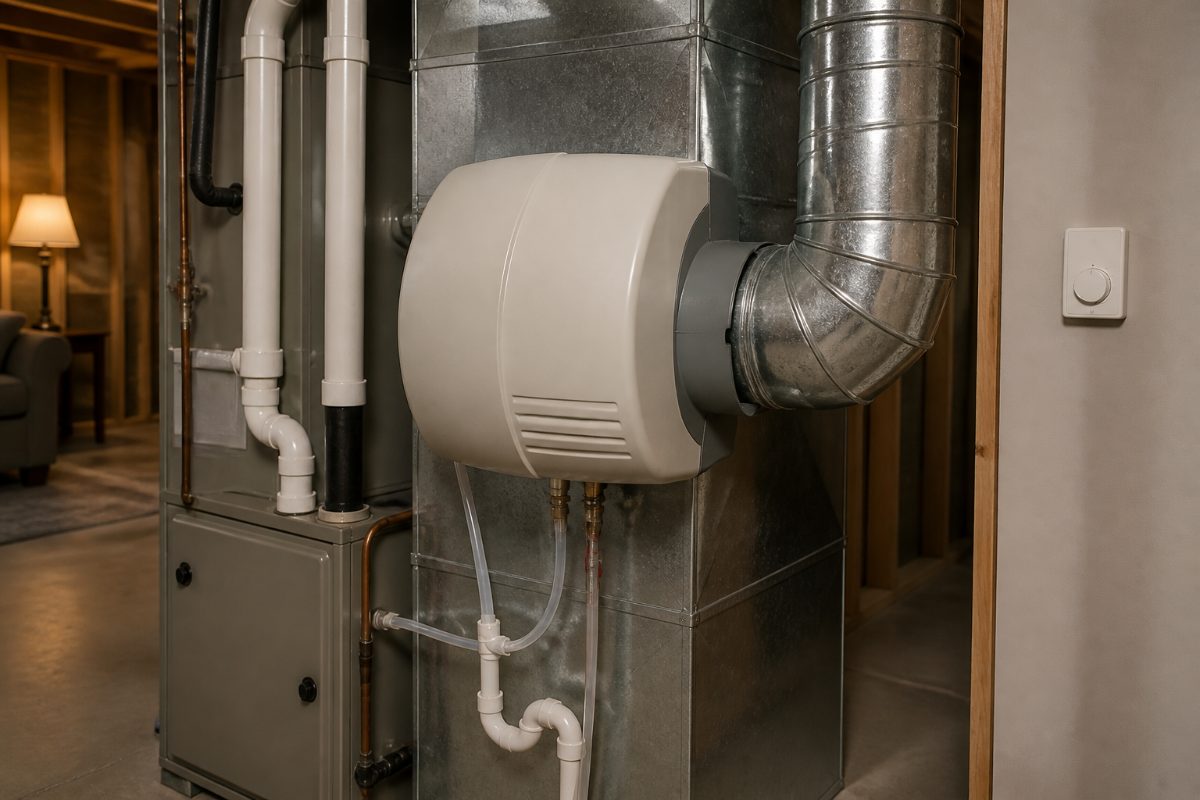
If this is your first seasonal cleaning, keep the job to the steps clearly identified in the owner’s manual: switch off power and water, remove the designated assembly, inspect it, and clean or replace only the named parts. Take a photo of the assembly before removing it if that helps you remember the original orientation; the purpose is to put the feed tube, tray, and drain back where they belong.
If you have cleaned the same model before, use the fall inspection to compare the current pad and drain condition with what you saw last season. A hard-water home may need more frequent panel changes, according to Carrier, so a fixed annual replacement assumption may not fit every household. Keep the model number and replacement-part information together so the right pad can be selected when needed.
If the unit is difficult to access, the water panel is damaged, parts do not align, or the drain or supply line appears to leak, stop before forcing a component into place. Routine cleaning is not the same as repairing HVAC wiring, plumbing, or a damaged humidifier housing. Carrier recommends annual HVAC maintenance through a local Carrier dealer; use that type of service when the work goes beyond the maintenance steps permitted in your manual.
- New to the task: follow the model-specific removal and cleaning sequence, and do not improvise with cleaners.
- Hard-water household: inspect the water panel for deposits and follow the manufacturer’s replacement guidance.
- Experienced with the unit: check the supply and drain lines as well as the panel, then test the control after reassembly.
- Unclear instructions or a poor fit: leave the unit off until you can identify the correct part position and procedure.
Common mistakes to avoid
Using vinegar on every part. Carrier’s vinegar-and-water soak is limited to applicable removable components. The water panel may have different instructions, so identify the part before soaking or scrubbing it.
Cleaning while the unit is powered or water is on. Carrier says to shut off power before maintenance, and Trane’s procedure starts by turning off the water supply. Put those two shutoffs at the beginning of the job, not after opening the unit.
Replacing a pad with a look-alike part. Trane advises checking the humidifier model and buying the corresponding pad. A replacement that does not match the unit can make correct installation difficult; use the manufacturer’s part guidance rather than choosing by appearance alone.
Forgetting the drain and feed-tube alignment. Reinstalling the panel assembly is not the last step. Trane calls for aligning the feed tube and drain with their receptacles, then restoring water and testing the controls.
Setting humidity by feel alone. Winter settings depend on outdoor temperature, and Trane points to indoor window condensation as a clue that humidity is too high. Use the control guidance for your system and respond to visible condensation rather than assuming a higher setting is always better.
Frequently Asked Questions
How often should I clean a whole-house humidifier?
Carrier recommends basic maintenance, including cleaning and changing the water panel, at least once a year before the winter heating season. Minnesota’s indoor-air-quality guidelines also describe cleaning before heating season and again in spring; follow the schedule and method in your unit’s manual.
Can I clean a whole-house humidifier water panel with vinegar?
Not automatically. Carrier says an equal-parts vinegar-and-water soak for 30 minutes applies to certain removable components, but not to every component or water panel. Use vinegar on a panel only if the instructions for that exact model permit it.
Should I replace the water panel every fall?
Carrier recommends changing the water panel as part of annual pre-winter maintenance, and notes that hard water can require more frequent replacement. Check the condition of the panel and the manufacturer’s schedule for your model.
What should I do if the humidifier leaks after cleaning?
Turn off the water and power, then check that the tray, feed tube, drain, and removable assembly are seated as the manual shows. Carrier recommends inspecting supply and drain lines for visible leaks or blockages; if a leak persists or a part is damaged, arrange service rather than running the unit.
What humidity setting should I use in winter?
There is no single setting in the cited guidance for every outdoor temperature. Trane says winter relative-humidity recommendations vary with outdoor temperature and that condensation inside windows can indicate excessive indoor humidity; use your humidifier manual’s setting guidance.
Pre-winter checklist
Before the first sustained heating-season use, confirm that you have identified the correct model, shut off power and water before maintenance, cleaned only approved parts, and inspected the panel, tray, drain, and supply line. Reinstall the assembly with the feed tube and drain aligned, restore water and power, and test the controls. Those checks address the parts that determine whether the humidifier can distribute water and drain it as designed.
- Model number and manual identified.
- Power and water shut off before opening.
- Water panel cleaned or replaced according to model instructions.
- Drain and supply lines inspected for visible problems.
- Assembly and cover reinstalled, followed by a controlled test.
- Winter humidity setting selected from the unit’s guidance, with condensation watched as a practical indicator.
References
- Whole-Home Humidifier Maintenance Guide | Expert Tips
- How to Clean and Maintain a Whole-House Humidifier - Trane®
- State of Minnesota Guidelines for Managing Indoor Air Quality
Information in this post was checked as of October 2026. Policies and prices may change, so please verify important details with official sources.


Comments
Post a Comment