How to Clean a Garbage Disposal Before Holiday Cooking
Key Takeaways
- Clean the disposal before the kitchen gets busy: Iowa State University Extension’s AnswerLine recommends ½ cup of baking soda and 1 cup of white vinegar, left to fizz for 10–15 minutes.
- Flush the disposal after cleaning; Home Depot’s guide recommends monthly cleaning with a disposal cleaner or a vinegar-and-baking-soda mixture followed by hot water.
- Keep cooking oil and grease out of the sink, and feed scraps in small batches rather than sending a large load through at once.
- A fresh smell is not proof that a disposal is mechanically clear; stop and investigate if it hums, drains poorly, or behaves differently.
Table of Contents
- Why clean the disposal before holiday cooking?
- What to gather before you start
- How to clean a garbage disposal before holiday cooking
- What should you avoid putting down the disposal?
- How should you prepare if your home has a septic system?
- How to fit disposal cleaning into a holiday kitchen plan
- Common mistakes and how to avoid them
- When is a cleaning routine not enough?
- Frequently Asked Questions
- Quick holiday-prep recap
To clean a garbage disposal before holiday cooking, remove loose debris from the sink area, use a baking-soda-and-vinegar treatment, let it fizz for 10–15 minutes, and flush the drain. Iowa State University Extension’s AnswerLine describes that cleaning mixture, while Home Depot recommends regular cleaning and hot-water flushing. The goal is a cleaner sink and disposal—not a reason to push large amounts of holiday food waste into the drain.
Why clean the disposal before holiday cooking?
A garbage disposal is the powered unit beneath a sink that grinds food scraps entering through the drain. Cleaning it before the kitchen is busy gives you time to deal with lingering residue or a drainage problem without competing with meal preparation.
Cleaning and grinding are different jobs. A cleaning treatment helps address residue and odor inside the drain and disposal; it does not make every food scrap suitable for disposal or confirm that the unit is working properly. Home Depot recommends monthly cleaning, so a pre-holiday clean can also serve as a reminder to make the task part of routine kitchen maintenance.
| What you notice | What cleaning can do | What it cannot establish |
|---|---|---|
| A stale or food-like smell near the sink | Provide a routine clean and flush of the disposal drain | Prove that the unit has no mechanical or drainage problem |
| Visible loose scraps around the drain opening | Help you reset the area before the cleaning treatment | Make it safe to reach into the disposal chamber |
| A hum, poor drainage, or an unexpected change in operation | Prompt you to pause and assess the issue | Repair a jam or a plumbing problem |
Before guests arrive, the practical advantage is timing: you can clean the unit before the sink is needed for rinsing produce, washing cookware, and handling food scraps. If the disposal is already making an unusual noise or the sink is draining poorly, treat that as a separate troubleshooting issue rather than assuming a cleaning mixture will fix it. For a unit that hums but will not spin, use the separate guide, Garbage Disposal Hums but Won’t Spin: What to Check, rather than forcing it to run.
What to gather before you start
For the basic household method, gather baking soda, white vinegar, and a way to flush the sink with hot water. AnswerLine’s recipe uses ½ cup of baking soda and 1 cup of white vinegar, and its instructions say to let the mixture fizz for 10–15 minutes. Home Depot also describes monthly cleaning with either a disposal cleaner or a vinegar-and-baking-soda mixture followed by hot water.
Choose one cleaning approach. If you use a commercial disposal cleaner, follow that product’s label rather than adding household ingredients to it. The available cleaning guidance presents a disposal cleaner and a vinegar-and-baking-soda mixture as alternatives, not as a reason to combine products.
- For the household mixture: measure ½ cup baking soda and 1 cup white vinegar.
- For a commercial product: use a cleaner labeled for garbage disposals and follow its directions.
- For the flush: have hot water ready, as described in Home Depot’s cleaning guidance.
- For safety: keep hands and utensils out of the disposal opening. A cleaning routine does not require reaching inside the unit.
Do not turn the cleaning step into a repair attempt. If an object is lodged in the unit or the disposal is not operating normally, stop instead of probing inside. Cleaning is meant for routine maintenance; it is not a substitute for diagnosing a jam or a drain problem.
How to clean a garbage disposal before holiday cooking
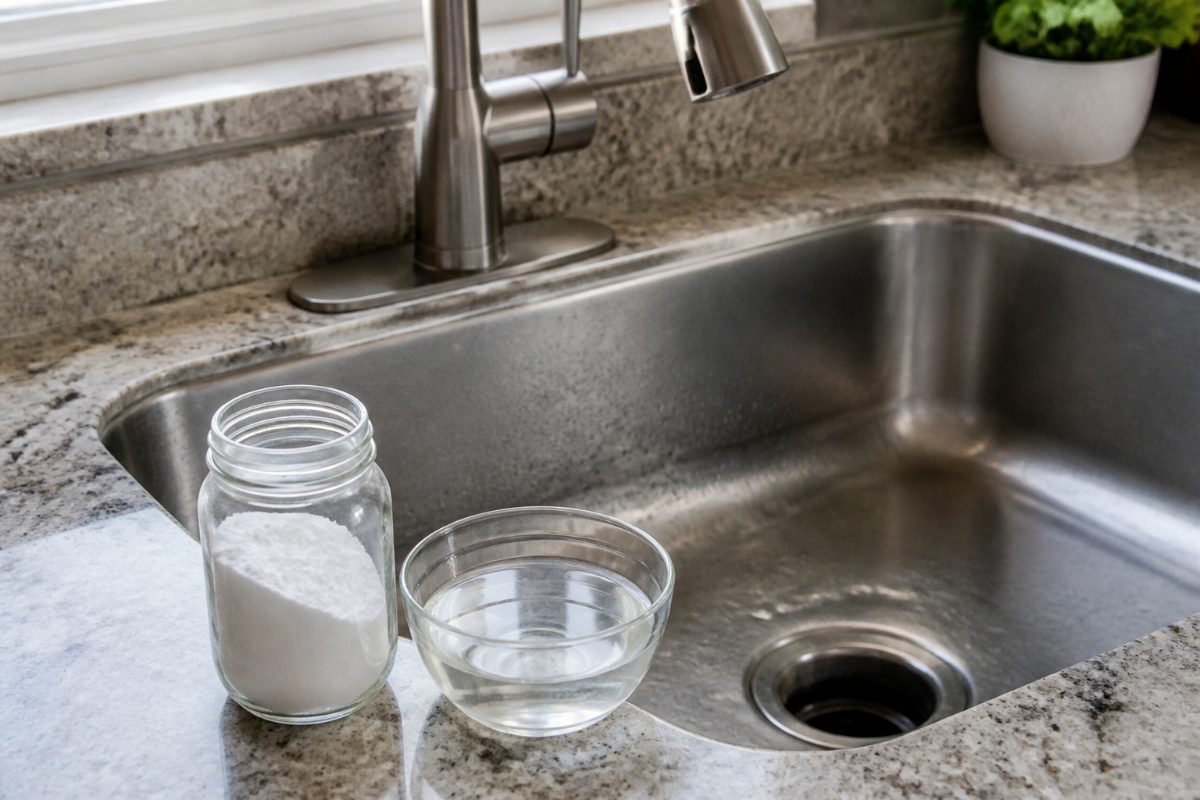
Use this sequence for a routine clean. The measured baking soda and vinegar treatment comes from AnswerLine; the 10–15-minute wait is the time given in its instructions. Home Depot’s guidance supports flushing with hot water after a vinegar-and-baking-soda cleaning.
- Clear the sink area. Remove dishes and loose food scraps from around the drain opening. Put scraps in the trash or another suitable waste stream instead of pushing them into the disposal as part of the cleaning step.
- Measure the ingredients. Pour ½ cup of baking soda into the disposal drain, followed by 1 cup of white vinegar. Keep the quantities separate and use the stated amounts rather than adding an unmeasured extra dose.
- Let the mixture fizz. Leave it for 10–15 minutes, the interval AnswerLine gives for the treatment. Use the wait to clean the surrounding sink and counter, not to feed food into the drain.
- Flush the drain. Run hot water through the sink as part of the clean. Home Depot’s guide describes hot water as the flush for its vinegar-and-baking-soda method.
- Observe the result. Notice whether the sink drains as expected and whether the odor improves. If the unit hums, drains poorly, or makes a new unusual sound, stop treating it as a simple cleaning task.
The fizz is part of the described cleaning method; it is not a sign that food scraps have been safely cleared or that the disposal has been repaired. Keep the process simple: measured ingredients, a timed wait, and a hot-water flush. Adding extra products or repeatedly feeding scraps into the unit makes it harder to tell whether the cleaning step helped.
What should you avoid putting down the disposal?
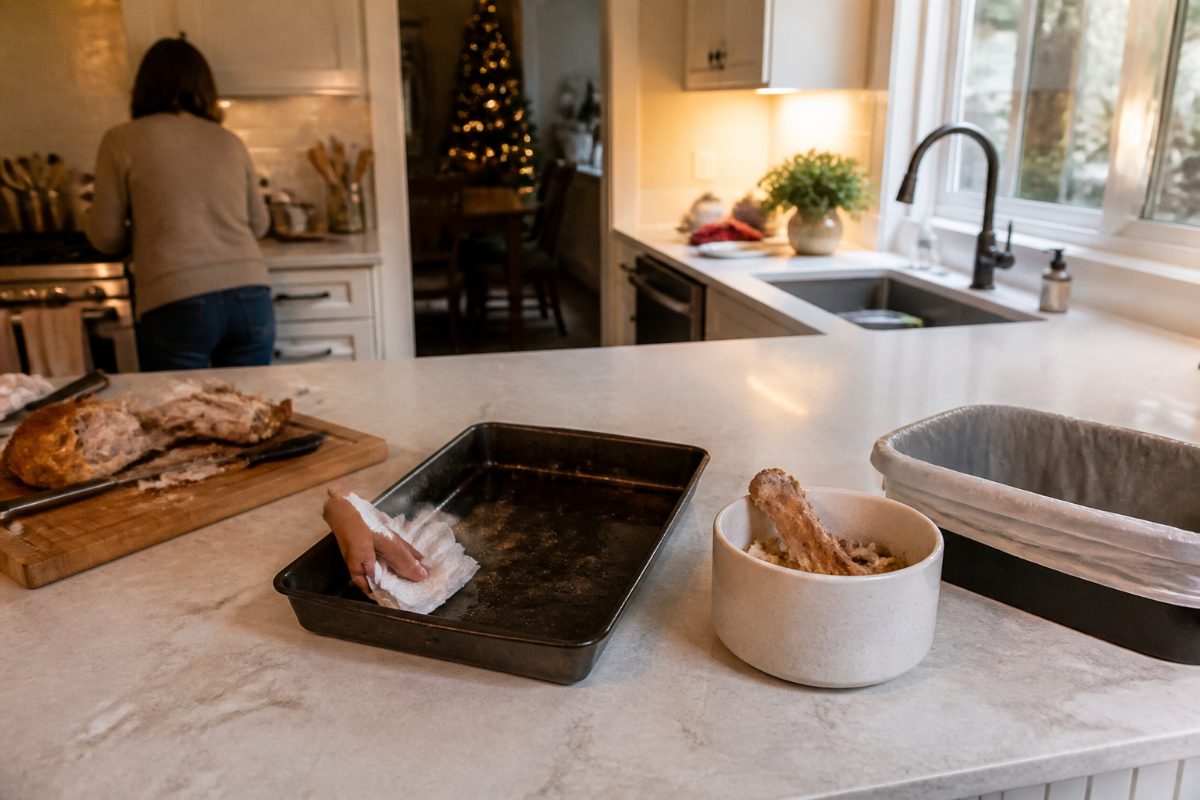
Do not pour cooking oil or grease into the sink, disposal, or drain. The South Carolina Department of Environmental Services advises against pouring oil down a sink or drain, and The Septic Guide also says to keep cooking oil and grease out of the disposal. For a greasy pan, The Septic Guide recommends wiping the grease with a paper towel and putting the towel in the trash before washing the pan.
Home Depot also lists grease and eggshells among items not to put in a garbage disposal. Because holiday cooking often produces oily pans and concentrated scraps, separating those materials before washing dishes can prevent the disposal from becoming the default destination for every leftover.
| Kitchen item or situation | Better next step | Why it matters |
|---|---|---|
| Cooking oil or liquid grease | Do not pour it into the sink or disposal; wipe greasy cookware with a paper towel and put the towel in the trash. | The South Carolina Department of Environmental Services warns against pouring oil down a sink or drain. |
| Grease on a pan | Wipe away the grease before washing the pan. | The Septic Guide recommends this simple step to keep grease out of the disposal. |
| Eggshells | Keep them out of the disposal and use an appropriate waste option. | Home Depot lists eggshells among items not to put in a disposal. |
| A large pile of food scraps | Use small batches rather than sending the entire load through at once. | The Septic Guide says large loads can overwhelm a disposal and septic tank. |
Rules about food scraps can depend on the type of plumbing system in the home. The Septic Guide explains that disposal use adds solids to a septic tank and says to limit or avoid disposal use on septic systems. If the home has a septic system, do not assume that a routine cleaning recommendation is permission to grind more food waste; keep scraps out of the disposal and follow the system’s care guidance.
How should you prepare if your home has a septic system?
A garbage disposal adds food solids to wastewater, so using one regularly can add to the load handled by a septic system. The Septic Guide reports that disposal use increases suspended solids entering the tank and can increase wastewater’s biological oxygen demand; it recommends limiting use or adjusting maintenance for systems that use a disposal regularly.
The practical holiday adjustment is to keep the disposal from carrying the meal. Scrape food into the trash or another suitable collection option, wipe grease from cookware, and use the disposal only for small amounts rather than a large batch. The Septic Guide specifically recommends small batches because a large volume of scraps can overwhelm the disposal and septic tank.
- If you rarely use the disposal: keep holiday scraps out of it and use the cleaning steps for the unit itself.
- If you use it regularly: avoid treating it as a food-waste bin; small batches reduce the amount sent through at one time.
- If you are unsure about septic-system care: consult the maintenance plan for your system before changing disposal habits or pumping intervals.
The Septic Guide also discusses adjusting septic-tank pumping intervals for homes that use a disposal regularly. The article does not establish a schedule for every property, so do not apply a single interval to all systems. The useful decision is to note regular disposal use as part of the system’s maintenance history and use the system-specific plan when setting service timing.
How to fit disposal cleaning into a holiday kitchen plan
Cleaning is easiest to manage as a separate preparation task, not as something squeezed between cooking steps. Since AnswerLine’s treatment sits for 10–15 minutes, you can do it before food preparation starts, then use the waiting period to wipe counters or sort the sink area.
Keep cleaning supplies away from the food-preparation area while ingredients are out. Measure the baking soda and vinegar before starting, complete the timed wait, and flush before using the sink for kitchen work. That sequence reduces the chance of leaving the treatment unfinished when the sink becomes busy.
- Before cooking: clear the drain opening and complete the cleaning treatment.
- While cooking: keep grease and oil out of the sink, and collect scraps rather than feeding a large amount into the disposal.
- After cooking: wipe greasy pans before washing them and dispose of food scraps through an appropriate waste option.
For a kitchen already in active use, skip the cleaning treatment until food and dishes are cleared from the sink. Do not pour the ingredients over a drain crowded with scraps and expect the cleaning step to handle both tasks. First separate the food waste; then use the cleaning sequence when the sink is free.
If your holiday checklist includes other kitchen cleaning, the related guide How to Clean an Oven Before Thanksgiving Without Damage covers a separate task. Keep the disposal and oven jobs distinct: neither cleaning method changes what food waste belongs in the drain.
Common mistakes and how to avoid them
The most common mistake is confusing an odor treatment with permission to grind more food. A disposal can be clean and still be a poor choice for a large load of scraps, especially in a home with a septic system. Use the cleaning mixture for the unit and manage meal waste separately.
- Pouring grease down the drain: avoid it even if the disposal is running. Wipe greasy pans with a paper towel and put the towel in the trash, as The Septic Guide recommends.
- Using an oversized batch of scraps: feed only small amounts if using the disposal. The Septic Guide warns that a large volume can overwhelm the disposal and septic tank.
- Assuming eggshells belong in the unit: Home Depot lists eggshells among items to keep out, so choose another waste option.
- Skipping the wait: AnswerLine gives a 10–15-minute fizzing period. Allow that time before flushing rather than immediately adding more ingredients.
- Treating poor operation as a cleaning problem: a hum or poor drainage calls for troubleshooting, not repeated doses of cleaner.
- Mixing cleaning approaches: Home Depot presents a disposal cleaner or a vinegar-and-baking-soda mixture. Choose one and follow the product label when using a commercial cleaner.
Another easy mistake is cleaning the disposal but leaving grease on pans that will be washed afterward. The South Carolina Department of Environmental Services says not to pour oil down a sink or drain, and The Septic Guide recommends wiping greasy cookware first. Cleaning the unit does not change that disposal rule.
When is a cleaning routine not enough?
Routine cleaning is appropriate for maintenance, but it is not a diagnosis. If the disposal hums without spinning, the sink drains poorly, or the unit makes an unusual sound, stop the cleaning routine and use a troubleshooting approach instead of continuing to add ingredients or food.
For a disposal that hums but will not spin, the blog’s separate repair guide is the better next step. Keep hands and utensils out of the disposal opening while deciding what to do; a cleaning treatment never requires reaching into the unit. If the issue appears to involve the drain or plumbing rather than odor or residue, treat it as a separate household repair.
One sign alone does not identify the cause. A stale smell points to a cleaning task; poor drainage or a change in operation points toward troubleshooting. Separating those situations helps avoid using a household cleaning mixture as an unverified fix for a mechanical problem.
Frequently Asked Questions
How much baking soda and vinegar should I use?
AnswerLine recommends ½ cup of baking soda followed by 1 cup of white vinegar. Let the mixture fizz for 10–15 minutes, then flush the drain with hot water as described in Home Depot’s cleaning guidance.
How often should I clean a garbage disposal?
Home Depot recommends cleaning a disposal monthly with either a disposal cleaner or a vinegar-and-baking-soda mixture followed by hot water. A pre-holiday clean can fit into that regular schedule if the monthly task is due.
Can I pour cooking oil or grease down a garbage disposal?
No. The South Carolina Department of Environmental Services advises against pouring oil down a sink or drain, and The Septic Guide says to keep cooking oil and grease out of the disposal. Wipe greasy pans with a paper towel and put the towel in the trash before washing.
Should I use the disposal for holiday scraps if I have a septic system?
Limit disposal use and avoid sending large loads of food scraps into a septic system. The Septic Guide explains that disposal use adds solids to the tank and recommends small batches rather than a large volume at once.
Will baking soda and vinegar fix a disposal that hums but will not spin?
No cleaning recipe establishes that a disposal is mechanically clear or repairs a unit that hums without spinning. Stop treating it as a routine-cleaning issue and use a troubleshooting guide for that symptom.
Quick holiday-prep recap
For a routine pre-holiday clean, use ½ cup of baking soda and 1 cup of white vinegar, let the mixture fizz for 10–15 minutes, and flush with hot water. Keep oil, grease, and eggshells out of the disposal, and do not send a large batch of food scraps through at once.
For a home with a septic system, be especially selective about disposal use because food solids add to the tank’s load. If the unit hums, drains poorly, or behaves unexpectedly, switch from cleaning to troubleshooting rather than repeating the cleaning treatment.
References
- AnswerLine • Iowa State University Extension and Outreach
- How to Clean a Garbage Disposal
- What Not to Put in a Garbage Disposal
- Garbage Disposal and Septic Systems: Can You Use One Safely? 2026 Guide | The Septic Guide
- Don't Waste Holiday Food
Information in this post was checked as of October 2026. Policies and prices may change, so please verify important details with official sources.


Comments
Post a Comment