Hang Outdoor Christmas Lights Without Siding Damage
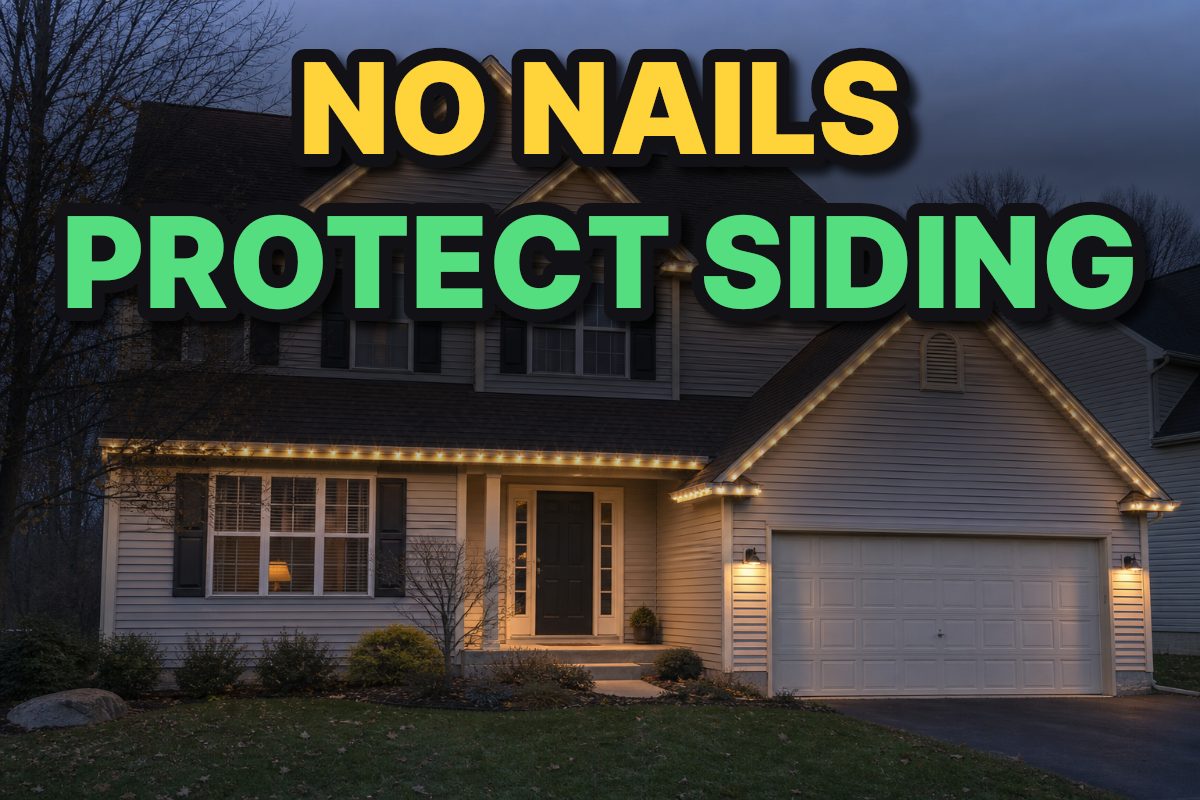
Key Takeaways
- Choose a non-penetrating light clip that fits both the siding surface and the light strand; nails and staples can puncture siding or damage wires.
- For vinyl siding, use a low-profile clip that does not push a panel outward, and test the fit before installing clips along the whole route.
- Plan the route, power connection, and turns before hanging lights so cords do not rub on sharp edges, become pinched, or pull on clips.
- Use outdoor-rated extension cords, keep plug connections away from places where water collects, and remove each fastener gently at the end of the season.
Search description: Hang outdoor Christmas lights without siding damage by choosing compatible clips, planning a safe cord route, checking vinyl panels, and removing lights carefully.
Table of Contents
- Why can Christmas lights damage siding?
- Which clips work on different siding surfaces?
- How should you plan the light layout before installation?
- How do you attach lights without puncturing or bending siding?
- How can you protect cords and outdoor connections?
- How do you remove Christmas lights without pulling off siding?
- Which method should you choose for your home?
- Common mistakes to avoid
- Frequently Asked Questions
- Key points to remember
To hang outdoor Christmas lights without siding damage, use clips designed for the siding and light strand instead of nails or staples. Inspect the wall and lights first, test a small section, and route cords so they are supported without being pinched or pulled tight. When the season ends, release clips one at a time rather than tugging the strand away from the house.
Why can Christmas lights damage siding?
Siding damage usually starts with the attachment method or with pressure in the wrong place. Nails and staples leave holes, while a poorly fitted clip can scrape the finish, force a panel out of alignment, or pull on a weak edge. A cord can also wear against a rough corner or become trapped under a fastener.
Vinyl siding needs particular care because its panels can move or buckle when a hook presses too hard against them. A clip may appear secure while still pushing the panel outward or pinching the light wire. The right fit supports the light without changing the shape or position of the siding.
| Potential problem | What to look for | Safer adjustment |
|---|---|---|
| Hole or puncture | A nail or staple would pass through siding, trim, or a cord. | Use a non-penetrating clip made for the attachment point. |
| Pressure on vinyl | A hook pushes a panel outward or visibly distorts its edge. | Try a lower-profile siding clip that does not force the panel out of shape. |
| Scraping or abrasion | A cord rests on a sharp edge or rough surface. | Reroute the cord and support it so it does not rub against the edge. |
| Pulling during removal | A fastener feels stuck or the siding moves when the strand is tugged. | Release the clip itself instead of pulling the light strand away from the wall. |
| Loose attachment | A clip slips, tilts, or lets the strand sag after it is installed. | Choose a clip that matches the surface and light; do not compensate by forcing it tighter. |
Look at the condition of the siding before choosing an attachment point. Loose trim, cracked or distorted panels, and existing damage are poor places to add pressure. Move the planned route to a sound area where the clip can sit as intended without relying on the light strand to hold a loose piece in place.
Also consider what happens when the lights are exposed to wind or when someone handles the cord. A clip that supports only a bulb but lets the wire pull against the siding can still cause rubbing or stress. The strand should rest in the clip, and the cord should follow its route without being stretched taut.
Which clips work on different siding surfaces?
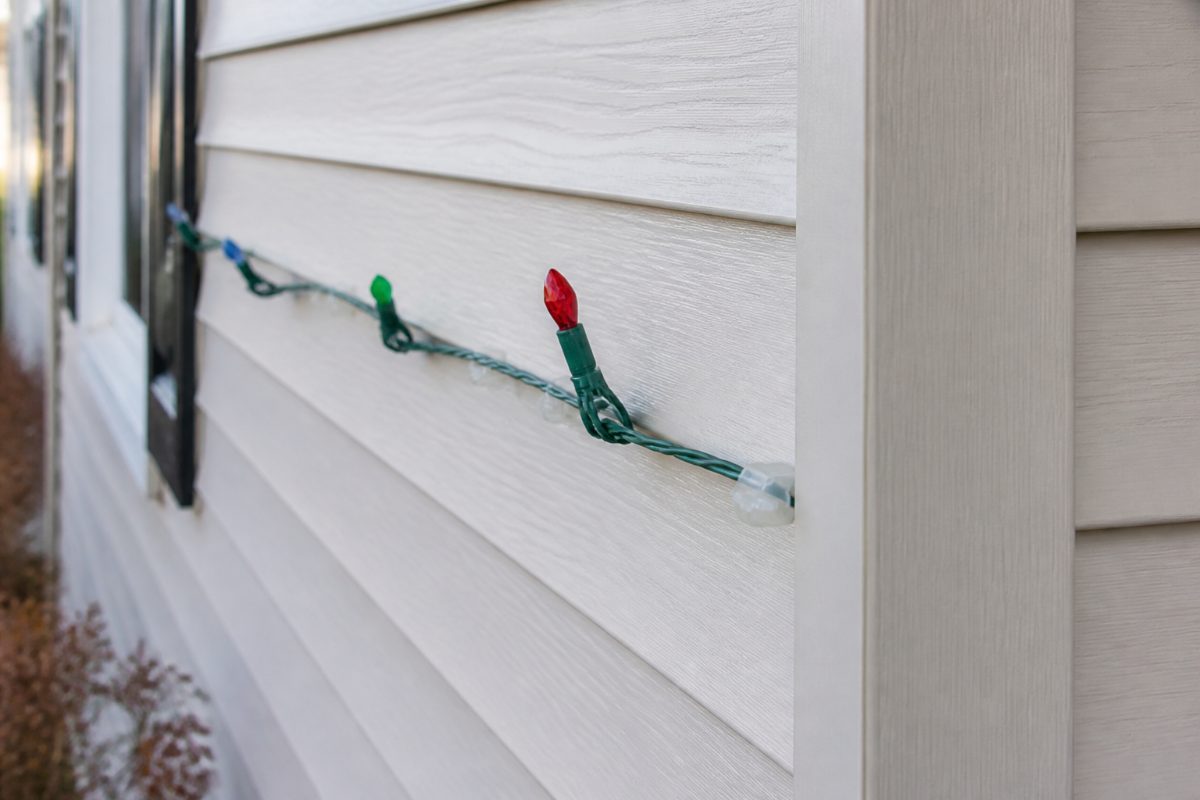
The right clip depends on the surface, the shape of its edges, and the type of light strand. Adhesive clips may suit some smooth surfaces, while a purpose-made, low-profile siding hook is a better starting point for vinyl. No clip style is automatically appropriate for every exterior wall.
Check the clip packaging for the surfaces and light types it is designed to hold. Also check how the clip grips: an edge-gripping clip should sit on a suitable edge without wedging the siding outward, and an adhesive clip needs a compatible, clean surface. A clip that requires force, slips during a test, or pinches the wire is the wrong fit for that location.
| Surface or attachment point | Option to consider | Check before hanging |
|---|---|---|
| Smooth siding | Adhesive clips or hooks intended for smooth surfaces. | Confirm surface compatibility and follow application and removal directions. |
| Vinyl siding | A low-profile light clip designed for siding. | Make sure it does not wedge the panel outward or cause visible buckling. |
| Gutter edge | A plastic gutter clip made to hook over the front lip. | Keep the light supported by the clip rather than laying a cord in the gutter. |
| Trim or eaves | A clip designed for that specific edge and light type. | Check that it grips securely without puncturing or crushing the surface. |
| Uneven or damaged surface | A different, sound attachment point that suits the clip. | Do not use an adhesive or edge clip where it cannot make stable contact. |
Adhesive does not automatically mean damage-free. Before applying an adhesive hook, check the product directions for approved surfaces, preparation, and removal. Avoid a dirty, loose, or damaged patch, and do not use adhesive clips if the instructions do not fit the surface or if the lights would pull them away from the siding.
For a clip that hooks onto an edge, check that the edge is actually meant to accept that style of clip. Do not force a clip between overlapping siding panels or use it to pry a panel open. If the panel shifts, the clip is difficult to remove, or the light makes it lean, stop and choose another attachment point.
Gutter clips are for the gutter edge, not for holding a cord inside the gutter. Keeping the cord out of the gutter prevents it from resting where debris and water can collect. It also avoids using the gutter as a channel for a cord that should instead be routed and supported along a suitable path.
How should you plan the light layout before installation?
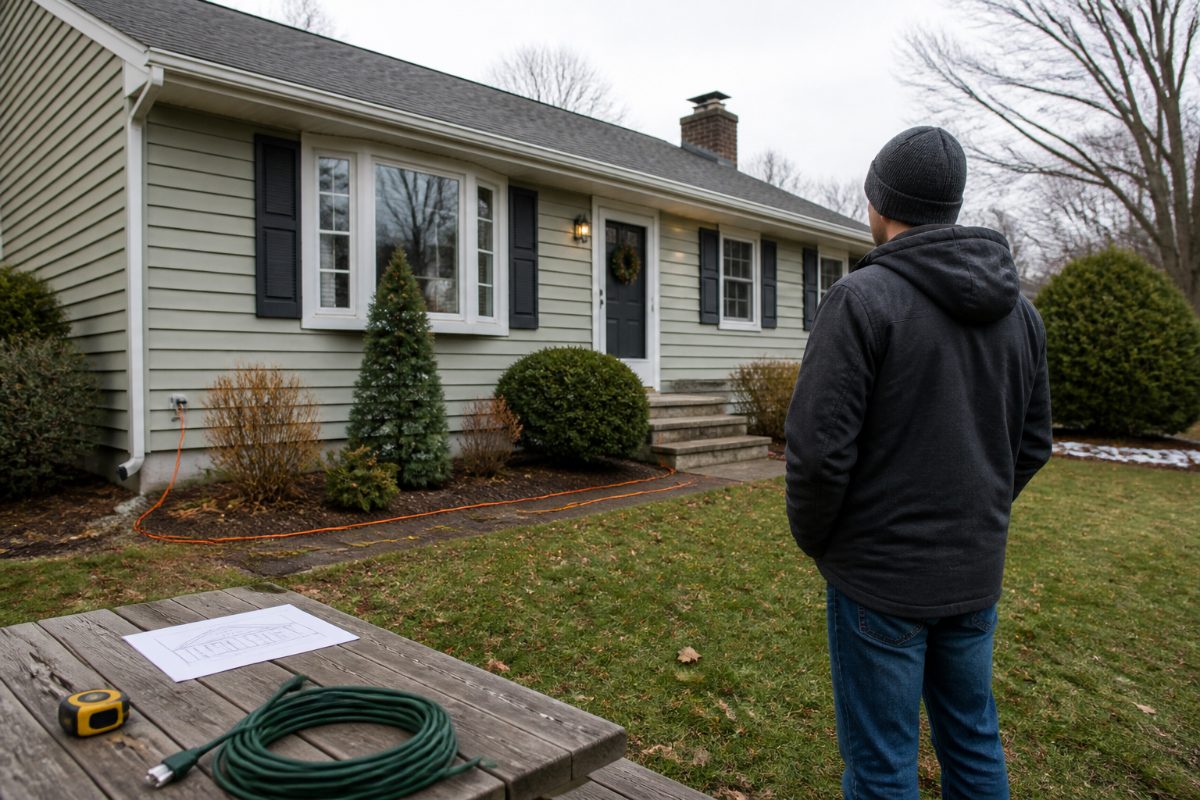
Plan the route before attaching clips: identify the starting point, endpoint, turns, and path to an outdoor power source. This reduces last-minute pulling, repeated clip removal, and cord runs across edges that can wear the insulation. A quick sketch is useful when the display crosses more than one wall or changes direction around trim.
- Inspect the route. From the ground, look for damaged siding, loose trim, sharp edges, and spots where a cord could be pinched or rubbed.
- Choose support points. Decide whether the lights will attach to siding clips, trim clips, gutter clips, or another suitable feature. Do not plan to drive fasteners through the siding.
- Check the strand and clips together. The clip should hold the light in the intended position without squeezing the wire or pressing a bulb socket against the wall.
- Map the power route. If you need an extension cord, choose one rated for outdoor use and route it so it is not stretched tight or exposed to a sharp edge.
- Test a short section. Attach a few clips and inspect the siding and cord before continuing. Change the clip or route if a panel bows, a wire is pinched, or a clip slips.
Mark corners, transitions, and the power source on the sketch. Those are the places where people often improvise a tight turn or leave a long section unsupported. Planning each turn in advance helps keep the cord from pressing against a corner and makes it easier to see whether the selected clips are suitable for the whole route.
Think about how the strand will meet the power cord as well. A connection should not hang from a light clip or be pulled by the weight of a long run. Route and support the cords so the connection is not carrying the strain of the display, and keep the plug area out of places where water can collect.
Leave enough slack for the strand to sit naturally rather than pulling each section taut. Controlled slack helps prevent a clip or connector from bearing all the tension when the strand moves. Keep that slack neat and supported: a loose loop can snag, catch on an edge, or create a tripping hazard.
For a long span that cannot be supported by ordinary clips, consider whether a suitable support structure is available for a cable-and-clamp arrangement. The supporting cable must be appropriate for the span and secured independently of the siding clips; the light clips should not be asked to carry a section they cannot hold safely. If there is no suitable support, shorten the span or change the layout.
How do you attach lights without puncturing or bending siding?
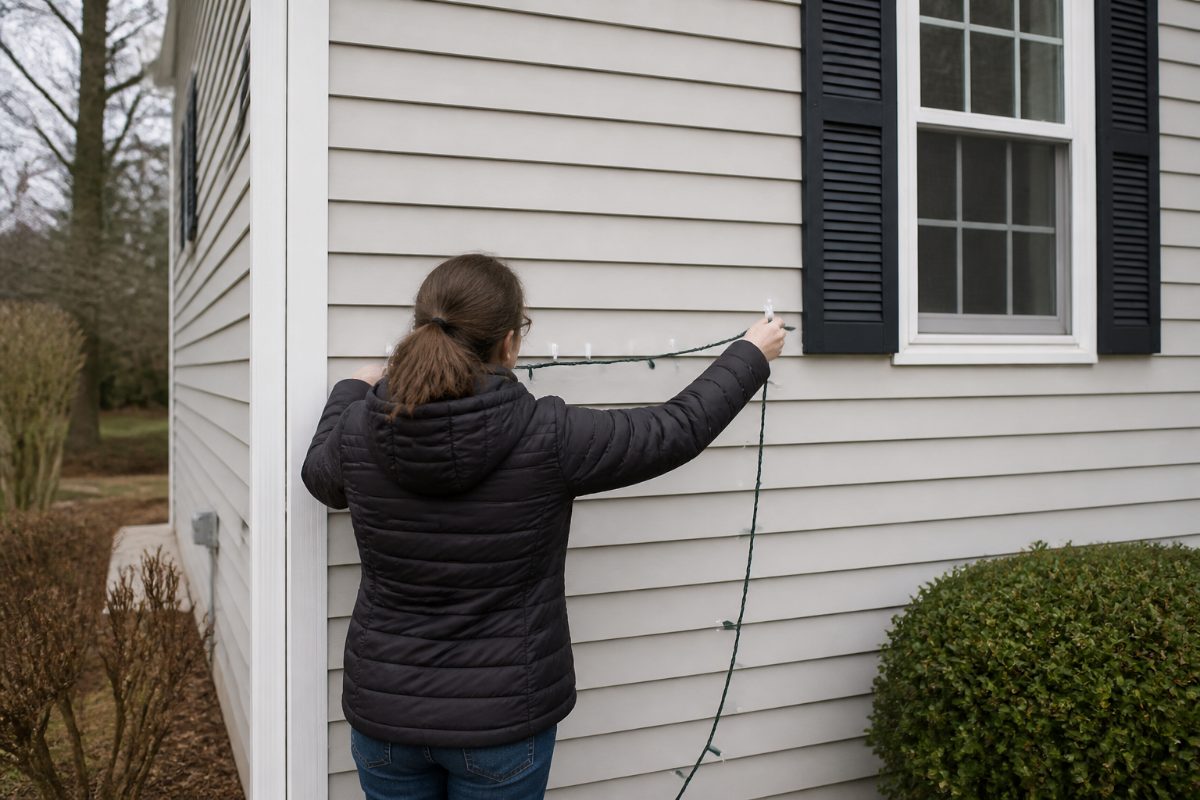
Start with a small test area and work along the route using the clip style selected for that surface. The light should rest in the clip without piercing the siding, crushing the wire, or forcing a vinyl panel out of shape. If the clip cannot be fitted gently, it is not a good match for that spot.
- Place the clip at a suitable support point. Use the clip’s intended contact point instead of catching the wire in a narrow gap.
- Fit it gently. If installation requires force or visibly flexes the siding, remove it and choose a better-fitting clip.
- Set the strand without tension. Let the strand follow the planned path; do not pull it tight to make a clip grip more firmly.
- Check the cord at each turn. Keep it clear of sharp edges and make sure it is not trapped beneath a clip or panel.
- Inspect the test section. Look for panel distortion, loose clips, or pinched wires before repeating the method along the house.
On vinyl siding, a lower-profile hook can help avoid buckling, but the shape of the clip still has to fit the siding profile. Do not treat a low-profile design as permission to force a clip into a tight seam. If the panel moves when you attach the hook, or the hook seems to rely on pressure against the panel face, choose another method.
Keep clips far enough from corners and transitions that the strand does not bend sharply against an edge. At a turn, guide the wire through a gradual change of direction and make sure the nearby clip supports the light without squeezing the cord. Repositioning a clip by a small amount can remove a pinch point without changing the overall layout.
On gutters, use clips made to hook over the gutter’s front lip rather than laying the cord in the gutter or attaching it with nails or staples. Keep the light supported by the clip, and do not pull the strand tightly across nearby siding. Check that the gutter itself is secure and that the clip does not distort its edge.
Work from a stable position and keep the strand’s weight supported while you install it. If you need to reach a high area, do not stretch sideways or use a clip, cord, or gutter as a handhold. A route that cannot be installed without awkward reaching may be safer to simplify or leave to a qualified installer.
How can you protect cords and outdoor connections?
Protecting the siding is only one part of a sound installation; the light strand and its power connections also need attention. Use extension cords rated for outdoor use, and route them so they are not crushed by clips, stretched between support points, or pressed against sharp edges. Cord damage can occur independently of siding damage, so inspect the entire route.
If a cord crosses a rough surface, change the route when possible. Where it must cross a rough area, suitable conduit or weatherproof tubing can protect the exposed section. Do not use a protective cover as a reason to run the cord where it will be walked on, pinched in a door, or exposed to standing water.
- Use an extension cord marked for outdoor use when an extension cord is needed.
- Keep cords clear of sharp edges, rough surfaces, and places where they can be pinched.
- Support the route to reduce tripping and strain on plugs and connectors.
- Keep plug connections out of places where water can pool, and arrange a drip loop so water does not run directly toward a connection.
- Do not add more lights if the setup appears to approach circuit capacity or develops electrical symptoms.
A drip loop is a section of cord that hangs below the connection before it rises to the plug. Its shape helps water run down and away rather than following the cord directly into the connection. Keep the loop controlled and supported so it does not become a trip hazard or pull on the plug.
Make sure the plug connection is not left resting on the ground in a low spot where water may collect. Do not conceal a connection in a place where it cannot be inspected. If the cord or plug becomes damaged, remove that item from use instead of covering the damage or relying on a siding clip to hold it in place.
Frequent breaker trips, outlet discoloration, flickering lights, or an outlet that will not reset are signs to stop using the affected setup. Repeatedly resetting a breaker or changing clips does not address an electrical problem. Persistent symptoms, a display that approaches circuit capacity, or a setup that needs permanent mounting calls for assessment by a licensed electrician.
Keep the cord path away from doors and windows that could pinch it when closed. Avoid routing a cord where it can be caught by a gate, walked on repeatedly, or snagged during routine yard work. A path that is easy to see and does not cross a normal walking route is easier to check throughout the season.
How do you remove Christmas lights without pulling off siding?
Remove the lights by releasing each fastener rather than tugging the strand away from the house. Support the strand so its weight does not hang from the clip being removed. Slow, controlled removal reduces the chance that a stuck fastener will transfer force to a panel, paint, trim, or gutter edge.
- Start at an accessible end. Hold the strand close to the clip so the light’s weight is supported.
- Release one clip at a time. Follow the clip’s removal method rather than pulling the wire or prying against the siding.
- Pause if a clip resists. Reassess its position instead of twisting or levering it against a panel.
- Check the wall as you go. Look for scuffs, lifted paint, or a panel that has moved, and avoid dragging the strand across the siding.
- Inspect lights and clips afterward. Set aside damaged cords or clips rather than assuming they are ready to reuse.
Adhesive clips may need a different removal approach from edge-gripping hooks. Follow the product directions instead of pulling the adhesive straight off the wall. If the siding begins to move or the adhesive resists, stop and work on releasing the fastener itself without using the siding as leverage.
After removal, coil the strand without tight kinks and keep it separate from clips that have cracked, bent, or lost their grip. Check the cord for worn insulation, exposed wire, damaged plugs, or loose connections before storing it. A damaged strand should not be put back into service just because it lit successfully the last time it was used.
Make a brief note of which clip locations worked and which ones slipped or left a mark. This makes next season’s setup easier to plan: you can change the unsuitable clips or route before beginning instead of repeating the same problem across the siding.
Which method should you choose for your home?
Choose the least invasive option that fits the siding and supports the lights without pressure. A renter or homeowner who wants to avoid holes can begin with non-penetrating clips or compatible adhesive hooks. Someone with vinyl siding should prioritize a low-profile fit that does not buckle the panels.
| Your situation | Practical starting point | Reason to change course |
|---|---|---|
| You are new to hanging outdoor lights. | Test a short section with clips made for the light and surface. | Change methods if the siding bends, the clip slips, or the wire is pinched. |
| You have smooth siding and want to avoid holes. | Consider adhesive clips intended for smooth surfaces. | Do not use them if the product directions do not fit the surface or removal could pull at the finish. |
| You have vinyl siding. | Try a low-profile siding hook that holds without pushing a panel outward. | Reject a clip that causes visible buckling or requires force to install. |
| There is damage near the planned route. | Choose a sound attachment point elsewhere. | Do not add pressure to a loose, cracked, or distorted area. |
| Your display needs a long unsupported span. | Consider a properly supported cable-and-clamp arrangement if the structure allows it. | Do not leave the cord stretched tight or rely on siding clips for an unsuitable span. |
| Your outlet or lights show electrical symptoms. | Stop using the affected setup and arrange an electrical assessment. | A clip change will not fix flickering, discoloration, repeated breaker trips, or a reset failure. |
| You need a simple display with few turns. | Plan a direct route with compatible clips and a clear cord path. | Change the layout if the cord has to cross a sharp edge or walking path. |
For a first-time setup, a short test run is more useful than buying a large quantity of one clip before checking the fit. Use a small section to see whether the clip holds the light, leaves the siding in its original position, and keeps the wire free of pressure. If the test fails, changing the clip type early avoids repeating the same problem across the whole wall.
If you already have a working setup, inspect the clips and cords before reusing them. Replace items that no longer hold securely or show damage, and check whether any siding has changed since the last installation. In either case, choose the attachment method by the surface and support needs, not only by which fastener is quickest to install.
For a renter, avoid a method that leaves holes or whose removal instructions conflict with the siding finish. Check any applicable property instructions before attaching decorations. For a homeowner with a fragile, uneven, or recently repaired surface, a simpler route on sound trim or another suitable feature may be preferable to forcing clips onto the siding.
Common mistakes to avoid
The most common mistake is treating “no nails” as the only requirement. A clip can avoid making a hole and still damage siding if it forces a panel outward, scrapes the finish, or transfers the weight of a long strand to one weak point. The attachment, route, and removal method all matter.
- Using nails or staples: These can puncture siding or damage a light cord. Use non-penetrating clips suited to the wall and strand.
- Choosing a clip without checking the surface: Adhesive hooks are intended for compatible smooth surfaces; vinyl siding calls for attention to clip profile and panel pressure.
- Pulling the strand tight: Tension can stress clips and connectors. Leave controlled slack and support the cord without stretching it.
- Routing across sharp or rough edges: Repeated rubbing can wear the cord. Reroute it or protect the exposed section appropriately.
- Ignoring existing siding damage: Inspect the route first and avoid adding pressure to areas that are already loose or distorted.
- Leaving cords in a gutter: Keep the light supported by a clip at the gutter edge rather than laying the cord where water and debris collect.
- Yanking lights down at season’s end: Release fasteners individually so the siding is not pulled with the strand.
- Reusing damaged lights or clips: Check them before installation and set aside items with damaged insulation, plugs, or gripping parts.
Use a two-part final check. Up close, look for pinched wires, panel movement, loose clips, and cords touching sharp edges. From a few steps back, look for sections that sag, pull tight, or cross an awkward transition; adjust those areas before the display is in use.
After the first installation, look over the route again once the strand is supported by all its clips. This is when a pinched section or a clip that has begun to slip may become easier to spot. If you see a problem, support the strand, remove the affected clip, and correct the route rather than pulling the cord to make it appear straight.
Frequently Asked Questions
Can I use adhesive hooks on outdoor siding?
Adhesive clips or hooks can be an option on smooth surfaces when the product is intended for that material. Check the application and removal directions, and do not use a hook that cannot support the lights without pulling away from the siding.
What is the safest way to hang lights on vinyl siding?
Use a siding clip that fits without forcing the panel outward, and favor a low-profile design. Test one section first; if the panel moves, the clip slips, or removal would require levering against the vinyl, choose another attachment point or clip.
Can I staple Christmas lights to siding?
Use non-penetrating clips instead of staples or nails. Staples can puncture siding and may also damage a light cord, while a compatible clip can support the strand without making a hole.
How should I run an extension cord outdoors?
Use an extension cord rated for outdoor use and route it away from sharp edges, pinch points, and walking paths. Keep plug connections out of places where water can collect, and support the cord so its weight does not pull on a connector.
When should I stop and get electrical help?
Stop using the affected setup if you notice frequent breaker trips, outlet discoloration, flickering lights, or an outlet that will not reset. Persistent symptoms, a display that approaches circuit capacity, or a setup needing permanent mounting should be assessed by a licensed electrician.
Key points to remember
To hang outdoor Christmas lights without siding damage, select a non-penetrating clip for the specific surface, test the fit, and avoid forcing or pulling on panels. Route outdoor-rated cords away from sharp edges and places where water collects, and support the strand without stretching it tight.
Remove each fastener gently when the season ends, then check the lights and clips before storing them. Product instructions matter most for surface compatibility and adhesive removal, while electrical symptoms call for stopping use rather than changing the attachment method.
References
- Tips & Advice for Christmas Lights
- 3 Ways to Hang Christmas Lights Outside Without Nails - wikiHow Life
- Kearns Exterior Chistmas Light Installers
- The Easiest Ways to Hang Christmas Lights | Today's Homeowner
- Des Moines Electrician: Holiday Lighting Safety Guide (2025)
- How to Hang Christmas Lights on Gutters, Stucco and Trim
- Holiday Lights Done Right: How to Hang Decorations Without Damaging Your Roof or Siding
Information in this post was checked as of October 2026. Policies and prices may change, so please verify important details with official sources.


Comments
Post a Comment