Why Your Garage Door Won't Close Fully and How to Fix It
Published: September 18, 2026
When your garage door refuses to close fully—reversing halfway or stopping a few inches off the ground—the immediate goal is to identify whether the issue stems from a routine safety feature, a minor mechanical adjustment, or a dangerous hardware failure. In most cases, you can diagnose and resolve the problem safely without professional help by checking the safety sensors, adjusting travel limits, or clearing obstruction buildup in the tracks.
Immediate Diagnosis: Why Is It Stopping?
Before touching any tools or adjusting screws, observe how the door fails to close. The behavior of the door provides an immediate diagnostic shortcut that separates basic adjustments from hazardous mechanical repairs.
If the door reverses immediately and the opener lights blink rapidly (usually 10 times), the culprit is almost always the electronic safety photo-eye sensors. If the door stops mid-travel, reverses sluggishly, or hums without moving, the issue points toward track friction, limit switch calibration, or motor strain. If the door slams down or drops suddenly when released from the opener, you are dealing with a broken torsion spring—a high-tension emergency that requires an immediate stop.
Key Decision Rule: Never attempt to adjust tension springs, cables, or bottom brackets yourself if the door is heavy, uneven, or completely off its track. Proceed only with sensor, track, and limit adjustments if the door structure remains stable.
Checking and Realigning Safety Sensors
Federal safety regulations require all automatic garage door openers manufactured after 1993 to feature reversing photo-eyes mounted near the bottom of the tracks (about 4 to 6 inches off the floor).
These sensors project an invisible infrared beam across the opening. If anything crosses the beam, or if the sensors become misaligned, dirty, or blocked by direct sunlight, the opener assumes an obstruction is in the path and prevents the door from closing.
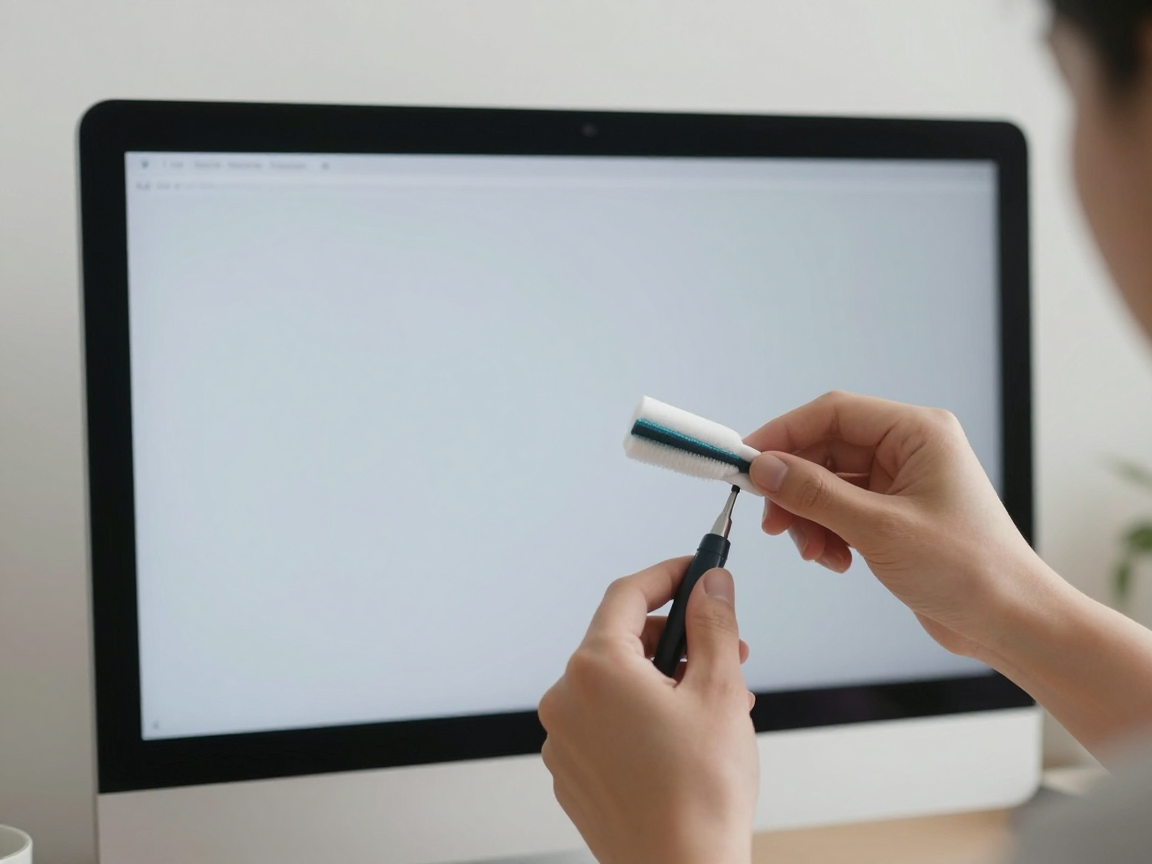
- Check the LED indicators: Most sensors feature small LED lights. If one or both lights are blinking, flickering, or completely dark, the circuit is broken.
- Clean the lenses: Wipe both sensor glass faces with a soft, dry micro-fiber cloth. Spiderwebs, dust, and morning dew frequently cause intermittent contact failure.
- Verify alignment: Loosen the wing nut on the receiving sensor and adjust it until both lights glow with a steady, solid color. Ensure nothing (like garden hoses, leaves, or stray storage boxes) sits inside the infrared path.
Adjusting Travel Limits and Force Settings
Over time, temperature fluctuations, gear wear, and vibrations can cause the opener's internal limit switches to drift. If the door thinks it has reached the floor too early, it will stop short. Conversely, if it thinks the floor is lower than it actually is, it will reverse upon hitting the ground.
Most modern openers feature plastic adjustment screws or digital buttons on the side motor housing labeled Up Limit and Down Limit (or open/close travel).
- Locate the limit adjusters: Refer to your opener model manual to identify the specific dial or button for the down travel.
- Make incremental adjustments: Turn the down-limit dial a quarter to a half-turn in the direction that extends the downward travel distance.
- Test the door: Run the door through one full cycle. Watch the bottom seal as it meets the concrete. It should make firm, even contact across the entire width without bunching up or reversing due to excessive pressure.
- Check force settings separately: If the travel distance is correct but the door reverses the moment it touches the floor, the down-force sensitivity may be set too low. Adjust the force dial upward incrementally, but avoid setting it too high; the door must still reverse safely if it encounters a person or pet.
Inspecting Tracks, Rollers, and Debris
Physical friction along the vertical and horizontal metal tracks can trigger the opener's automatic reversal mechanism. When the motor detects abnormal resistance, it backs off to prevent burning out.
Carefully examine the entire length of both tracks for signs of impact, loose mounting brackets, or accumulated grime.
- Look for gaps or binding: Ensure the rollers spin freely inside the track and do not wobble on their stems. Worn-out, chipped, or seized nylon rollers create high-friction friction points.
- Clean the tracks: Remove hardened grease, dirt, and dried mud using a cloth and a dedicated garage door cleaner or mild solvent. Never apply heavy grease to the inside of the tracks; tracks should be wiped clean, while nylon or steel rollers require a light spray of specialized silicone lubricant.
- Tighten loose hardware: Vibration loosens track brackets and hinge bolts over time. Tighten any loose nuts, but do not overtighten lag screws into stripped wooden jambs.
- Blinking opener lights usually indicate a photo-eye sensor obstruction or alignment failure.
- Never force travel limits or force settings to compensate for a physically binding or broken door.
- Regularly clean photo-eye lenses and lubricate rollers with silicone rather than heavy grease.
- High-tension springs and cables must remain untouched by homeowners to avoid severe injury.
Testing Manual Operation and Balance
If sensors, tracks, and limits are properly adjusted and the door still refuses to close, you must test the mechanical balance of the door itself. Disengage the automatic opener by pulling the red emergency release cord while the door is fully closed.
Manually lift the door halfway up and let go:
- Balanced door: If the door stays in place or drifts only slightly, the springs are properly tensioned.
- Imbalanced door: If the door slams shut or flies open violently, your torsion or extension springs have lost tension or snapped. An imbalanced door overworks the opener motor and causes erratic closing behavior.
Common Mistake: Never try to adjust or replace torsion springs yourself. Torsion springs are wound under extreme tension capable of causing fatal injuries.
When to Stop and Call a Professional
Knowing when to stop DIY troubleshooting prevents property damage and personal injury. Call a licensed garage door technician immediately if you encounter any of the following conditions:
- Snapped, sagging, or visibly rusted torsion springs above the door opening.
- Loose, frayed, or entirely detached lift cables hanging from the bottom corners.
- A severely bent track or a door section that has buckled out of alignment.
- An opener motor that hums or clicks but fails to turn the drive belt, chain, or screw drive gear due to internal mechanical failure.
Reader Questions
Why does my garage door close completely when I hold down the wall button, but stops when using the remote?
Holding down the wall station overrides the safety sensor circuit (often called constant-contact mode). If the door closes successfully while holding the wall button but reverses during normal remote operation, your photo-eye sensors are misaligned, dirty, or experiencing solar interference.
Can cold weather cause my garage door to stop closing?
Yes. Sub-freezing temperatures cause metal tracks to contract, rubber bottom seals to freeze to the concrete floor, and lubricant inside the motor or rollers to thicken. Inspect for frozen thresholds and clear any ice buildup before attempting adjustments.
How much does it cost to repair a garage door that won't close?
Basic service calls for sensor realignment, limit adjustments, or minor track tightening typically range from $75 to $150. Major repairs, such as spring replacement or cable realignment, generally cost between $150 and $350 depending on your region and door weight.


Comments
Post a Comment