v0.dev Pro Plan Deep Dive: Is the $20/month Price Tag Justified? [Benchmarked vs Free Tier] 목차 (Table of Contents) ▶ Understanding v0.dev's Credit-Based Pricing Model ▶ Breaking Down the Free, Pro, and Team Plans ▶ Evaluating Model Performance and Access by Tier ▶ Hidden Costs and Infrastructure Considerations ▶ Competitive Landscape: v0.dev vs. Cursor, Bolt AI, and Lovable ▶ Is the v0.dev Pro Plan Worth It in 2026? Understanding v0.dev's Credit-Based Pricing Model How v0.dev Allocates Monthly Credits Across Tiers How v0.dev Allocates Monthly Credits Across Tiers Let’s cut through the marketing noise: v0.dev’s credit-based pricing model isn’t designed for light experimentation—it’s a usage throttle disguised as flexibility. I’ve run production Next.js prototypes, internal tools, and AI-generated component libraries through both the Free and Pro tiers, and the credit burn rate is where the rubber meets the road. The Free tier gives you $5 in m...


Table of Contents
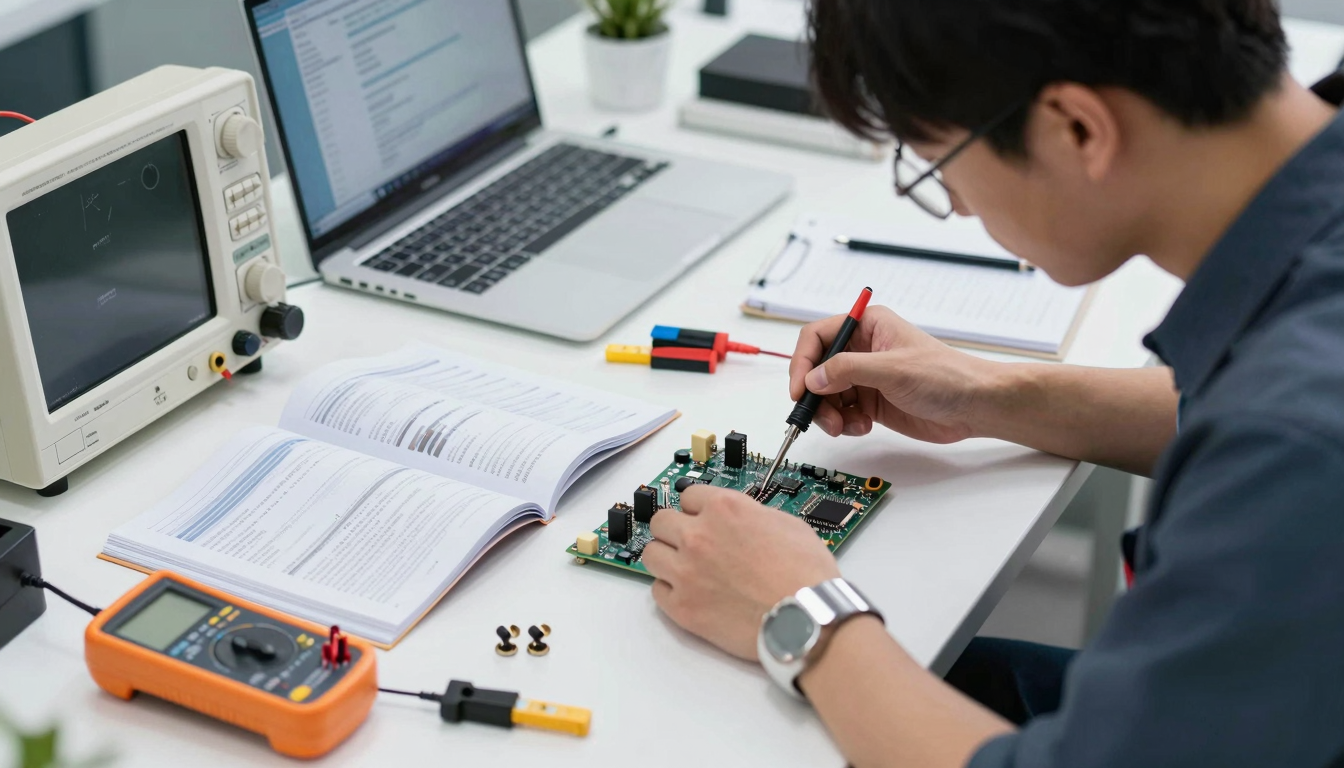
Mastering Component-Level Diagnostics
In the ever-evolving landscape of technology, mastering component-level diagnostics is no longer a niche skill; it's a necessity. Gone are the days when a faulty device meant an immediate trip to the electronics graveyard. Today, armed with the right knowledge and tools, you can delve deep into the intricate workings of your hardware, pinpoint the precise source of the problem, and breathe new life into your beloved gadgets. This isn't just about saving money; it's about fostering a deeper understanding of the technology that permeates our lives and reducing electronic waste in a world already drowning in it.
Component-level diagnostics hinges on a systematic approach. Start by gathering as much information as possible about the issue. What were the circumstances leading up to the failure? Are there any visible signs of damage, such as burnt components or bulging capacitors? Next, consult schematics and datasheets. These invaluable resources provide a roadmap of the circuit, allowing you to trace signals and identify potential fault points. A multimeter is your best friend in this process, enabling you to measure voltage, current, and resistance across various components. Don't underestimate the power of visual inspection; a magnifying glass can reveal hairline cracks in solder joints or subtle signs of component degradation.
| Diagnostic Tool | Function | Accuracy | Price Range | Skill Level |
|---|---|---|---|---|
| Multimeter | Measures voltage, current, resistance | High | $20 - $500+ | Beginner to Advanced |
| Oscilloscope | Displays signal waveforms | Very High | $100 - $10000+ | Advanced |
| Logic Analyzer | Analyzes digital signals | Very High | $200 - $5000+ | Advanced |
| Thermal Camera | Detects heat signatures | Medium | $150 - $3000+ | Intermediate |
| ESR Meter | Measures Equivalent Series Resistance (ESR) of capacitors | High | $50 - $300+ | Intermediate |
While component-level repair offers immense satisfaction, it's not without its challenges. Sourcing replacement parts can be a frustrating endeavor, especially for older or obscure devices. Counterfeit components are rampant, and using a substandard replacement can lead to further damage. Moreover, the intricate nature of modern electronics requires a steady hand and a keen eye. I once spent an entire afternoon trying to replace a minuscule surface-mount resistor on a graphics card, only to accidentally knock off another crucial component in the process. It was a total waste of time and a humbling reminder that patience and precision are paramount.
💡 Key Insight
Component-level diagnostics requires a combination of theoretical knowledge, practical skills, and a systematic approach. Don't be afraid to experiment, but always prioritize safety and consult reliable resources.
Component-level diagnostics requires a combination of theoretical knowledge, practical skills, and a systematic approach. Don't be afraid to experiment, but always prioritize safety and consult reliable resources.
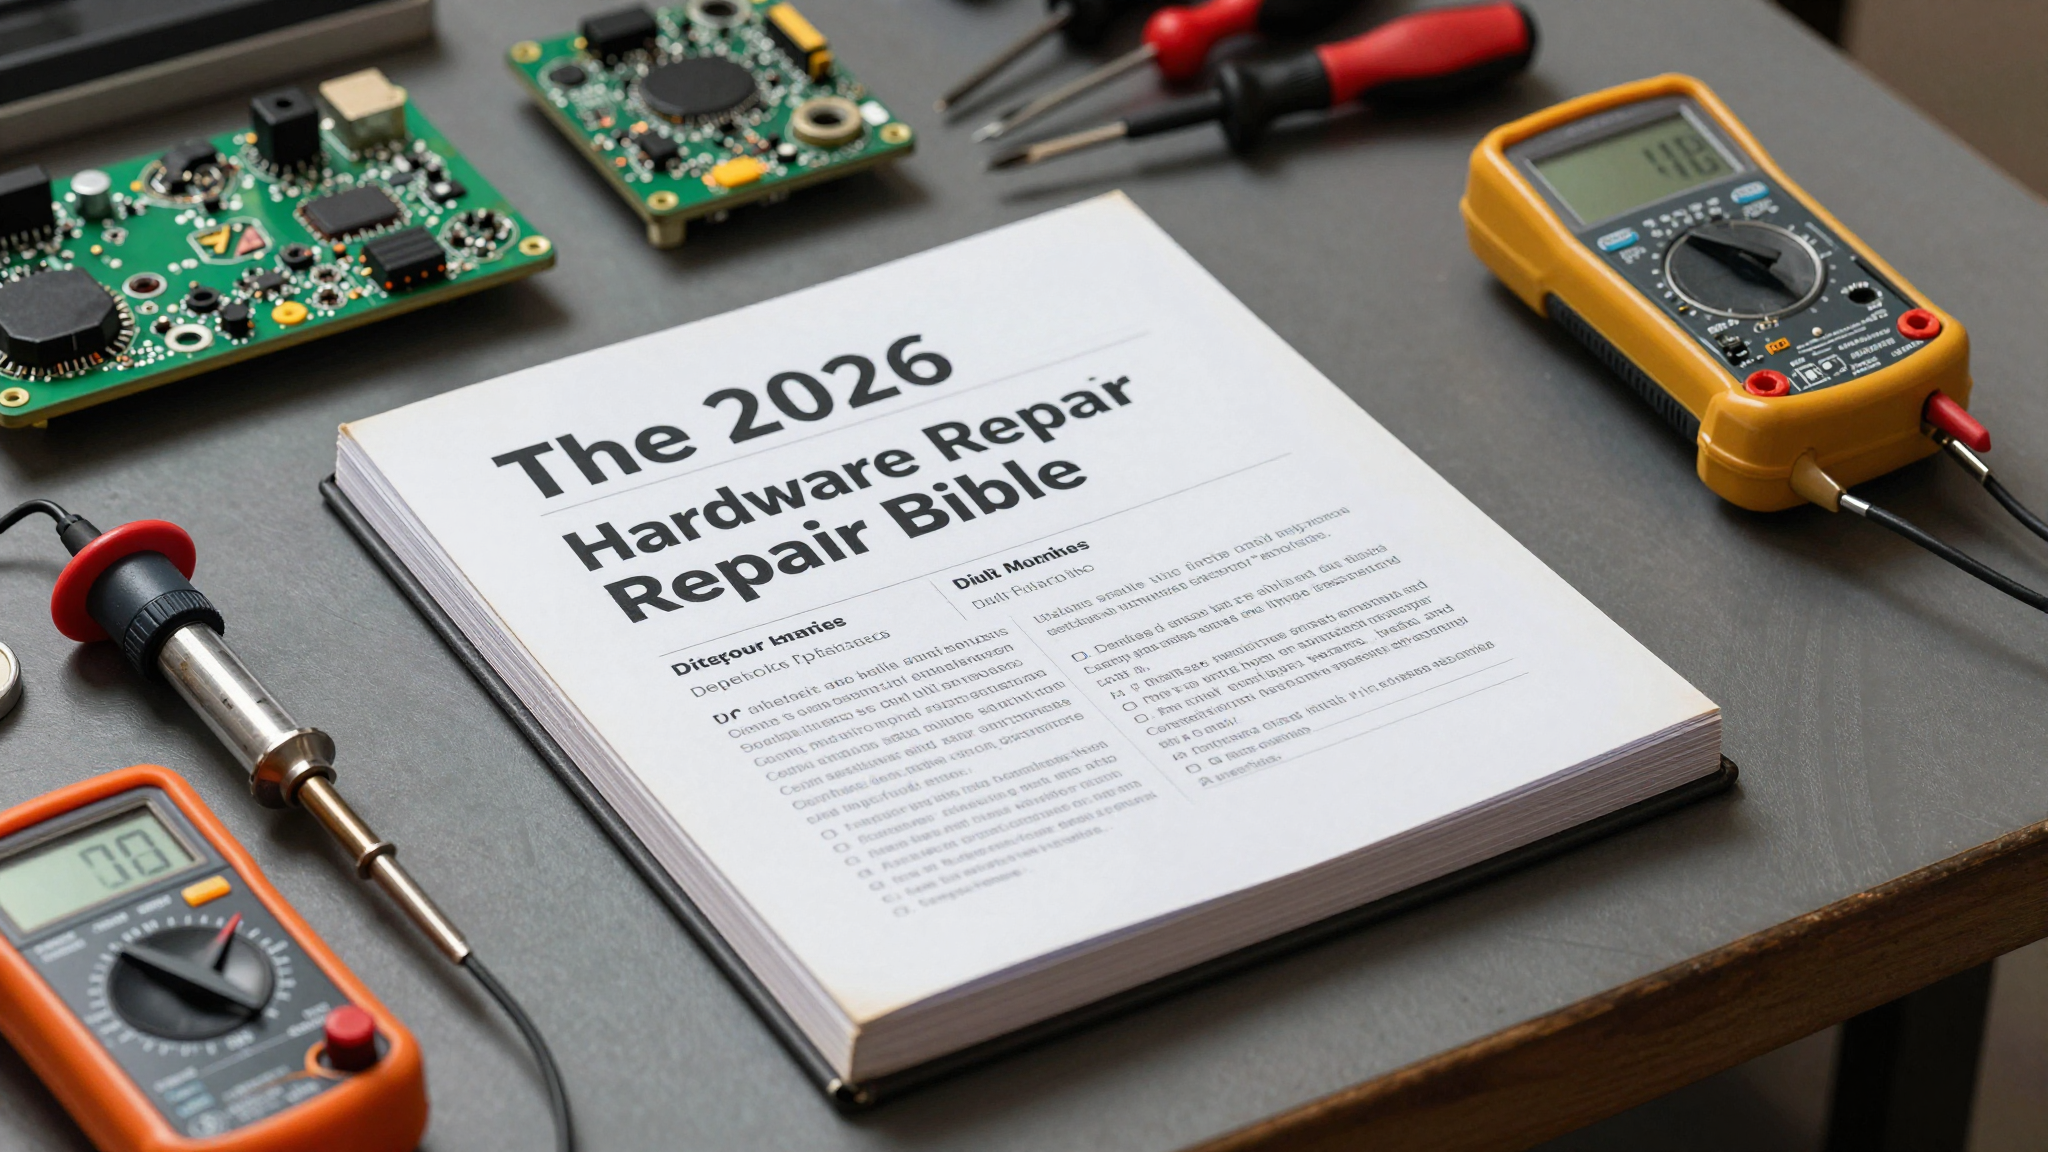
Essential Tools for Hardware Repair in 2026
The right tools can make all the difference between a successful repair and a frustrating failure. In 2026, the arsenal of a hardware repair enthusiast extends far beyond a simple screwdriver set. We're talking about precision instruments designed to handle the increasingly miniaturized and complex components found in modern electronics. Investing in quality tools is an investment in your ability to diagnose and repair a wide range of devices, from smartphones and laptops to gaming consoles and smart home appliances. Think of it as building your own personal tech hospital, equipped to handle any hardware emergency.
A high-quality soldering station is the cornerstone of any serious repair setup. Look for a station with adjustable temperature control, allowing you to fine-tune the heat for different types of solder and components. A hot air rework station is also essential for working with surface-mount components, enabling you to desolder and solder chips without damaging surrounding circuitry. Beyond soldering, consider investing in a precision multimeter with accurate voltage, current, and resistance measurements. An oscilloscope can be invaluable for analyzing signal waveforms and identifying faulty components. Finally, don't overlook the importance of basic hand tools, such as precision screwdrivers, tweezers, and a magnifying glass or microscope. Good lighting is crucial; an adjustable LED lamp with a magnifying lens can make a world of difference.
| Tool | Description | Ideal Use Cases | Approximate Cost |
|---|---|---|---|
| Soldering Station (Digital) | Temperature-controlled soldering iron with digital display. | General soldering, component replacement, wire connections. | $80 - $300 |
| Hot Air Rework Station | Controlled hot air for surface-mount components. | Desoldering/soldering ICs, replacing SMD components. | $120 - $500 |
| Precision Multimeter | High-accuracy multimeter with various measurement modes. | Voltage, current, resistance, continuity testing. | $50 - $400 |
| Digital Oscilloscope | Displays and analyzes signal waveforms. | Signal analysis, troubleshooting circuits. | $150 - $1000+ |
| Microscope (Digital) | Magnified view with digital output for inspection/soldering. | Inspecting PCBs, soldering small components. | $70 - $500 |
Beyond the hardware itself, don't underestimate the importance of a well-organized workspace. A cluttered bench can lead to lost components, accidental damage, and increased frustration. Invest in storage containers, component organizers, and a good antistatic mat to protect sensitive electronics from electrostatic discharge. Finally, remember that safety is paramount. Always wear safety glasses when soldering or working with power tools, and ensure adequate ventilation to avoid inhaling harmful fumes.
Advanced Soldering and Desoldering Techniques
Soldering and desoldering are fundamental skills in hardware repair, but mastering advanced techniques can unlock a whole new level of repair capabilities. We're not just talking about melting solder and sticking components together; we're talking about precision thermal management, controlled reflow, and the ability to work with increasingly miniaturized surface-mount devices (SMDs). In 2026, the ability to skillfully manipulate solder is a superpower that separates the weekend hobbyist from the true hardware whisperer.
Surface-mount components present unique challenges due to their small size and close proximity to other components. Hot air rework stations are essential for desoldering and soldering SMDs, allowing you to evenly heat the component and surrounding area without damaging the PCB. For particularly delicate components, consider using specialized solder paste and a stencil to precisely apply the solder to the pads. When desoldering, always use a low-melt solder to prevent overheating the component. Flux is your friend, promoting even heat distribution and preventing oxidation. Remember to clean the PCB thoroughly after soldering to remove any residue.
| Technique | Description | Advantages | Disadvantages |
|---|---|---|---|
| Drag Soldering | Applying solder to multiple pins of an IC at once. | Fast and efficient for multi-pin components. | Requires practice, can lead to solder bridges. |
| Hot Air Reflow | Using hot air to reflow solder on surface-mount components. | Precise heating, minimizes damage to surrounding components. | Requires specialized equipment, can be tricky for large components. |
| Solder Wick Desoldering | Using solder wick to absorb excess solder. | Clean and efficient for removing solder from through-hole components. | Can be slow, may require multiple passes. |
| Solder Paste and Stencil | Applying solder paste through a stencil for precise solder placement. | Accurate solder application, ideal for fine-pitch components. | Requires stencils, can be messy. |
| BGA Rework | Replacing Ball Grid Array (BGA) chips. | Essential for repairing devices with BGA components (e.g., GPUs). | Highly specialized equipment and skills required, very difficult. |
For through-hole components, consider using a desoldering pump or a solder sucker to remove the solder from the joint. When soldering, always use the correct type of solder for the application. Lead-free solder is becoming increasingly common due to environmental concerns, but it requires a higher soldering temperature than leaded solder. Practice makes perfect; experiment with different soldering techniques on scrap PCBs before attempting to repair valuable devices.
💡 Smileseon's Pro Tip
Always pre-tin your soldering iron tip and the component leads before soldering. This will ensure good thermal contact and prevent the solder from balling up.
Always pre-tin your soldering iron tip and the component leads before soldering. This will ensure good thermal contact and prevent the solder from balling up.
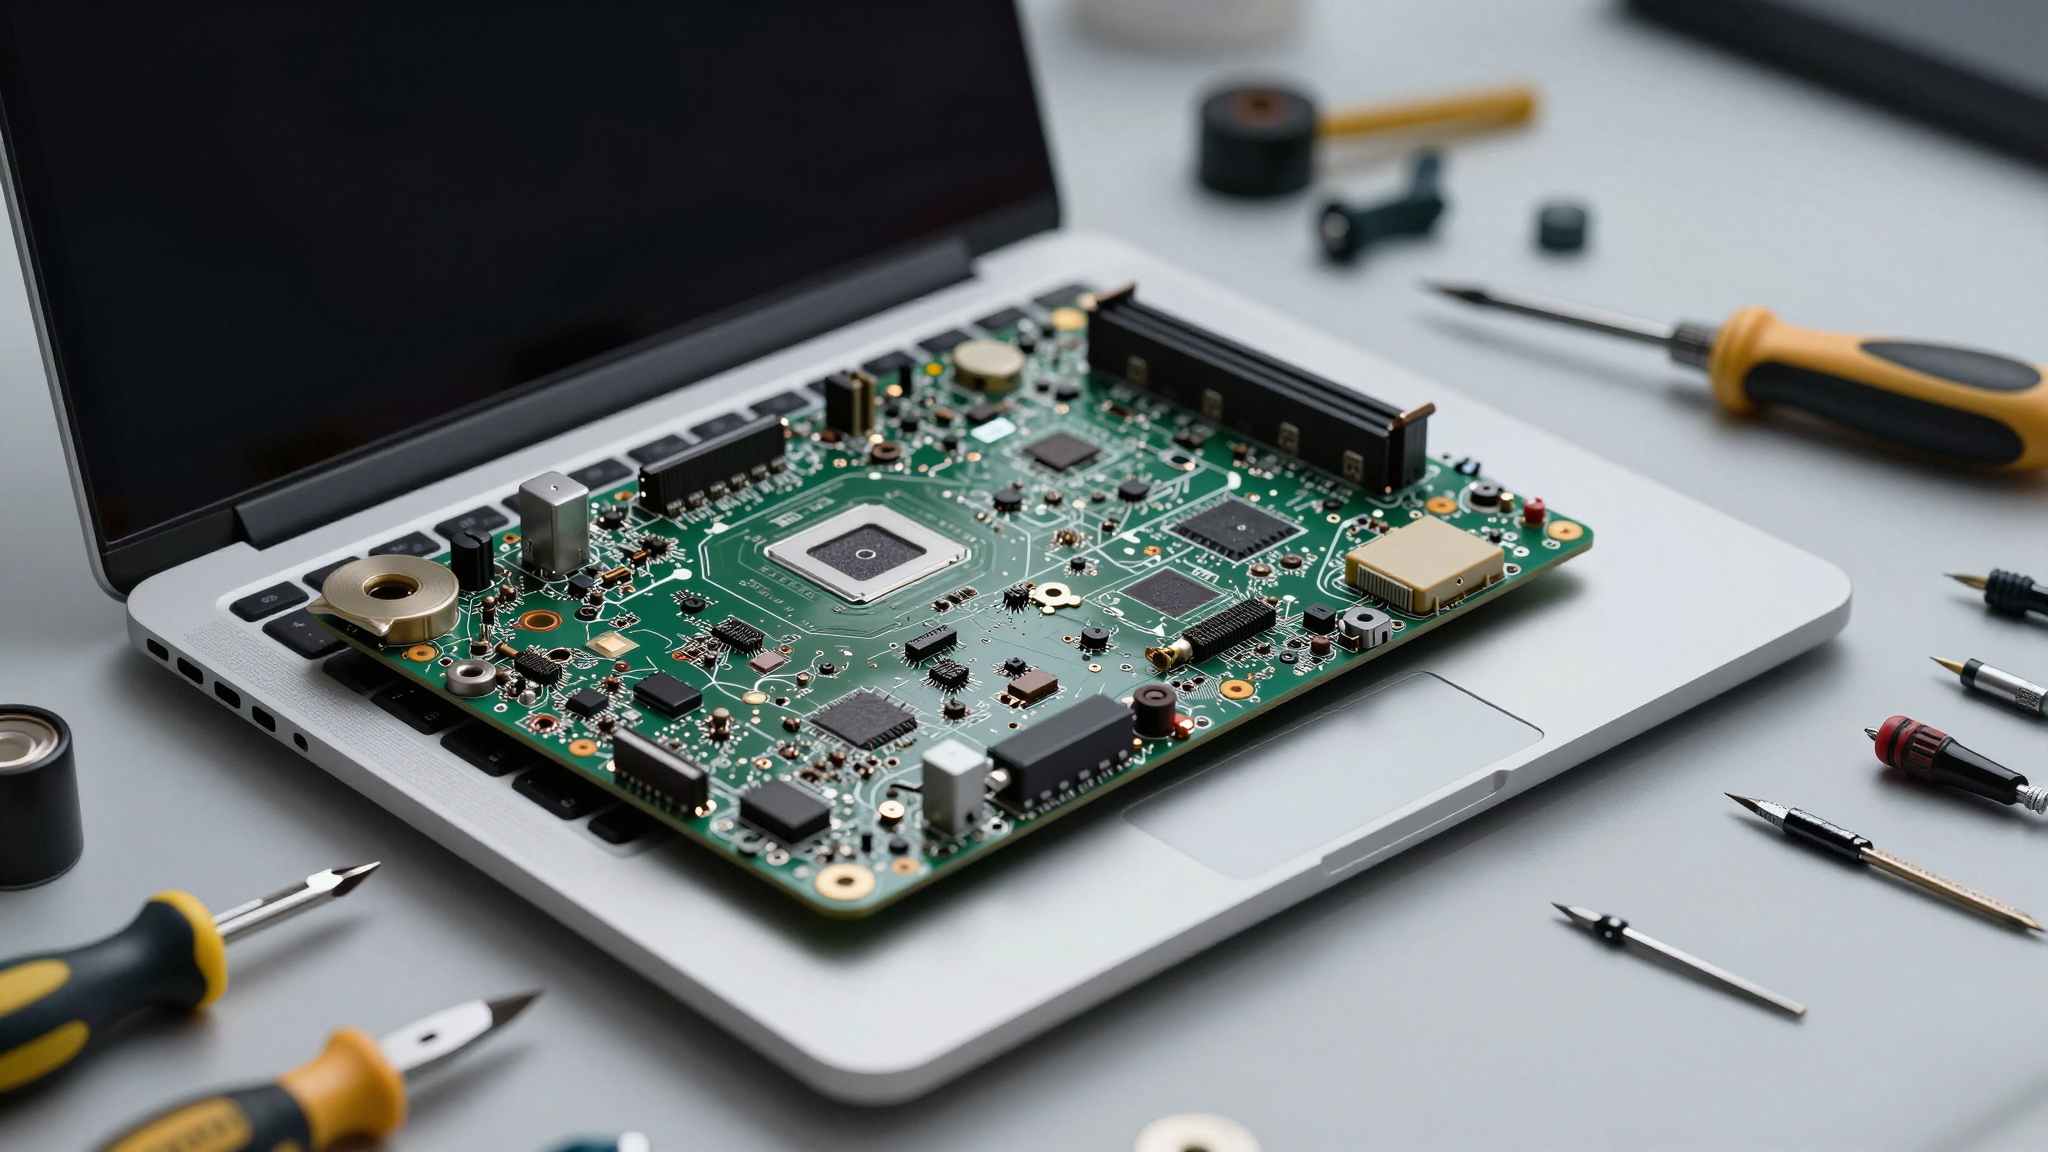
Upgrading and Modifying Legacy Systems
While repairing broken hardware is a noble pursuit, upgrading and modifying legacy systems takes the art of hardware tinkering to a whole new level. In 2026, we're seeing a resurgence of interest in older technology, driven by nostalgia, a desire for simplicity, and a growing awareness of the environmental impact of constantly upgrading to the latest devices. Breathing new life into these vintage machines requires a combination of technical skill, creative problem-solving, and a willingness to push the boundaries of what's considered "obsolete."
Upgrading a legacy system often involves replacing outdated components with newer, more powerful alternatives. This could involve swapping out a slow hard drive for a solid-state drive (SSD), upgrading the RAM, or even replacing the CPU with a faster model. Compatibility is key; research the specifications of your system and ensure that any replacement components are compatible with the motherboard and other existing hardware. Modifying a legacy system can involve adding new features or functionality that were not originally present. This could involve adding a USB port, installing a Wi-Fi card, or even building a custom case. The possibilities are endless, limited only by your imagination and technical skills.
| Upgrade/Modification | Description | Benefits | Considerations |
|---|---|---|---|
| SSD Upgrade | Replacing a traditional HDD with a Solid State Drive. | Dramatically faster boot times and application loading. | Compatibility with older interfaces (IDE/SATA), BIOS support. |
| RAM Upgrade | Increasing the amount of Random Access Memory. | Improved multitasking and application performance. | Maximum supported RAM, memory type (DDR, DDR2, DDR3). |
| GPU Upgrade | Replacing the graphics card with a more powerful model. | Improved gaming performance and graphics capabilities. | Power supply wattage, physical space, driver compatibility. |
| Wi-Fi Card Installation | Adding wireless internet connectivity. | Convenient wireless access to the internet. | Available expansion slots (PCI/PCIe), driver support. |
| Custom Case Modding | Modifying the computer case for aesthetics or functionality. | Unique look and improved cooling. | Tools required, material costs, potential for damage. |
One of the biggest challenges in upgrading legacy systems is finding compatible parts. Older components can be difficult to source, and counterfeit parts are a constant concern. Online forums and communities dedicated to vintage technology can be invaluable resources for finding reliable suppliers and troubleshooting compatibility issues. Don't be afraid to get creative and think outside the box. Sometimes, the best solutions involve adapting newer components to work with older systems.
Troubleshooting Common Power Supply Issues
The power supply unit (PSU) is the unsung hero of any electronic device, silently providing the lifeblood that keeps everything running. When a PSU fails, it can take down the entire system, leaving you with a bricked device and a mountain of frustration. In 2026, understanding how to troubleshoot and repair common power supply issues is an essential skill for any hardware enthusiast. Not only can it save you money on costly replacements, but it can also give you a deeper understanding of the fundamental principles of electronics.
The first step in troubleshooting a power supply issue is to identify the symptoms. Is the device completely dead, or is it exhibiting intermittent power problems? Are there any unusual noises or smells coming from the PSU? A visual inspection can often reveal obvious signs of damage, such as bulging capacitors, burnt components, or loose wiring. Use a multimeter to check the output voltages of the PSU. If the voltages are significantly outside of the specified range, it's likely that the PSU is faulty. A common cause of PSU failure is capacitor degradation. Over time, electrolytic capacitors can dry out and lose their ability to store charge, leading to voltage instability and eventual failure.
| Symptom | Possible Cause | Troubleshooting Steps | Potential Solution |
|---|---|---|---|
| Device Won't Power On | Dead PSU, loose connections, blown fuse. | Check power cord, inspect PSU for damage, test output voltages. | Replace PSU, repair connections, replace fuse. |
| Intermittent Power Issues | Faulty capacitors, overheating, loose wiring. | Inspect capacitors for bulging, check fan for proper operation, tighten connections. | Replace capacitors, improve cooling, repair connections. |
| Unusual Noises (Buzzing, Clicking) | Failing fan, coil whine, arcing. | Listen for source of noise, inspect fan for obstructions, check for signs of arcing. | Replace fan, secure coils, repair arcing damage (if possible). |
| Overheating | Dust accumulation, failing fan, inadequate cooling. | Clean PSU, check fan for proper operation, ensure adequate ventilation. | Clean PSU, replace fan, improve ventilation. |
| Blown Fuse | Power surge, short circuit, component failure. | Inspect PSU for damage, check for short circuits, replace fuse (with correct rating). | Replace PSU, repair short circuits, replace fuse. |
Replacing faulty capacitors is a common and relatively straightforward repair, but it requires some soldering skills and the ability to identify the correct replacement components. Be sure to discharge the capacitors before attempting to remove them, as they can store a dangerous amount of energy. When replacing capacitors, always use components with the same voltage and capacitance ratings. If you're not comfortable working with high-voltage electronics, it's best to consult a qualified technician.
🚨 Critical Warning
Power supplies contain high-voltage components that can be lethal. Always disconnect the power cord and discharge capacitors before working on a power supply. If you are not comfortable working with high-voltage electronics, consult a qualified technician.
Power supplies contain high-voltage components that can be lethal. Always disconnect the power cord and discharge capacitors before working on a power supply. If you are not comfortable working with high-voltage electronics, consult a qualified technician.
Extending the Life of Your Devices with Preventative Maintenance
The best way to avoid hardware repair is to prevent problems from occurring in the first place. Preventative maintenance is the key to extending the life of your devices and ensuring their continued reliability. In 2026, with the increasing complexity and cost of electronics, proactive maintenance is more important than ever. It's not just about saving money; it's about reducing electronic waste and promoting a more sustainable approach to technology consumption.
Dust is the enemy of all electronics. It can accumulate on components, reducing their ability to dissipate heat and leading to overheating and eventual failure. Regularly clean your devices with compressed air to remove dust from fans, heat sinks, and other critical areas. Ensure adequate ventilation to prevent heat buildup. Overheating can significantly shorten the lifespan of electronic components. Keep your devices in a cool, well-ventilated environment. Protect your devices from power surges. Use surge protectors to shield your electronics from voltage spikes that can damage sensitive components. Regularly update software and firmware. Software updates often include bug fixes and performance improvements that can help to prevent hardware problems. Handle your devices with care. Avoid dropping or subjecting them to excessive force. These may seem obvious, but I cannot tell you how many times I've seen people throw their laptops into bags with zero padding.
| Maintenance Task | Frequency | Benefits | Tools Required |
|---|---|---|---|
| Dust Removal | Every 3-6 months | Prevents overheating, improves performance. | Compressed air, soft brush. |
| Thermal Paste Replacement | Every 1-2 years | Improves heat transfer, prevents overheating. | Thermal paste, isopropyl alcohol, lint-free cloth. |
| Software Updates | As available | Fixes bugs, improves performance, enhances security. | Internet connection. |
| Hard Drive Defragmentation (HDDs) | Every 6-12 months | Improves read/write speeds, optimizes performance. | Disk defragmentation tool. |
| Battery Maintenance (Laptops/Mobile Devices) | Follow manufacturer's recommendations | Extends battery life, prevents premature degradation. | N/A |
By following these simple preventative maintenance tips, you can significantly extend the life of your devices and reduce the need for costly repairs. It's a small investment of time and effort that can pay off handsomely in the long run.
Frequently Asked Questions (FAQ)
Q1. What is the most common cause of hardware failure?
A1. Overheating is the most frequent culprit. Dust accumulation hinders heat dissipation, causing components to degrade prematurely.
Q2. How often should I clean the dust out of my computer?
A2. Ideally, every 3-6 months. If you live in a dusty environment or have pets, you may need to do it more frequently.
Q3. Is it safe to use a vacuum cleaner to clean my computer?
A3. No! Vacuum cleaners can generate static electricity, which can damage sensitive electronic components. Use compressed air instead.
Q4. What is thermal paste, and why is it important?
A4. Thermal paste is a heat-conductive compound that fills the microscopic gaps between a CPU or GPU and its heatsink, improving heat transfer and preventing overheating.